Bird Kites!

This one’s a heck of a project, but they’re SO COOL!

Here are your materials - a wire hanger, a small trash bag, a wooden dowel rod, clear nylon thread,
tape (I used packing tape, but other tape should work fine), scissors, and permanent markers.
This craft draws inspiration from the puppets used in the Broadway (stage) production of
The Lion King.
Theirs are big, and awesome, and look like this.

This one is a little smaller… but is also awesome.
Let’s get started!
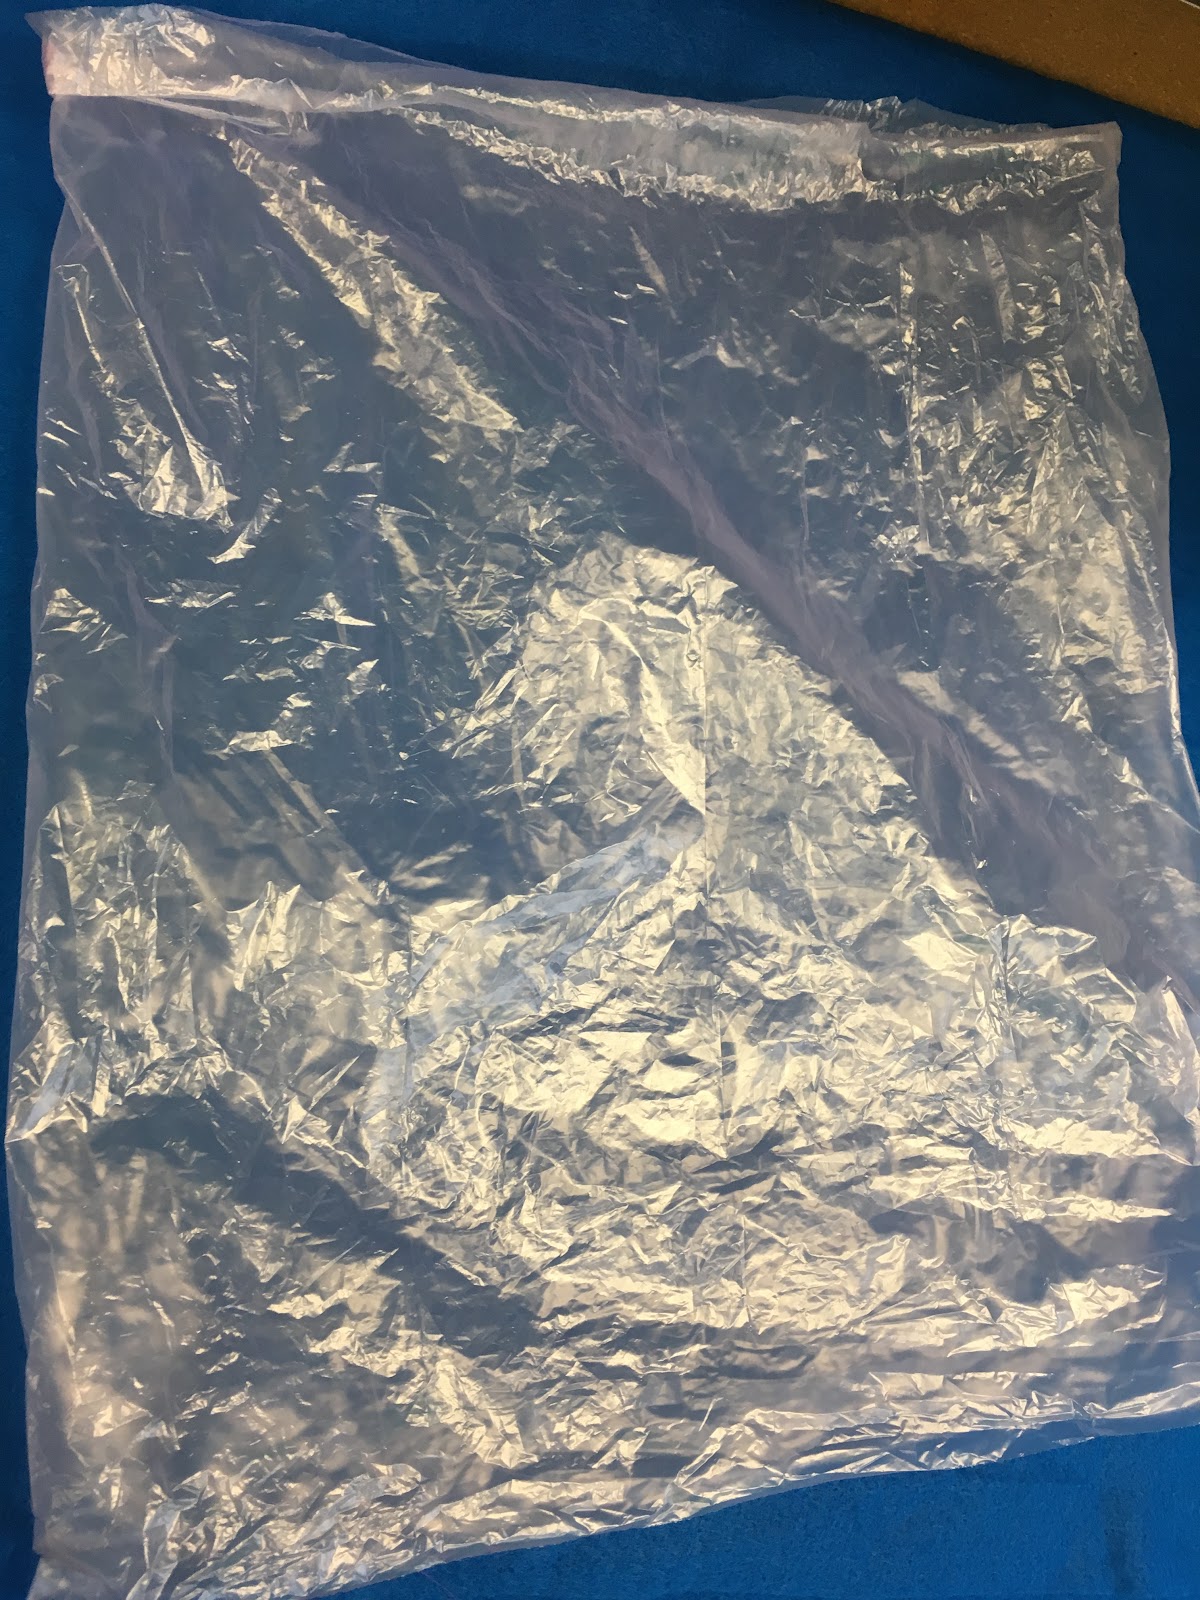
Step 1. Cut the bottom seal off of the trash bag so that it creates an open plastic tube. (This is
easiest BEFORE the trash bag is ‘opened,’ when it’s still folded into a rectangle, fresh off the roll).

Step 2. Bend the hook portion of the hanger so that it forms a smaller loop.
It doesn’t have to be perfect… a tight squeeze with your hand should be enough.
It doesn’t have to be perfect… a tight squeeze with your hand should be enough.
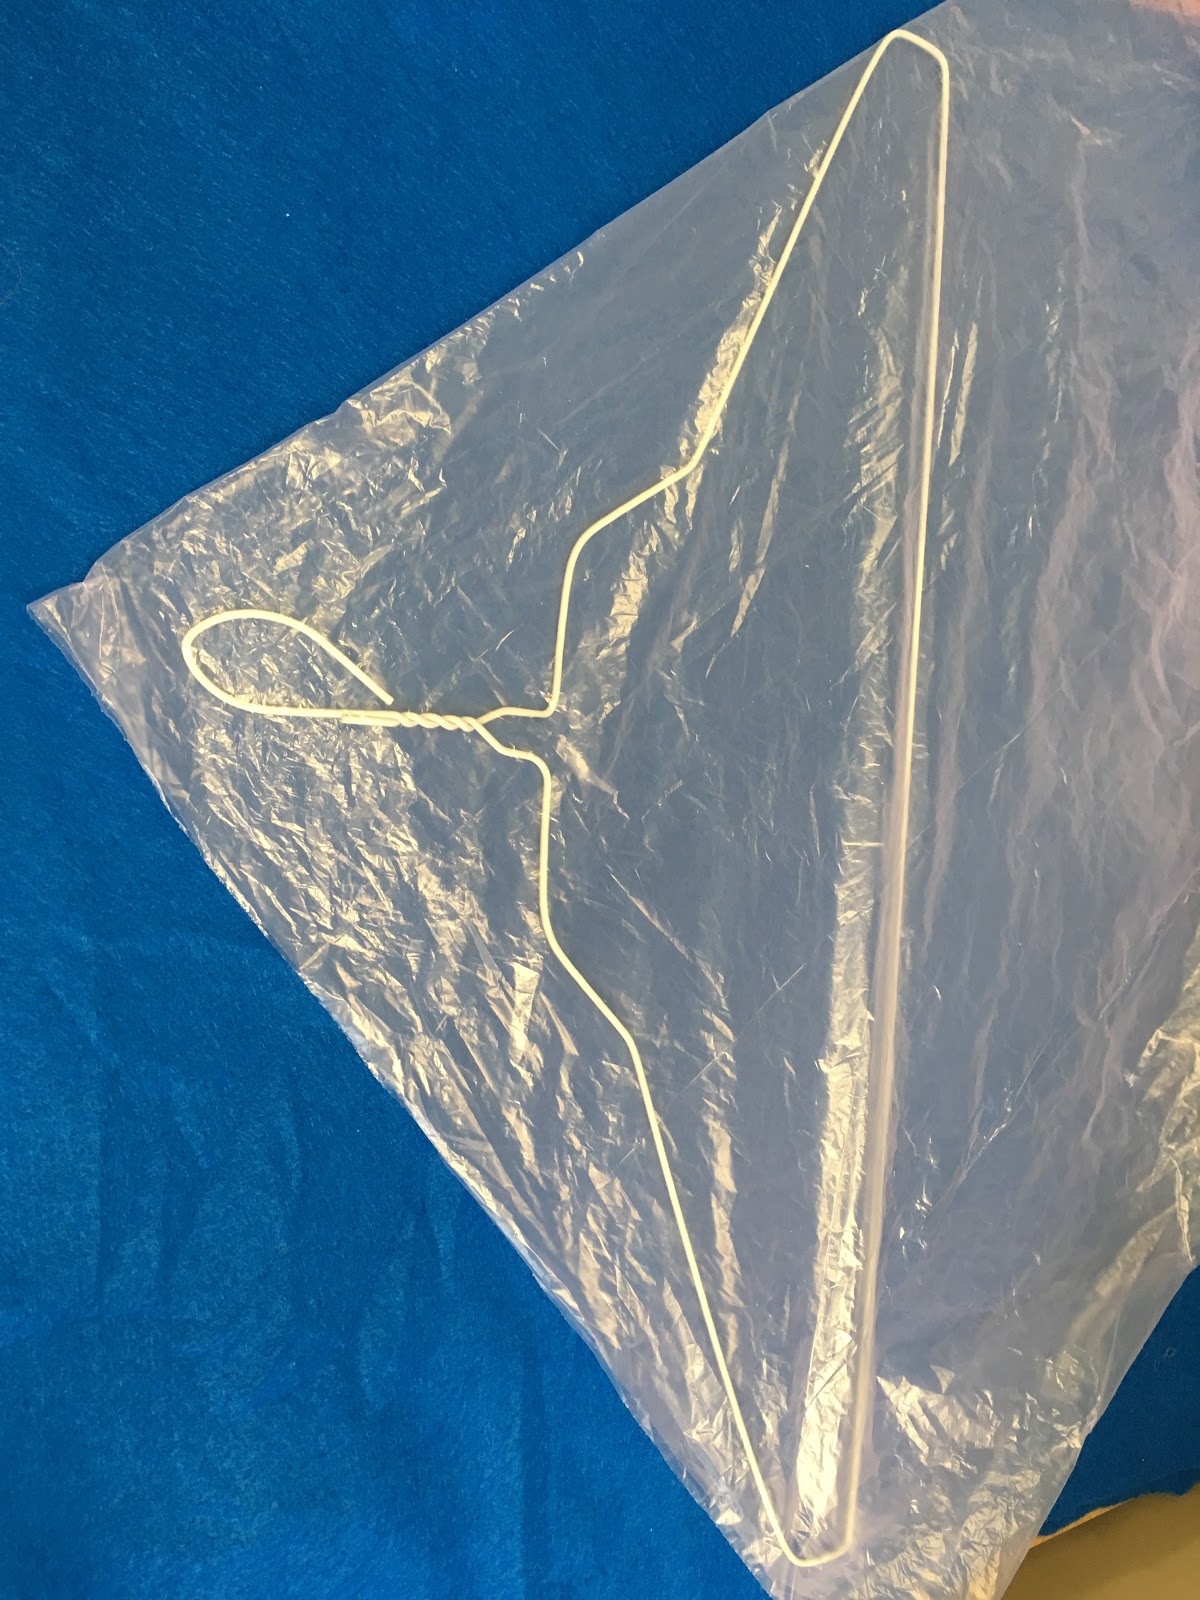
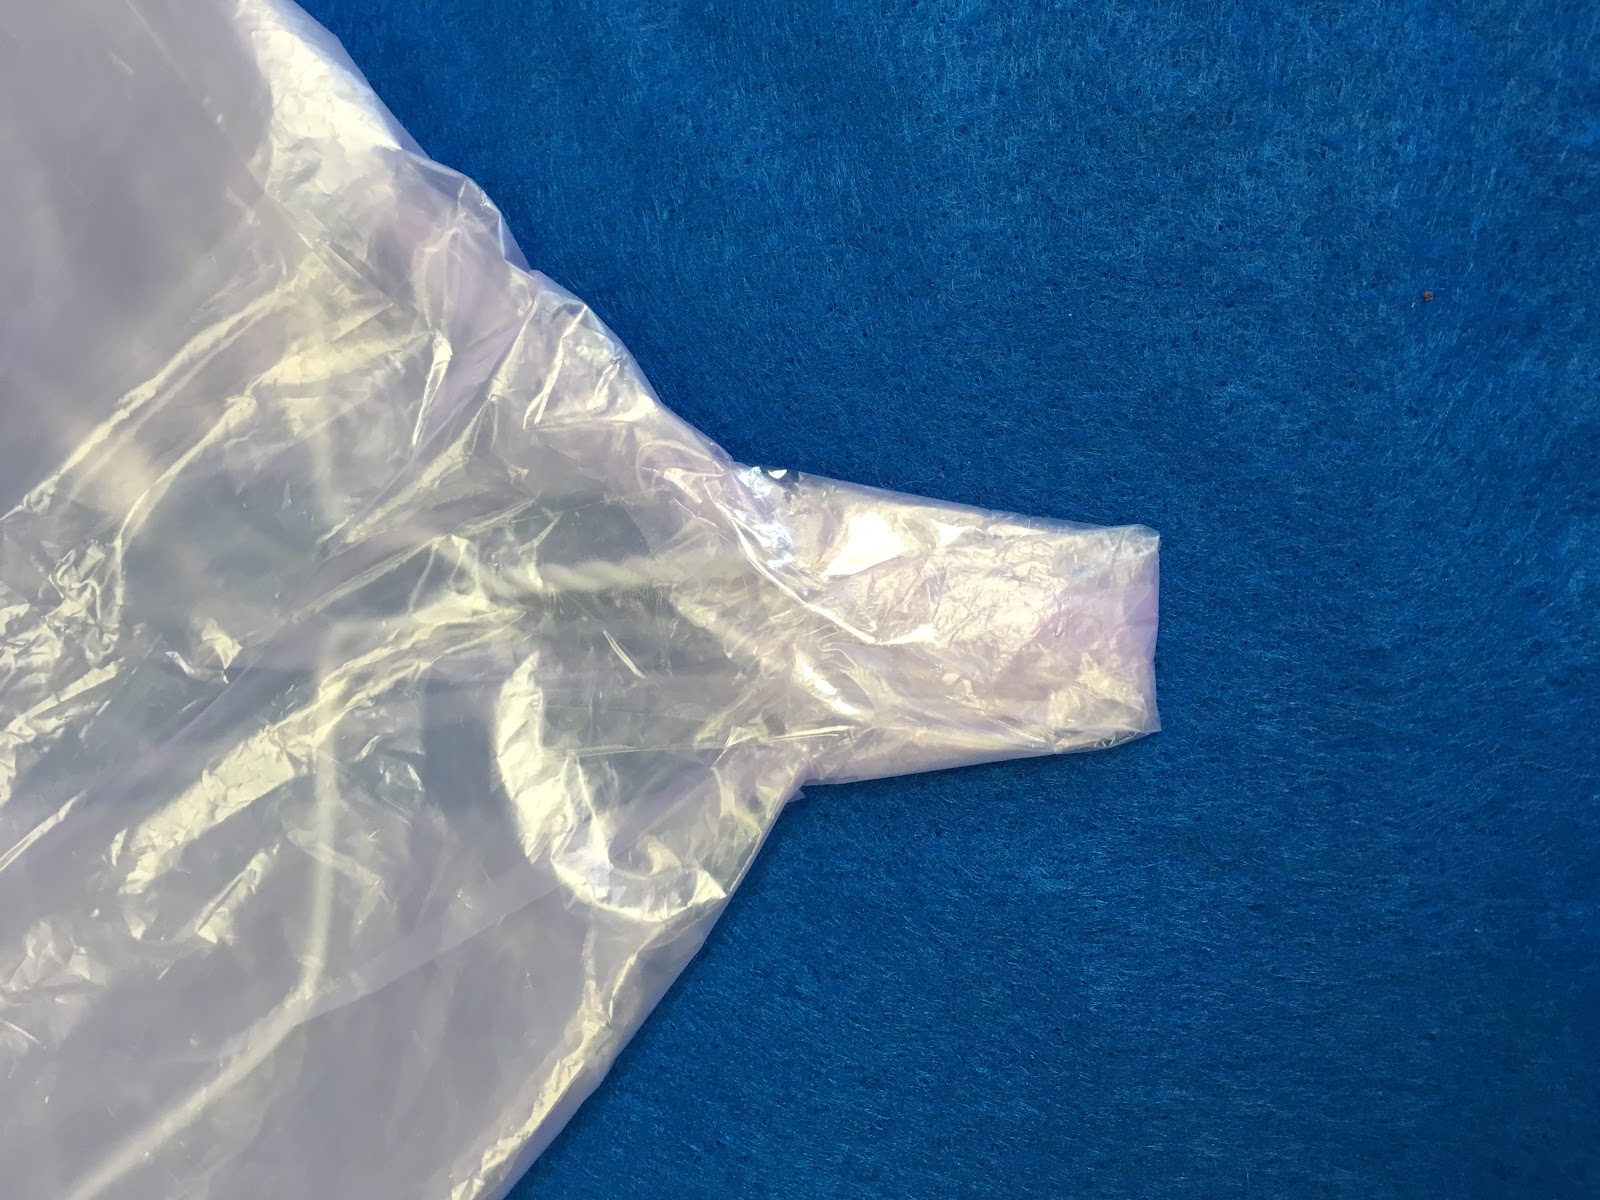
Step 3. Insert the hanger into the plastic tube. It should now be between two sheets of plastic. Point
the loop (which will become your bird’s head) toward one corner of the plastic, and make sure that
both corners of the hanger are fully covered. Move the hanger as close to the corner as you can get
it without exposing any of the wire.


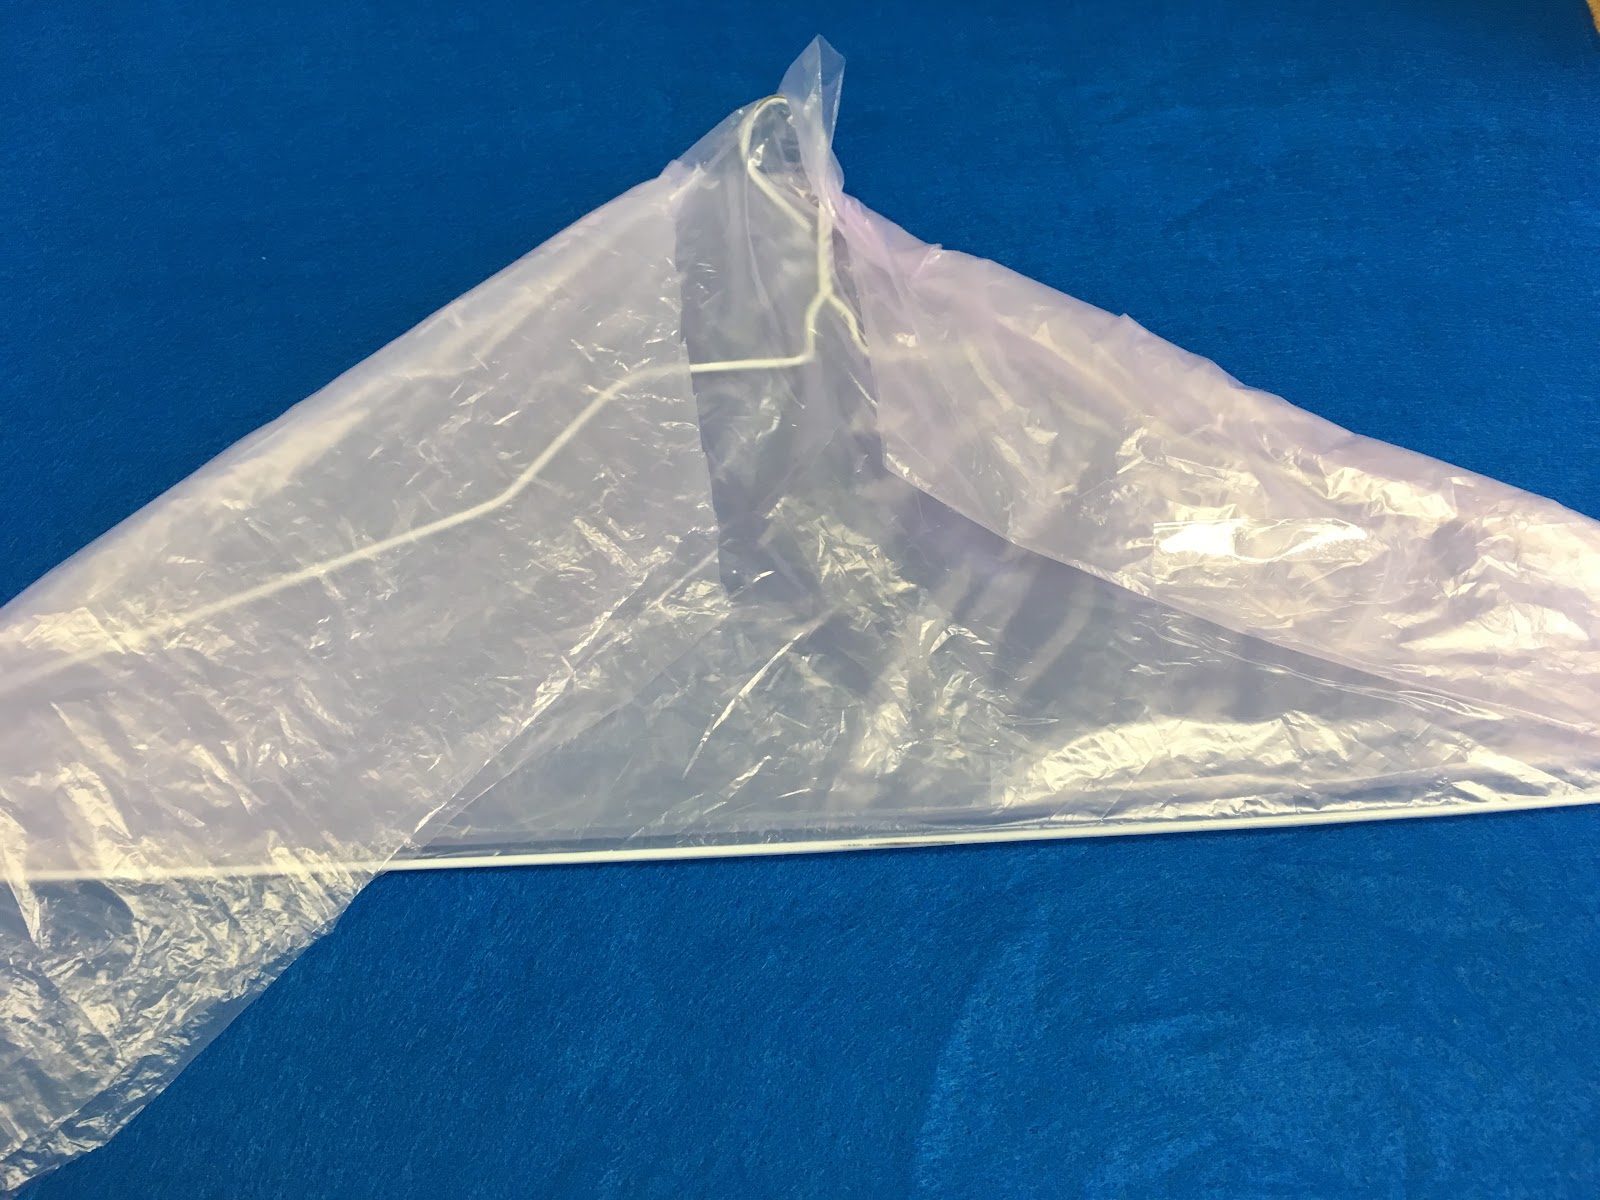
Step 4. Fold the plastic sheet over the bottom (straight wire) of the hanger, toward the corner where
the head is facing. It should be pulled snugly over the wire, and will extend past the bent ‘head’ as
well.
Cut off the extra plastic that passes the head, as demonstrated above. This will create a triangle with

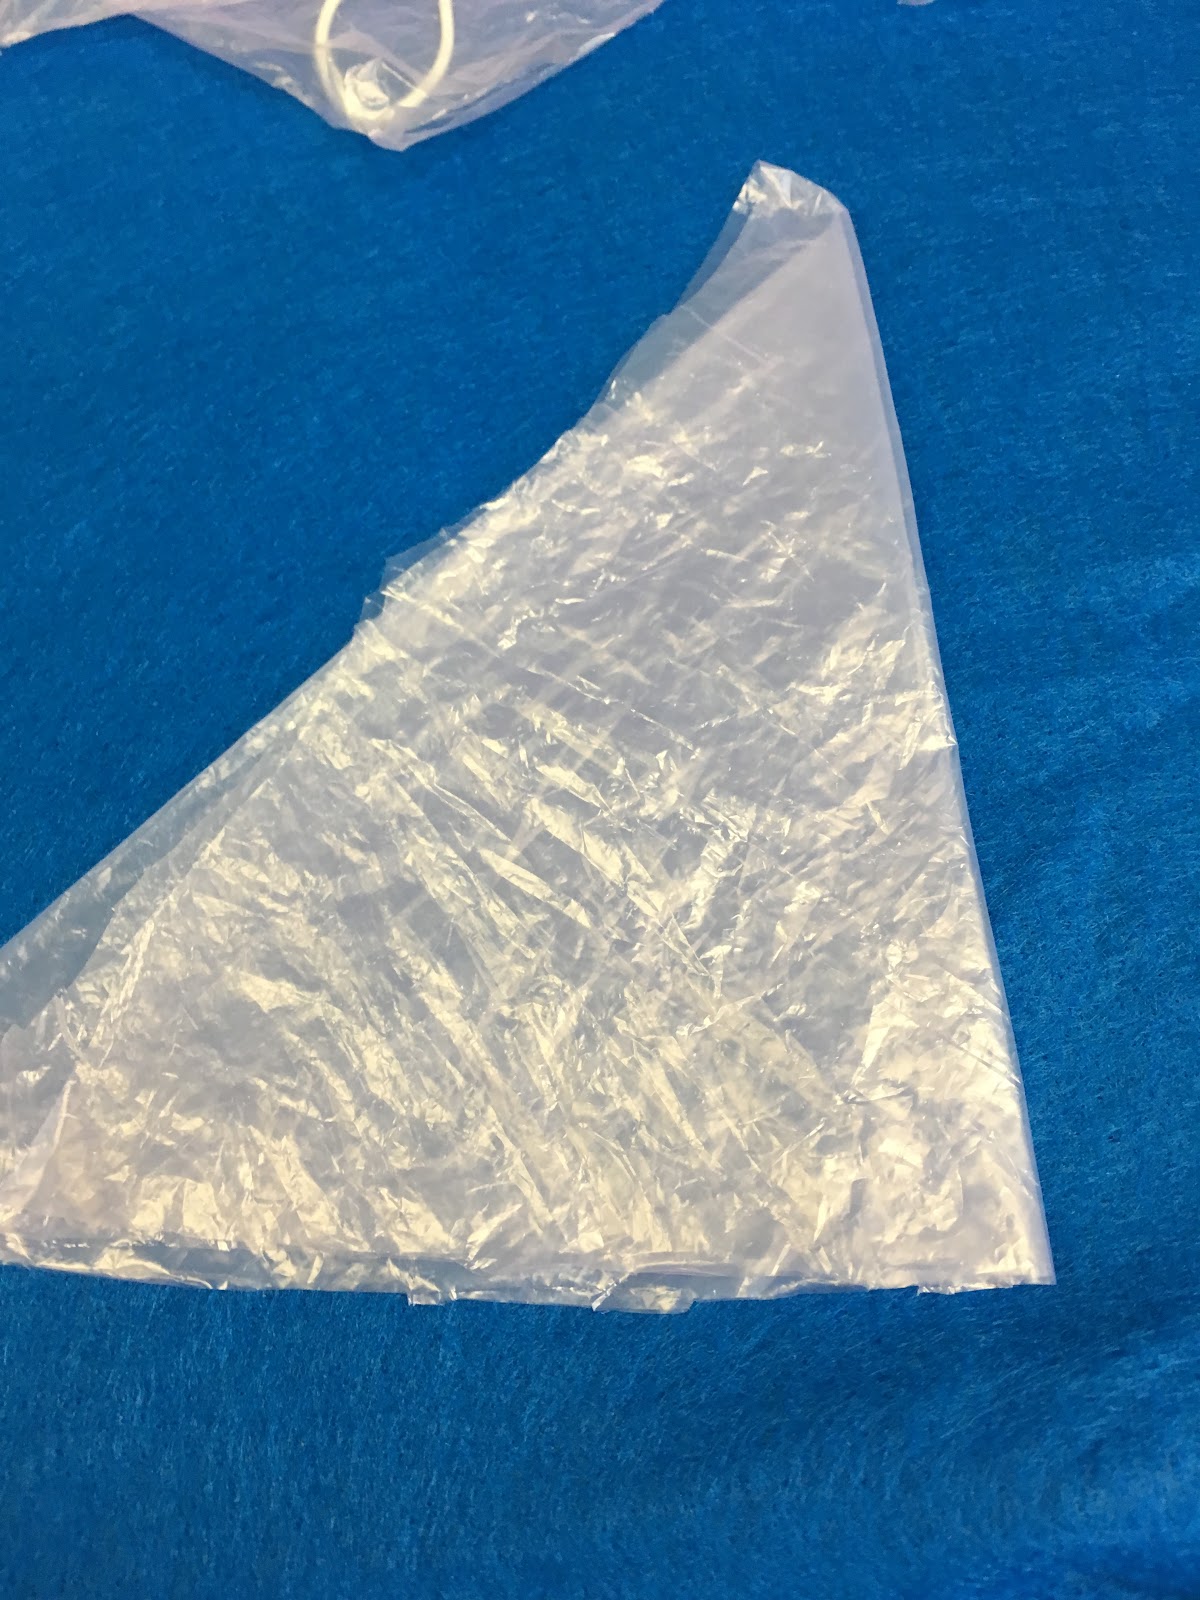

Step 5. Fold the triangle in half from the top point. Repeat this fold a second time, so that it becomes
a thinner triangle shape with 8 total layers, instead of a wide triangle with 2. This is your tail! Tape
the edge of the plastic into place so that it will not unfold.
Note: It’s okay if the triangle doesn’t line up perfectly! These uneven layers add dimension to the
‘tail feathers.’

Set the tail to the side and return to work on your bird’s body
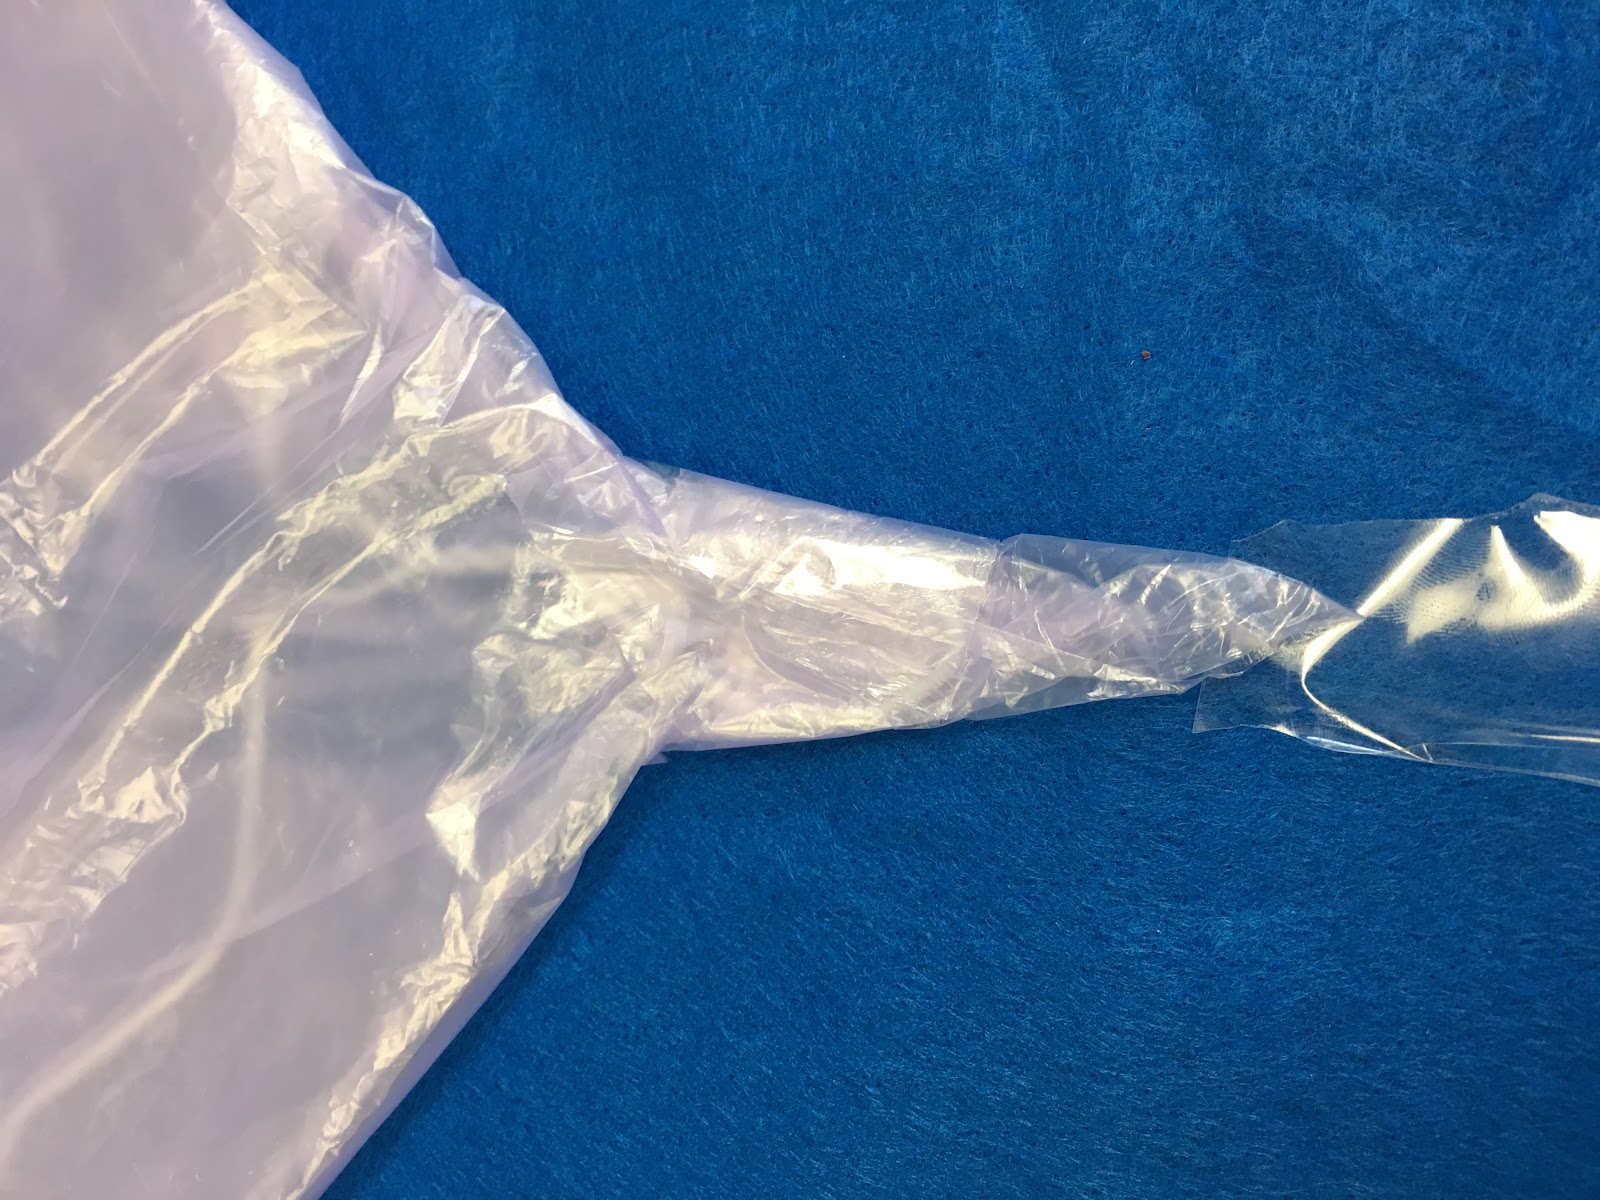
^See the edges that overlap past the wire? That's what we will be folding. ^
Step 6. Any plastic that extends past the hanger should be folded over the wires and onto the other
side. (Like you're wrapping a present!)


Step 7. Tape the folded edges in place, and trim off any excess plastic that still passes the wire
frame at the bottom.
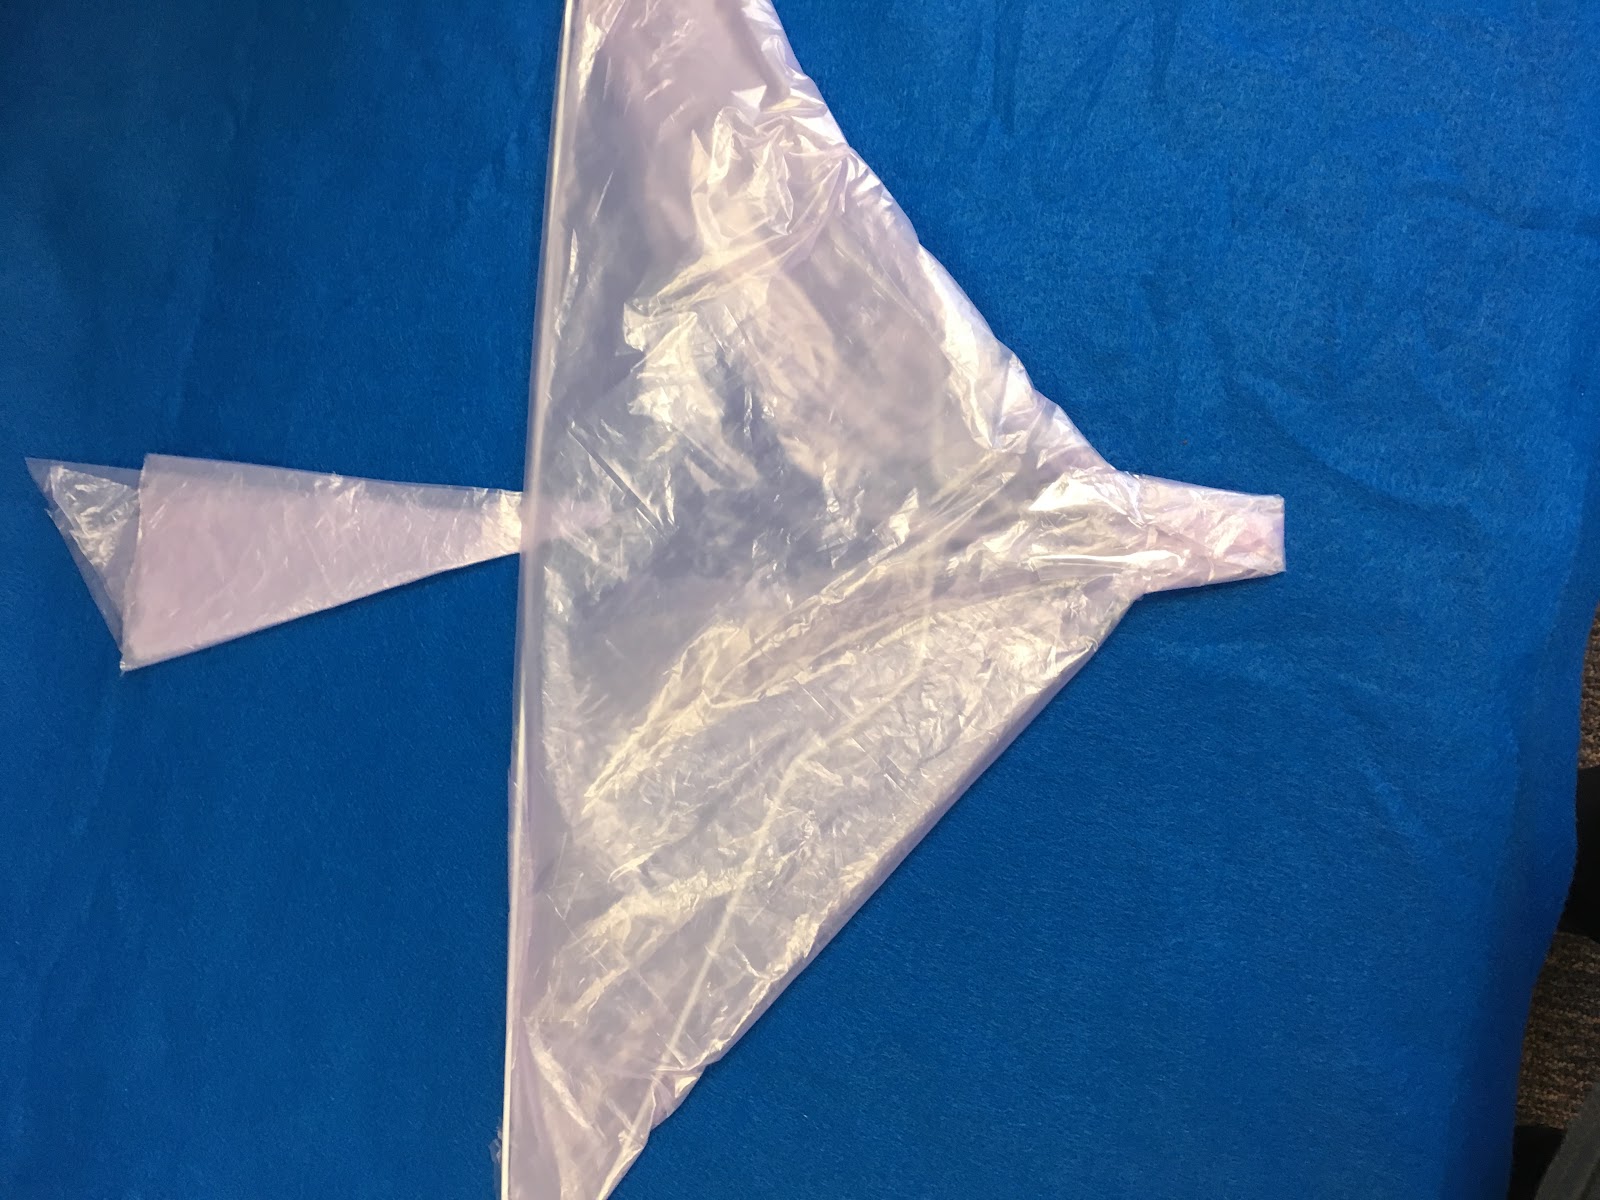
At this point you should have a hanger that is wrapped in plastic (in a fairly triangular shape), and a
smaller triangle of just plastic and tape.
We’re almost there!
Step 8. Cut a piece of nylon thread or fishing line. I made mine somewhere between 2 and 3 feet
long. Wrap one end of the line in a full circle around the head (hook), and secure it with a piece of
tape over top of the line. This will squeeze the end of the plastic into a point. You can adjust the
shape of it with more tape to create your preferred head/beak. This can be as square or as tapered
as you like!
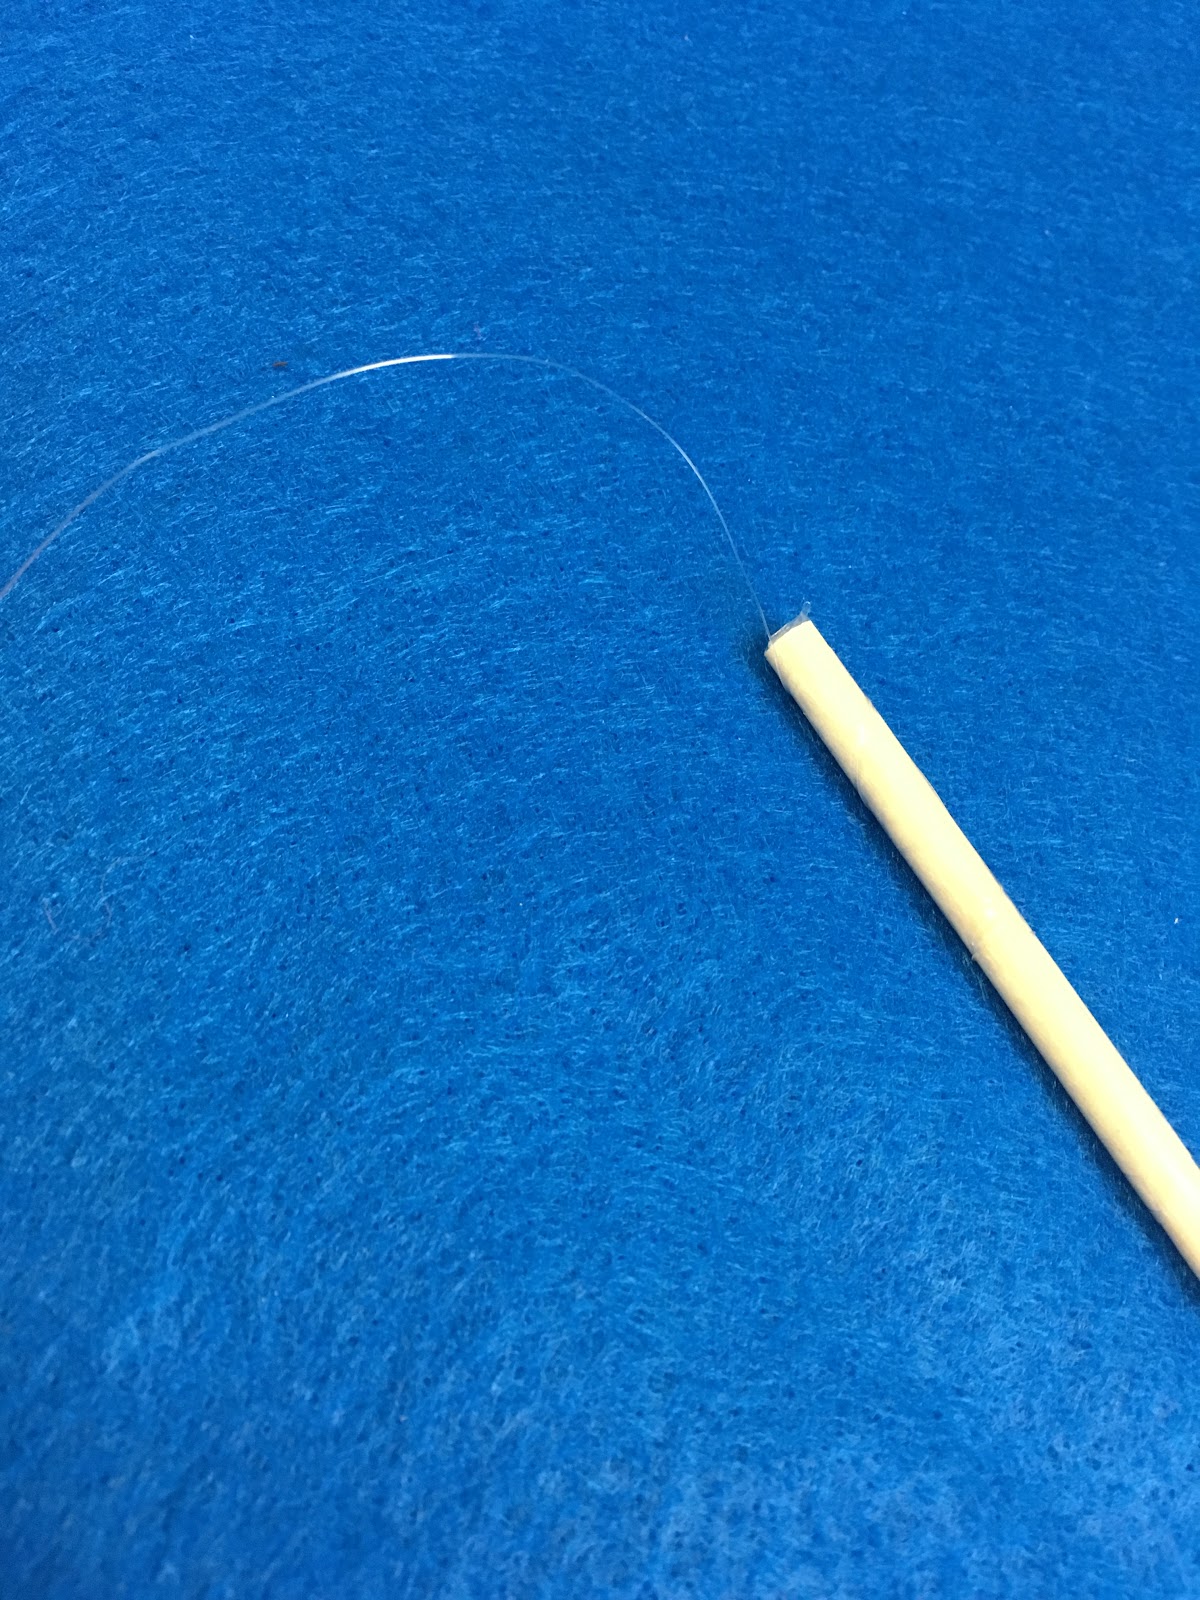
Step 9. Secure the other end of the line to your dowel rod. The trick to keeping this from sliding off is
actually pretty simple. Wrap the line in a stretched spiral around the dowel. Wrap a piece of tape
around the spiral to hold it in place. The spiraling leaves spaces between each ‘layer’ of thread for
the tape to secure it.
Step 10. Tape the triangular tail to the middle of the straight wire. It holds best if it is taped on both
the bottom AND the top sides.
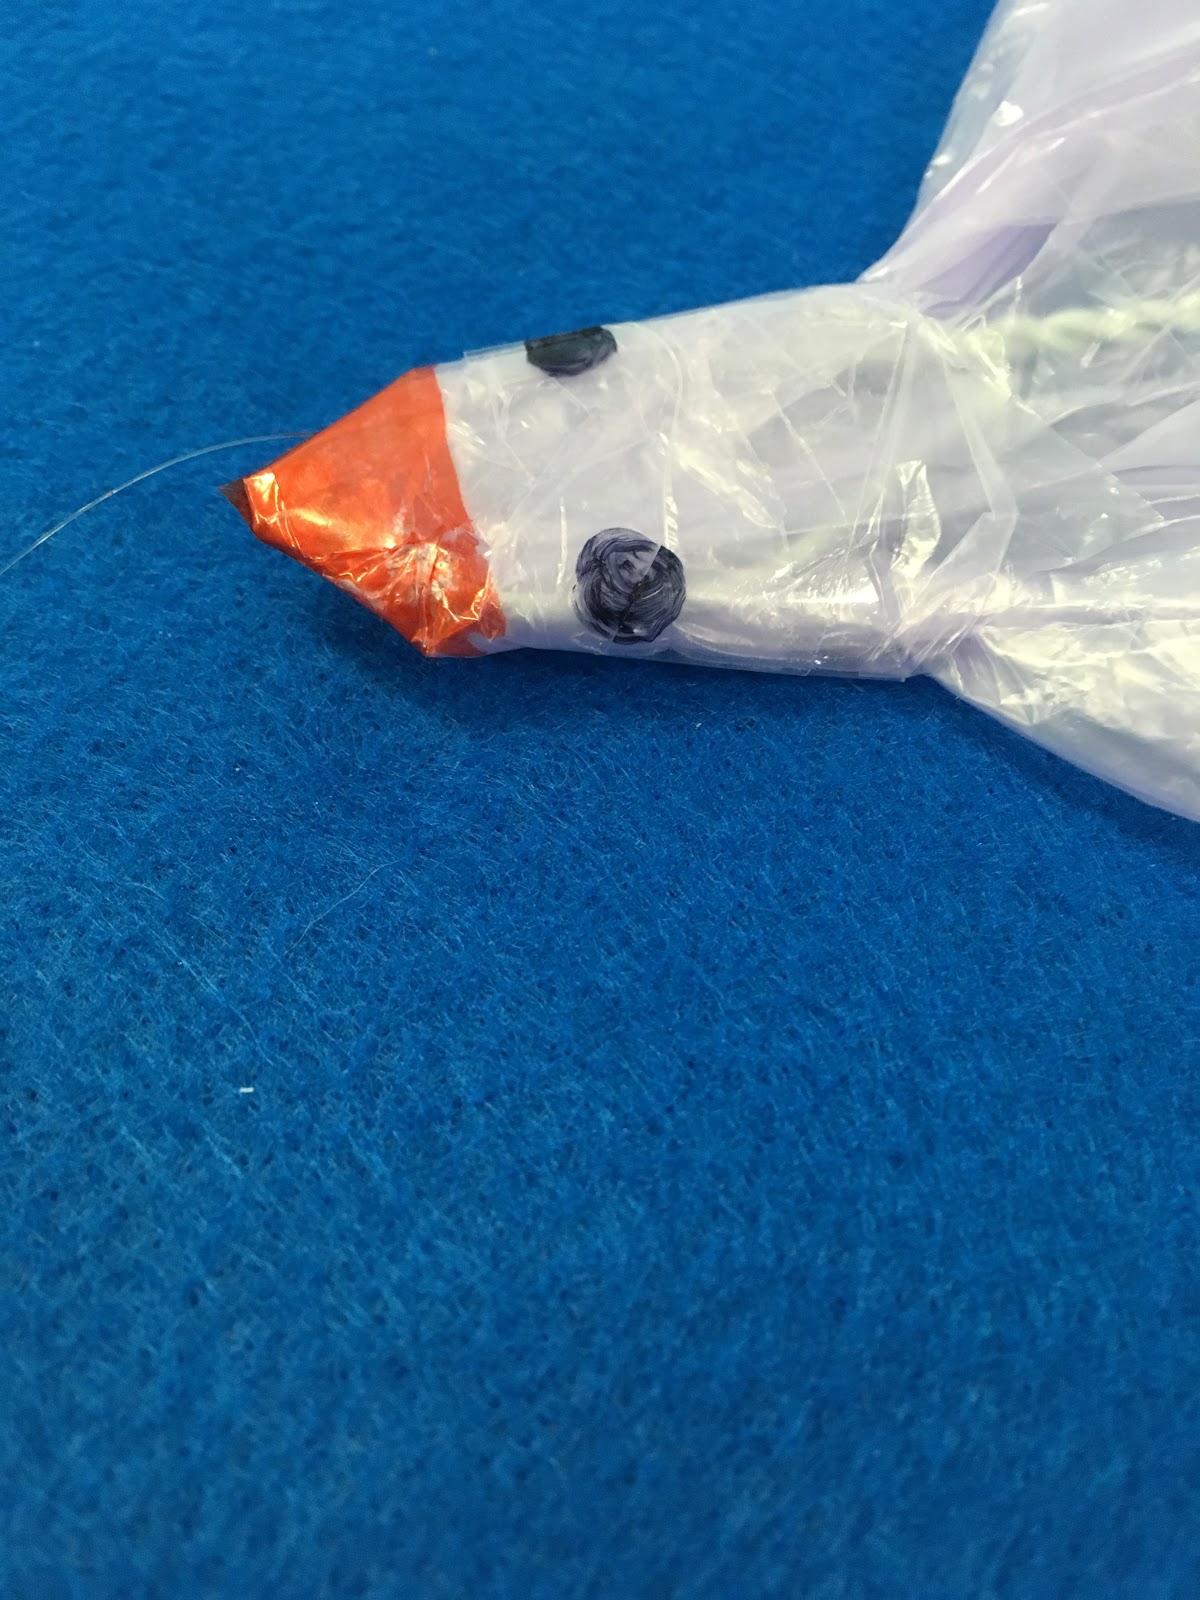
Step 11. Use permanent markers to add a face to your bird! This gives the kite some extra
character.
The bird kite will follow your arm movements, but be careful about who and what is around you…
that hanger might hurt!

Step 12. CONGRATULATE YOURSELF. Seriously. This one’s a tougher craft, but it’s 100% worth it.
Enjoy!
No comments:
Post a Comment