
Moon Phase Tote
Here's how to make this simple Moon Phase Tote Bag!
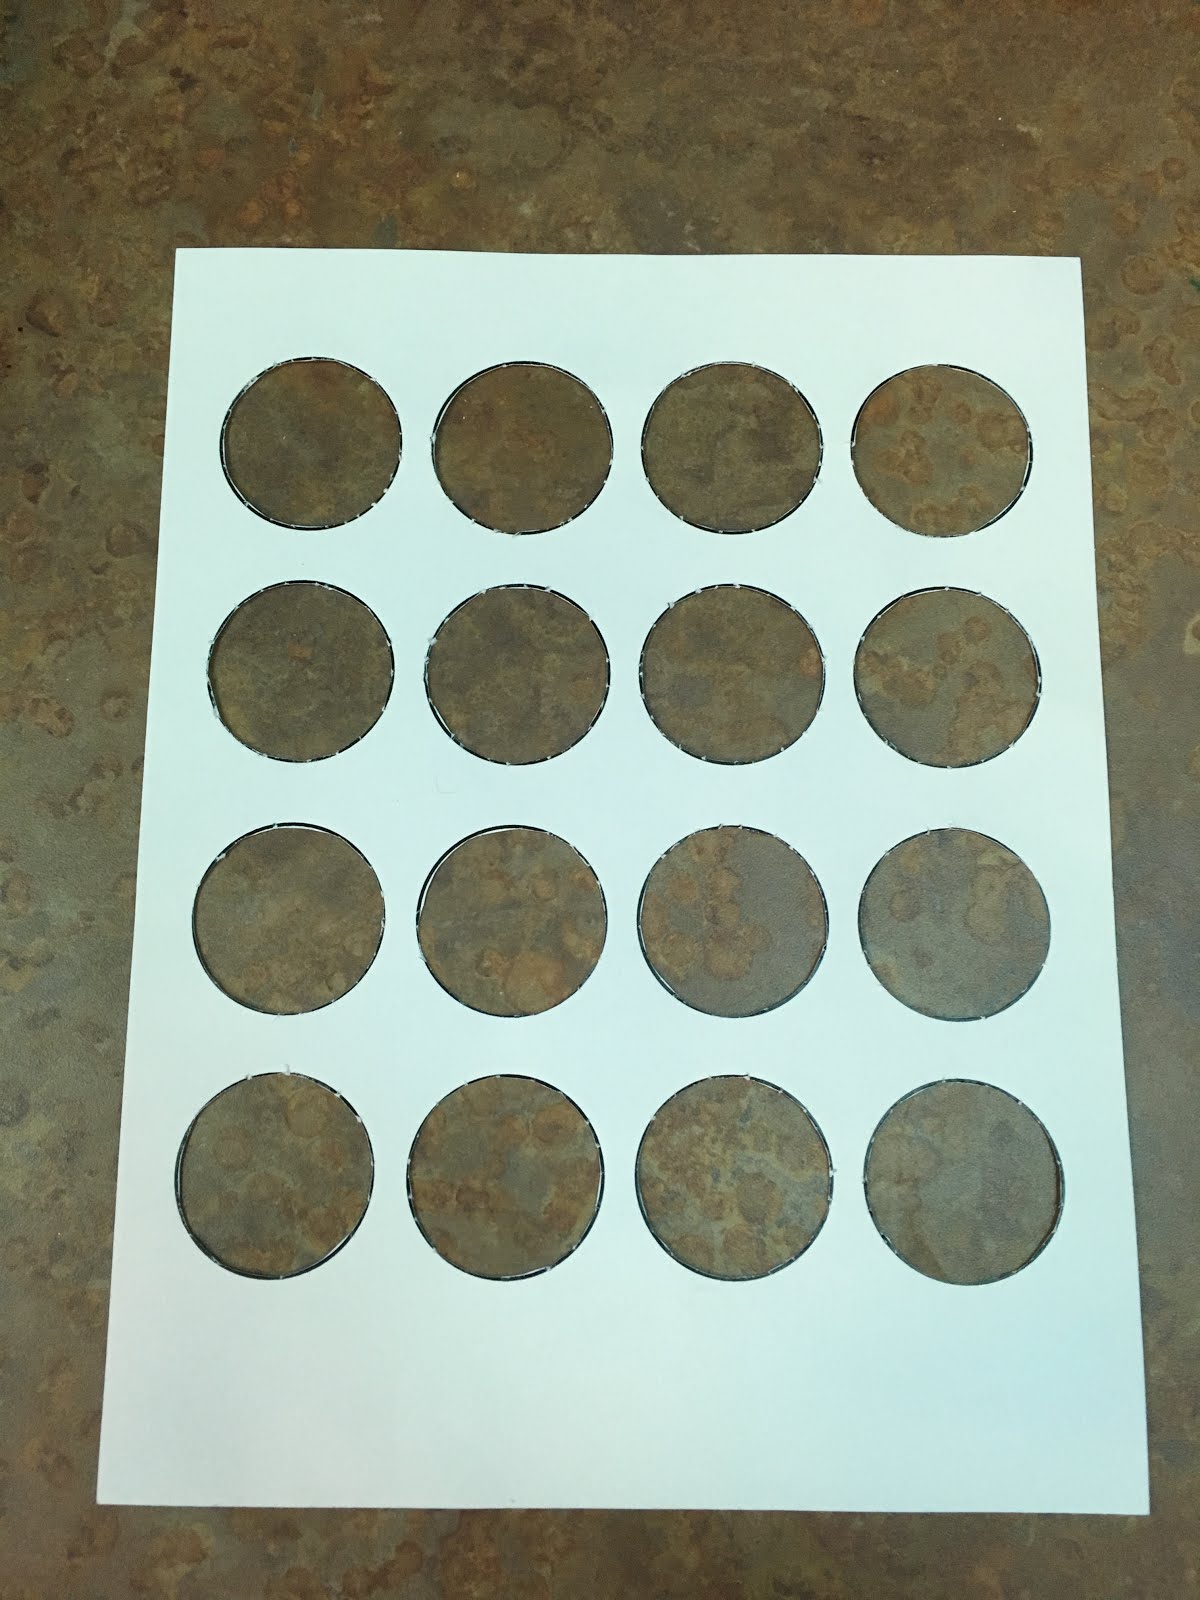
Start with a print of 16 circles on card stock.


You'll want to remove all of the circles, but leave the outlines in place. The best way to achieve this is to start with a pencil (or other pointy object).
Poke the tip of the pencil through the middle of one of your circles to create a small hole. Use this hole as a starting point for your scissors to cut out the inside of the circle design.

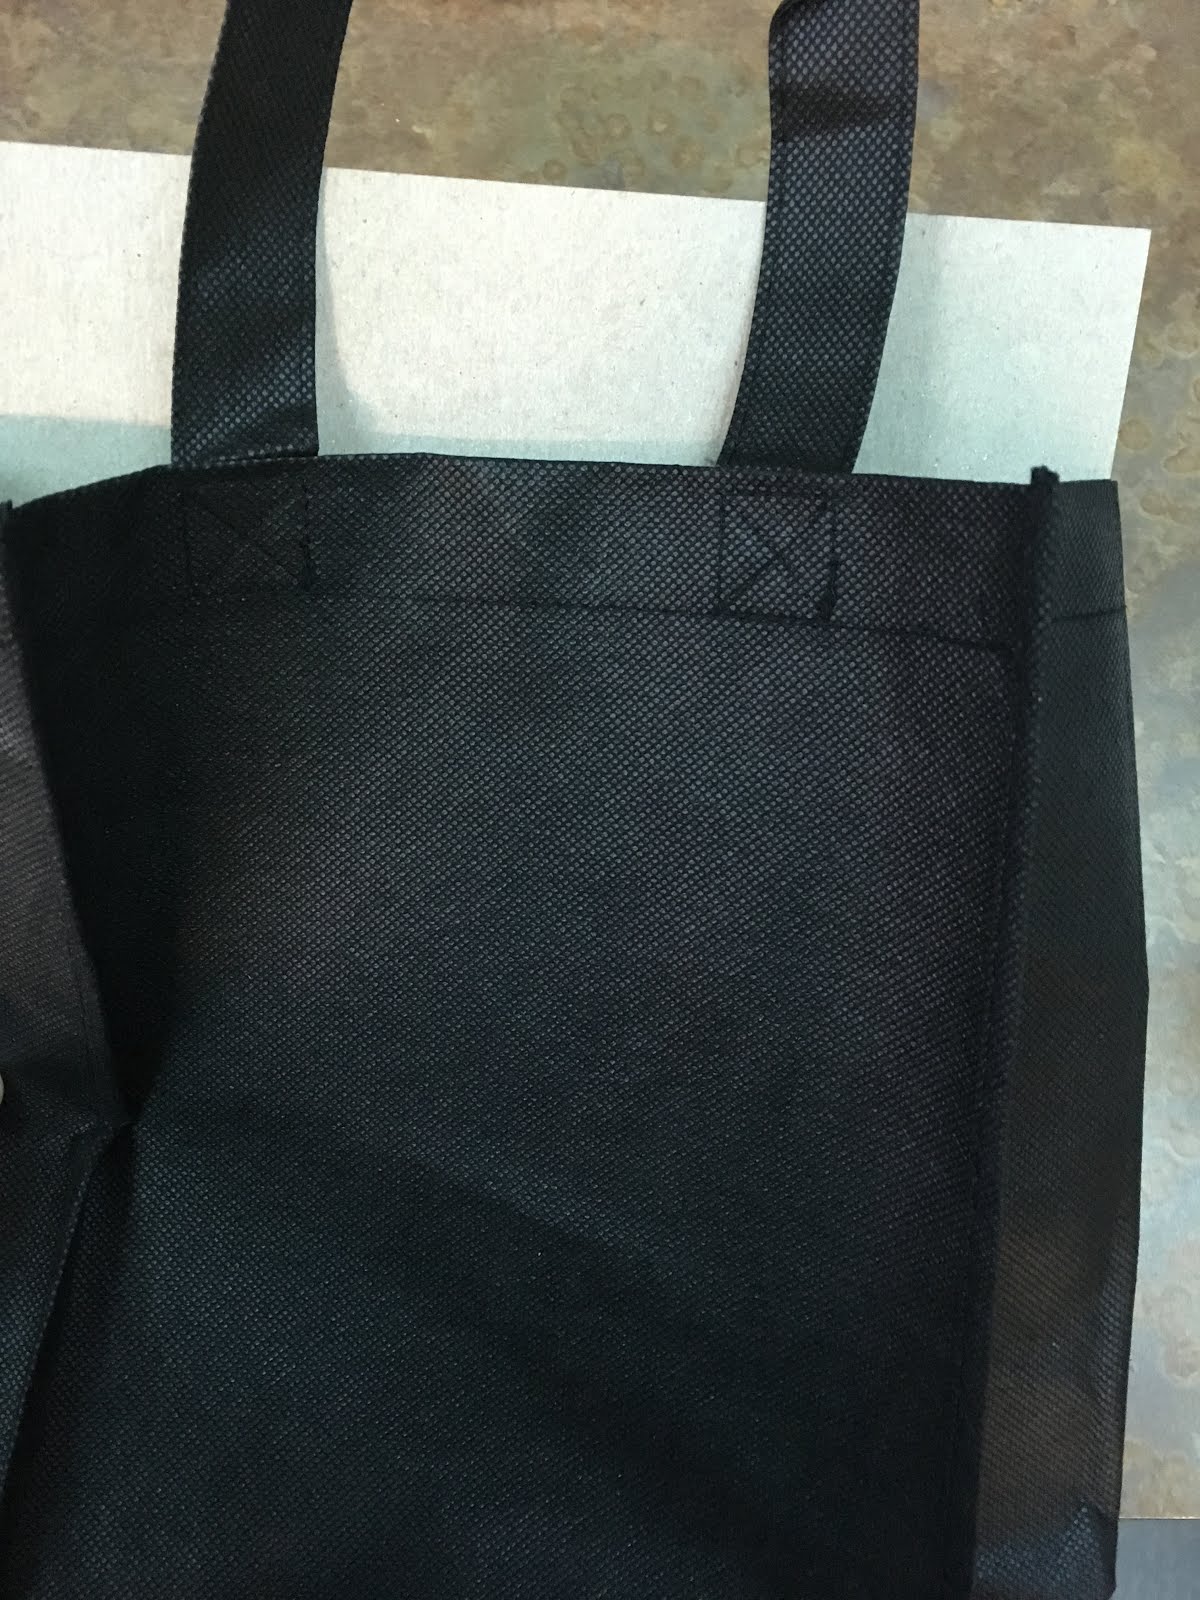
Add a scrap of cardboard inside your tote bag to protect it from paint bleeding through. Tape the circle template to the front of the bag, making sure it lays flat.

Using a foam brush and white fabric paint, use the circles as a stencil for your moon pattern. Dab the paint so that some spots are more opaque than others (darker sections look like craters and shadows). You'll start by painting only the edge of the first circle, gradually adding paint a little farther in each circle after.


Around the halfway point, you'll end up with a complete circle filled in. After this, gradually decrease the amount of paint in each circle, from the same side you started with. You'll basically be reversing the pattern you just created.

Give the paint a moment to dry. If you need to go over with a second layer of paint, it's best do to this before you move the stencil. Peel the template off once your paint is dry.
That's it! Your new tote is good to go!
No comments:
Post a Comment