Thursday, May 31, 2018

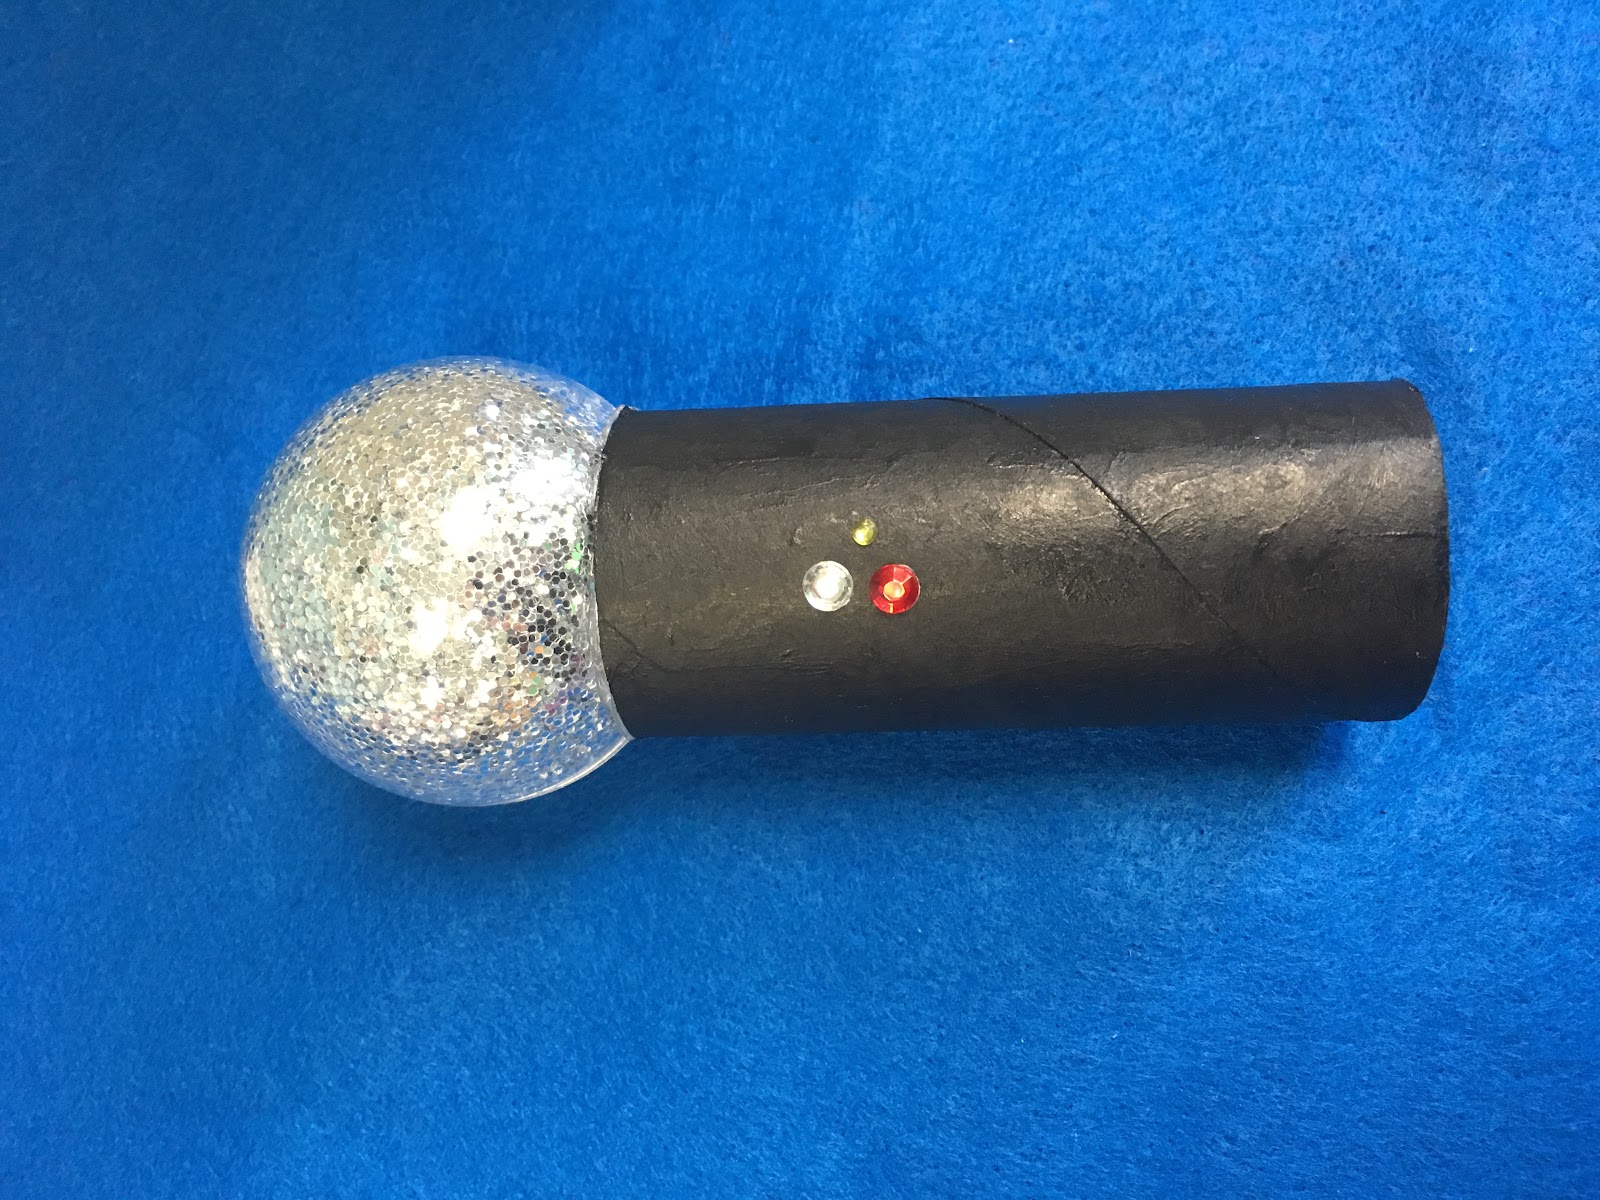
Glitter Microphones

Glitter Microphone!


Glitter Microphones!
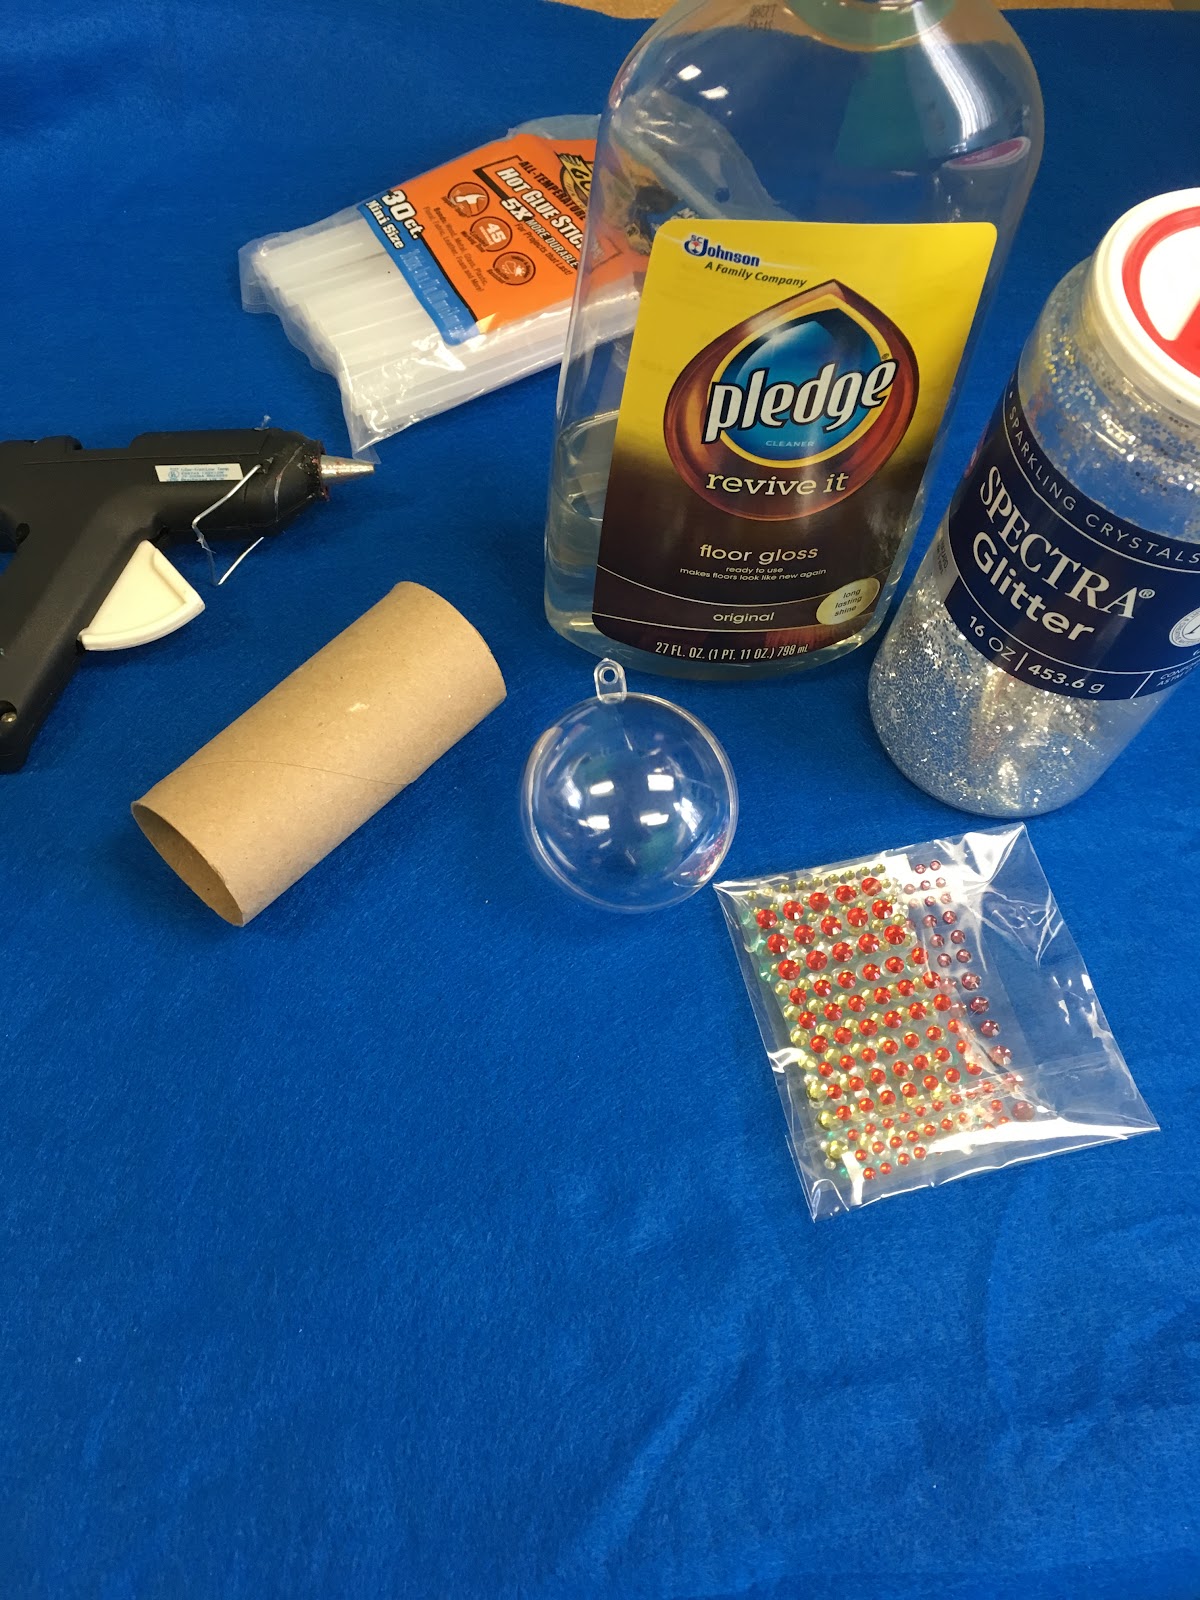

Here are the supplies you need for a glitter microphone! Floor gloss, glitter, plastic ornament,
toilet paper tube, hot glue gun/glue, paint (optional), and stick on jewels.

This one can get a little messy, so you may also want newspaper/tablecloths/bowls… something to
put under your crafting.
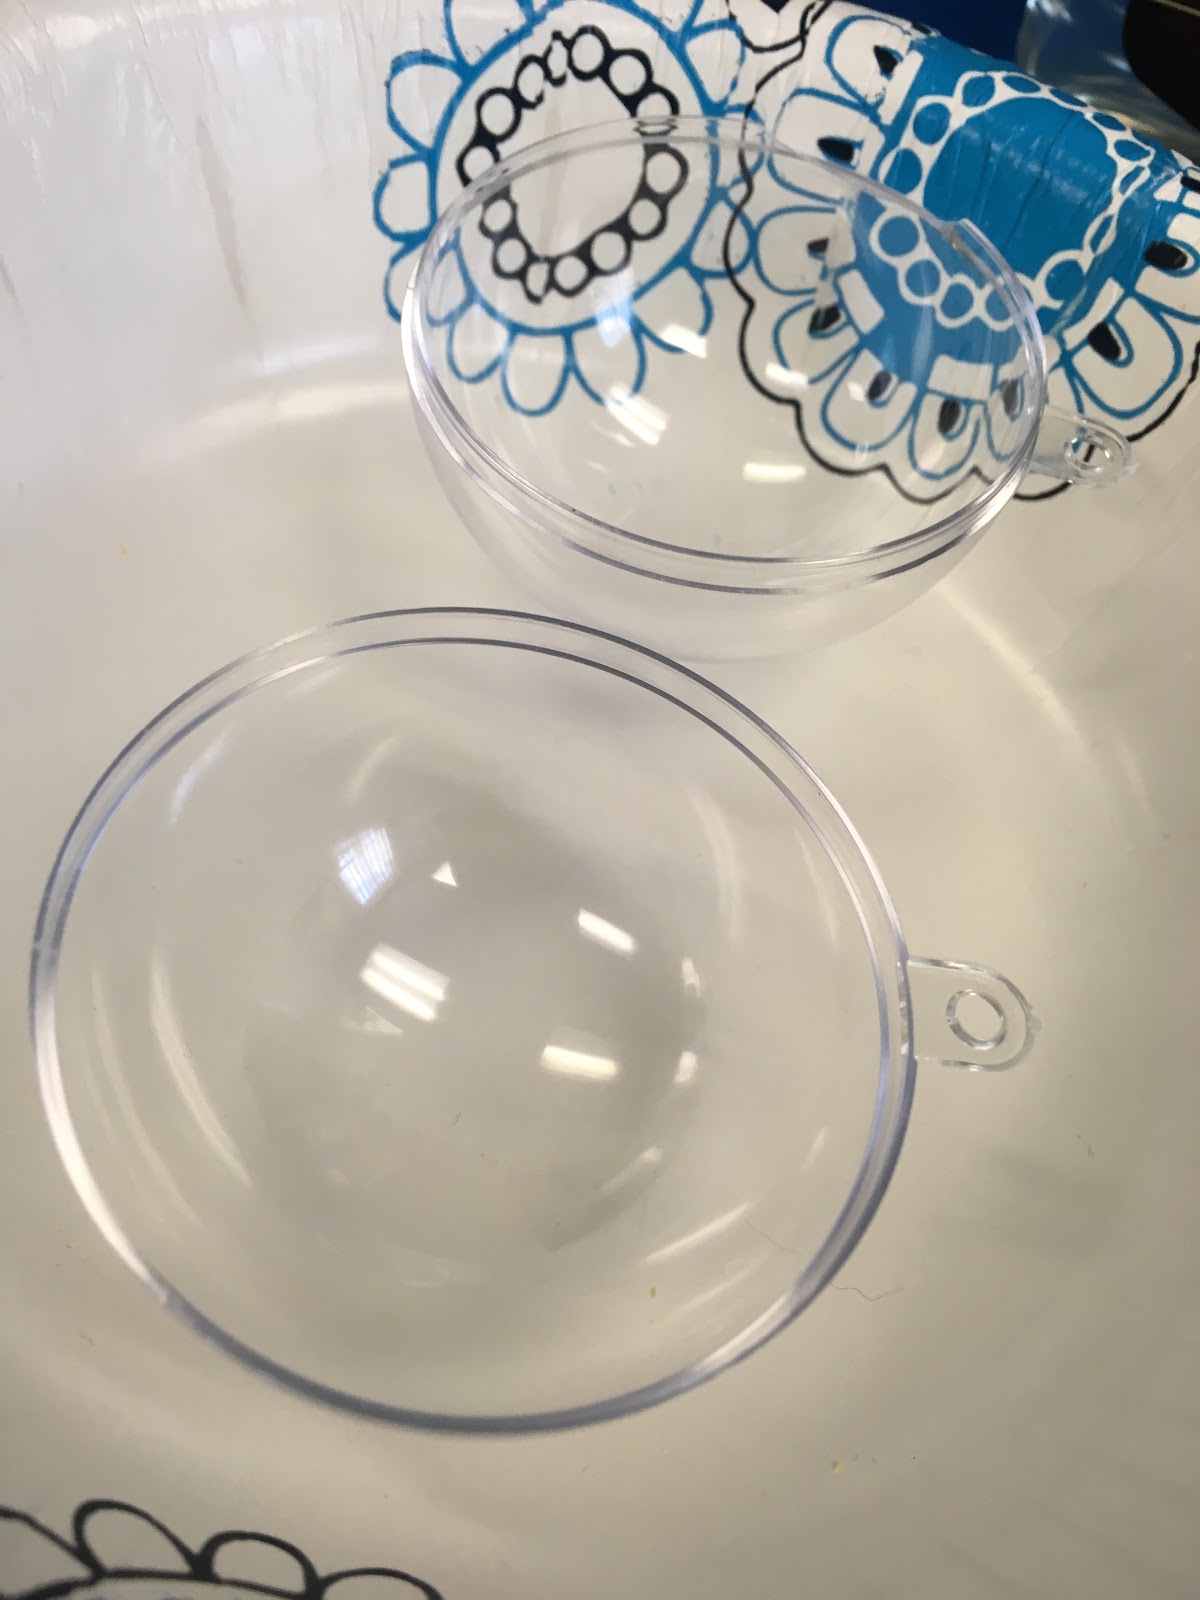
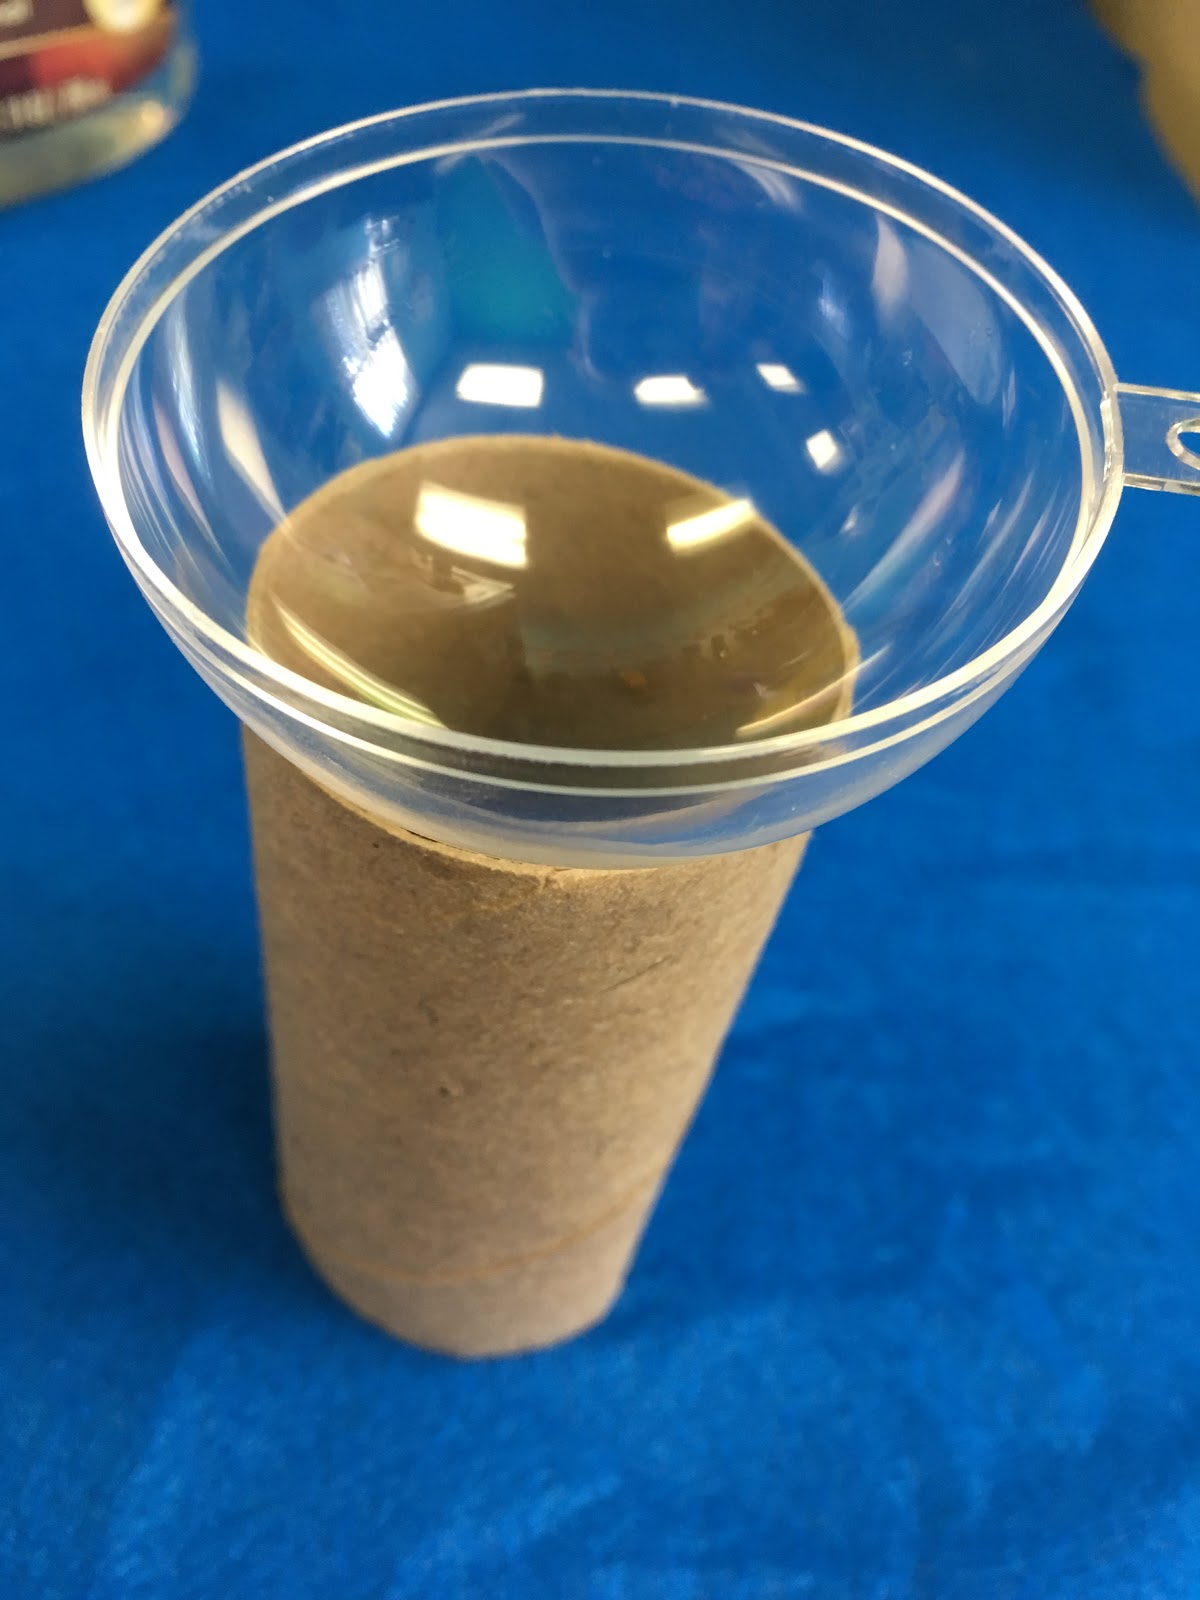
Start out by separating your plastic ornament. Because these are round, they have a tendency to
roll. Luckily, the toilet paper roll (which is needed later) works wonderfully for keeping the ornament
halves upright while you’re working!
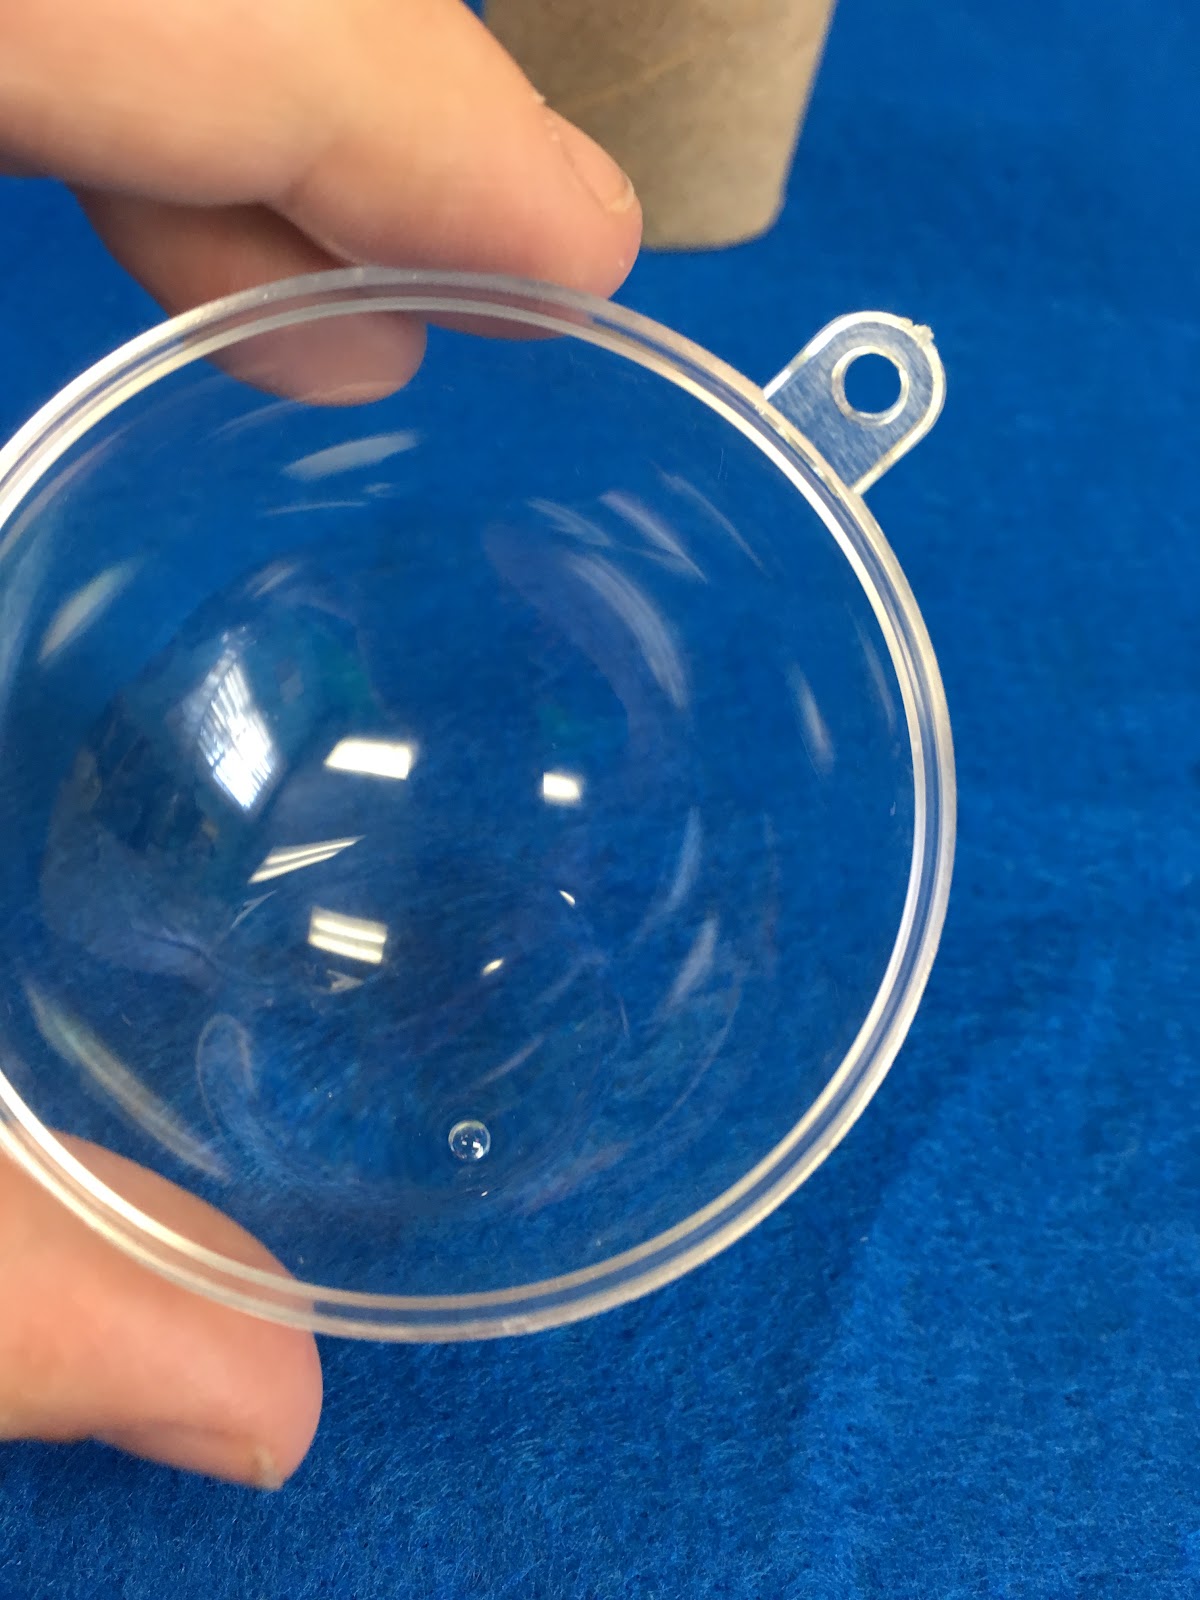
Add a small amount of floor gloss into one half of the ornament. Very carefully, swirl the liquid so

that it covers all of the plastic. Try not to get it on your skin or clothes while you’re doing this

Note: This step is super important! Go slowly, and try to cover as much of the inside as possible. If
any spots are left dry, they won’t hold glitter.
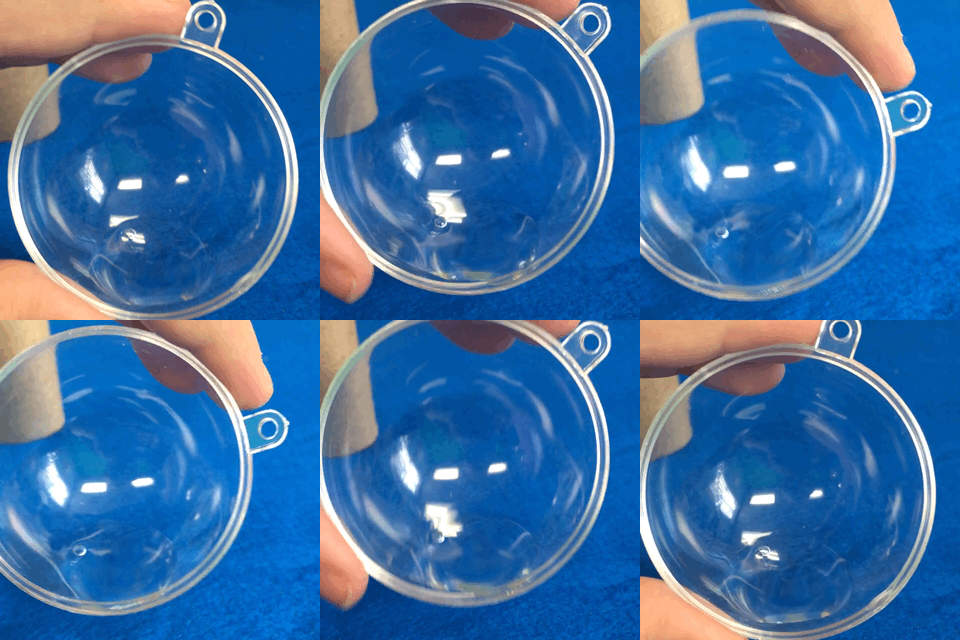
Rotate the ornament half around in a circle, tilted so that the gloss reaches almost to the edges.
This should over all of the inside pretty nicely. You can also hold the ornament from the bottom and
swirl it like a glass of water to help cover any spots you might miss.
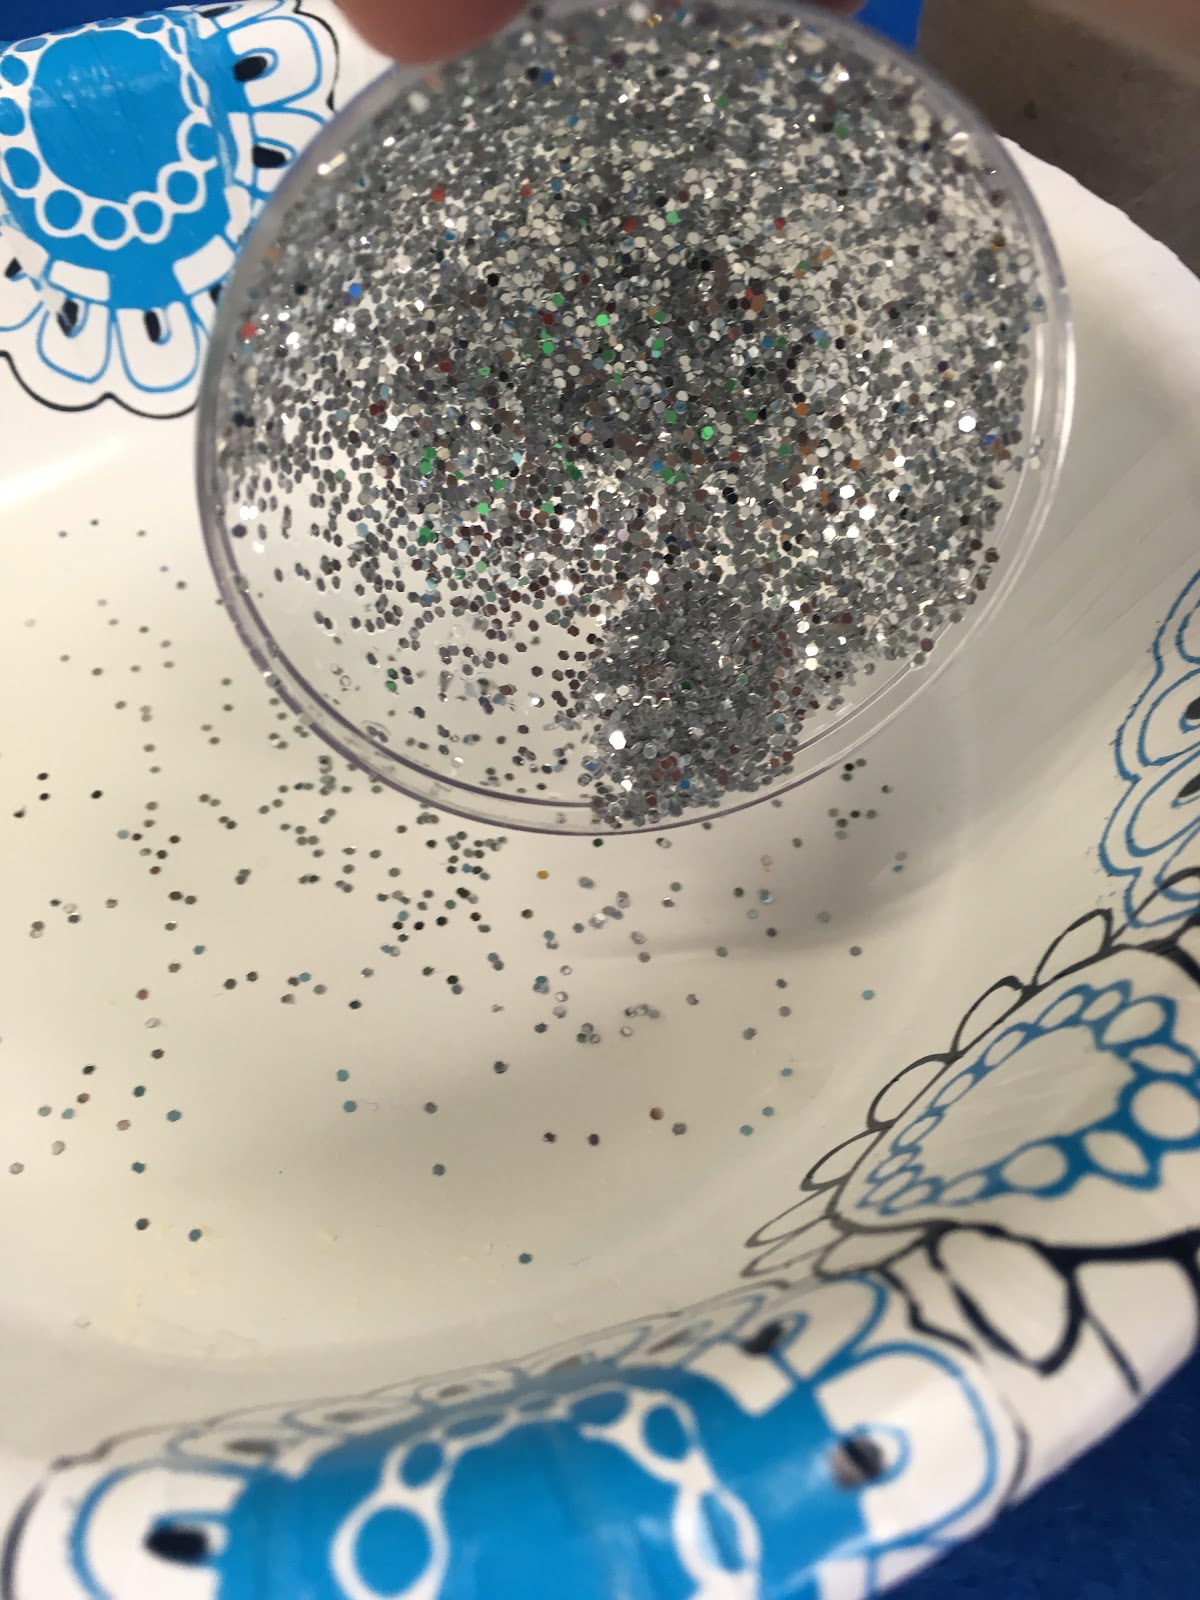
Once the inside is covered in floor gloss, dump the excess gloss and add some silver glitter. (You
can dump the extra gloss into the second half of your ornament, since you will be doing the same
process again).
This part can be messy, so you may want to have a bowl or a newspaper handy to catch the rest of
the glitter! Once the glitter is in the ornament half, repeat the same swirling motion to coat all of the
gloss with glitter.

The floor gloss works as an adhesive to hold the glitter in place, while still keeping a shiny
appearance. You will want as much as you can get of the inside to be covered with glitter.


Repeat the same process on the second half of your ornament, so that both insides are covered in
gloss and glitter. Set these aside while you work on the mic base.

Feel free to paint or color the toilet paper tube as you like. Alternatively, you can glue colored paper
around the tube, or simply leave it the color that it is originally.
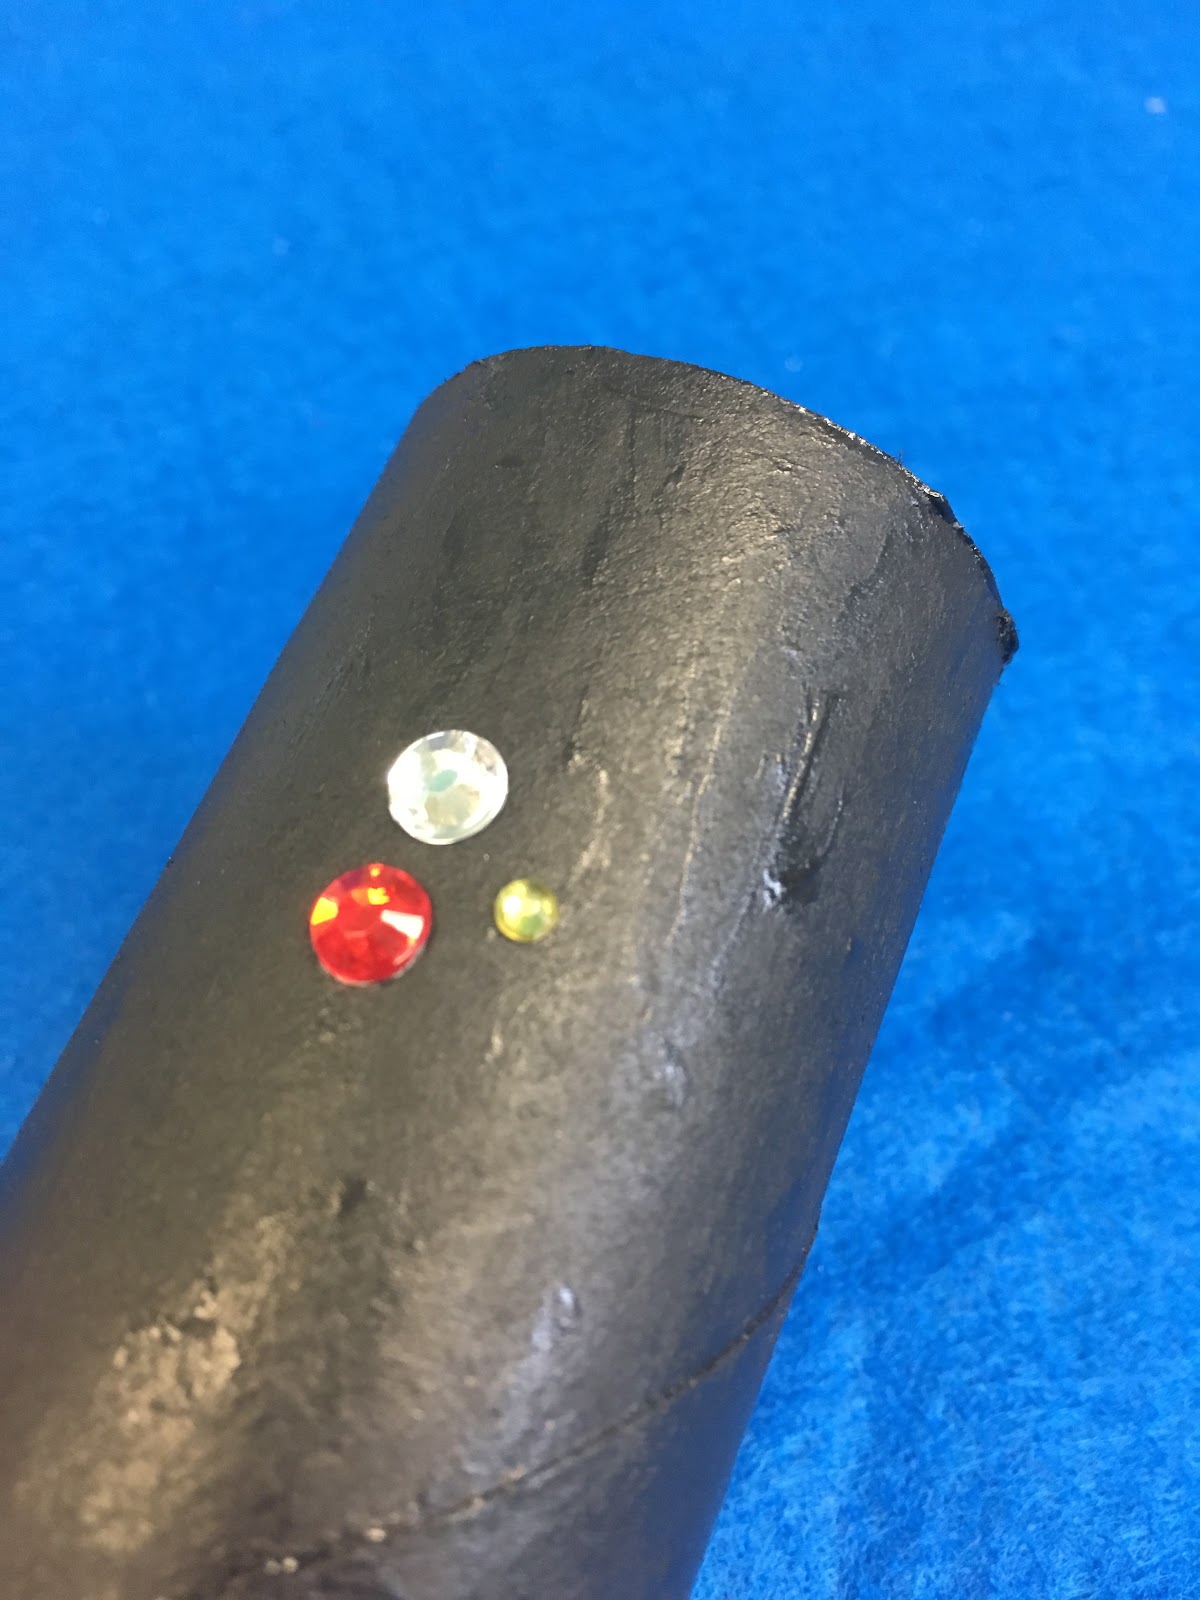
I only added a few jewels to look like buttons and an ‘on’ light, but you can also use them to
bedazzle designs onto your microphone base. The decoration portion is up to you!

Once you are satisfied with your mic base, close your ornament pieces to form a complete sphere.

Add a thin line of hot glue around the top of your mic base, and stick the ornament down on top
(making sure that the ornament loop is inside the tube… unless you want it to be used as an
ornament, of course!)
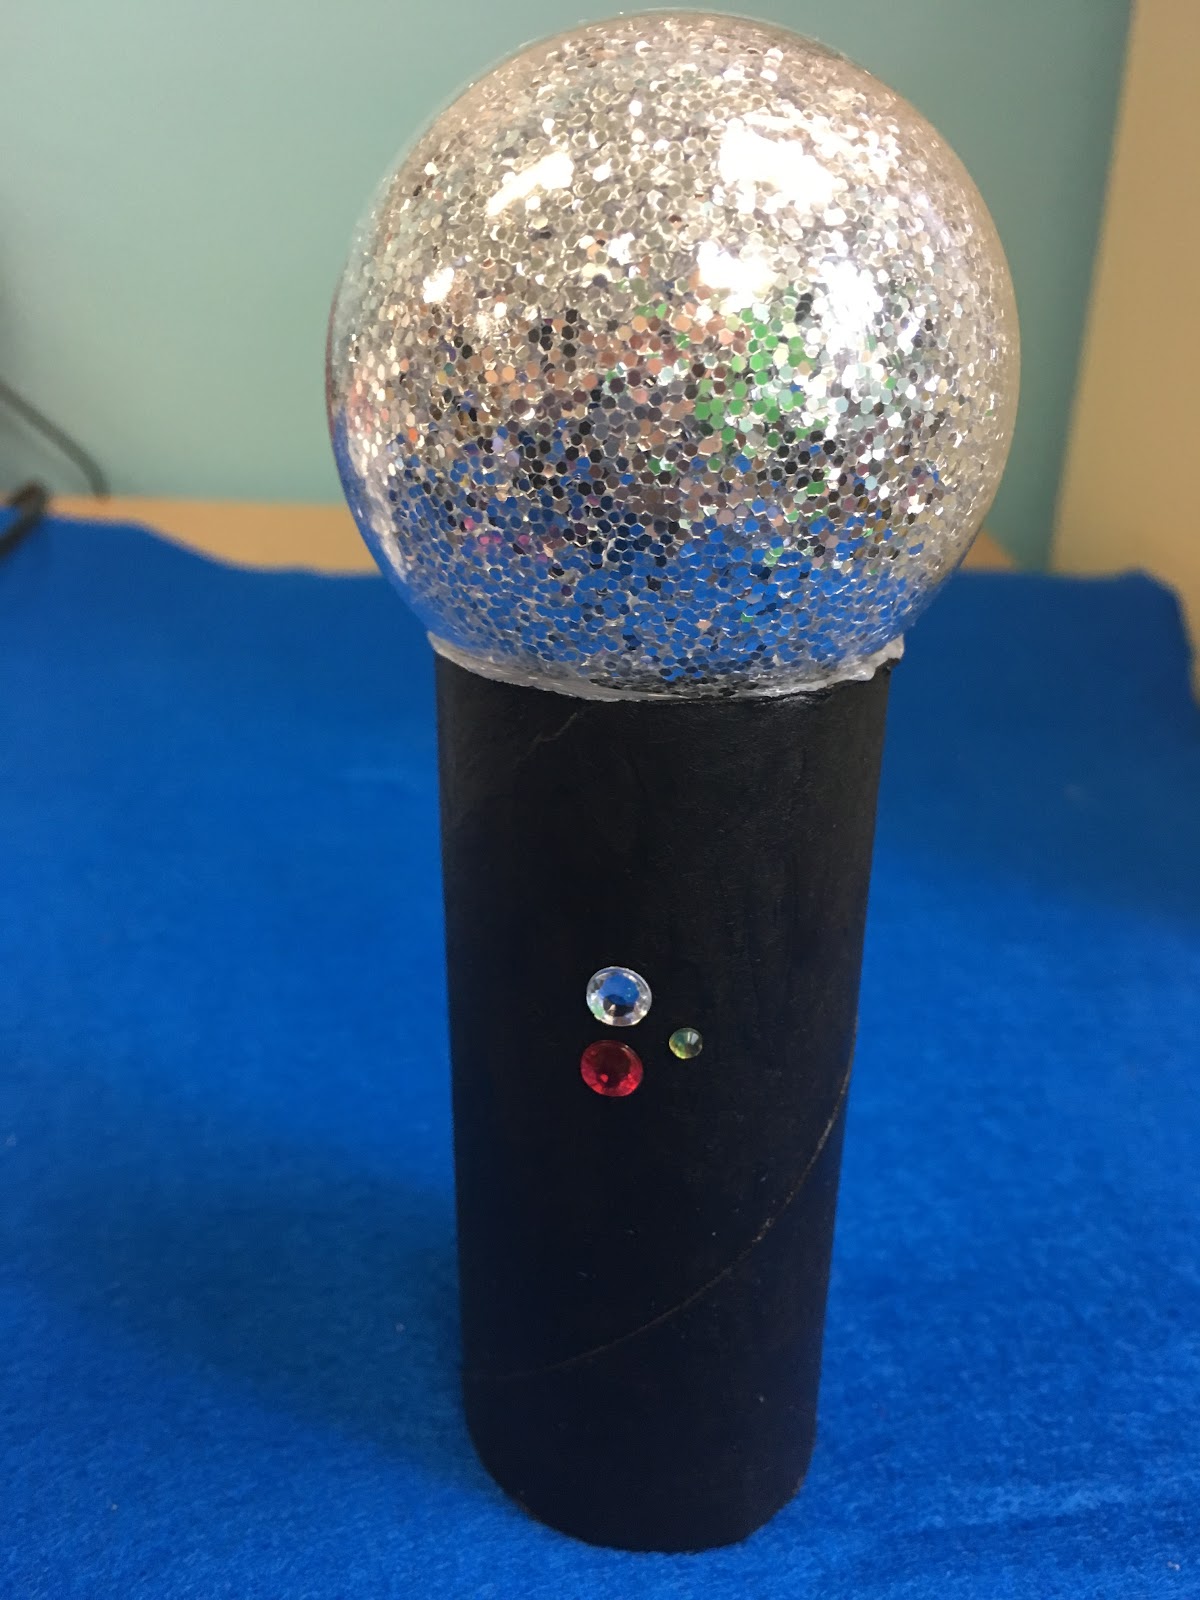
Now practice your lip-sync skills!

Cat Ears

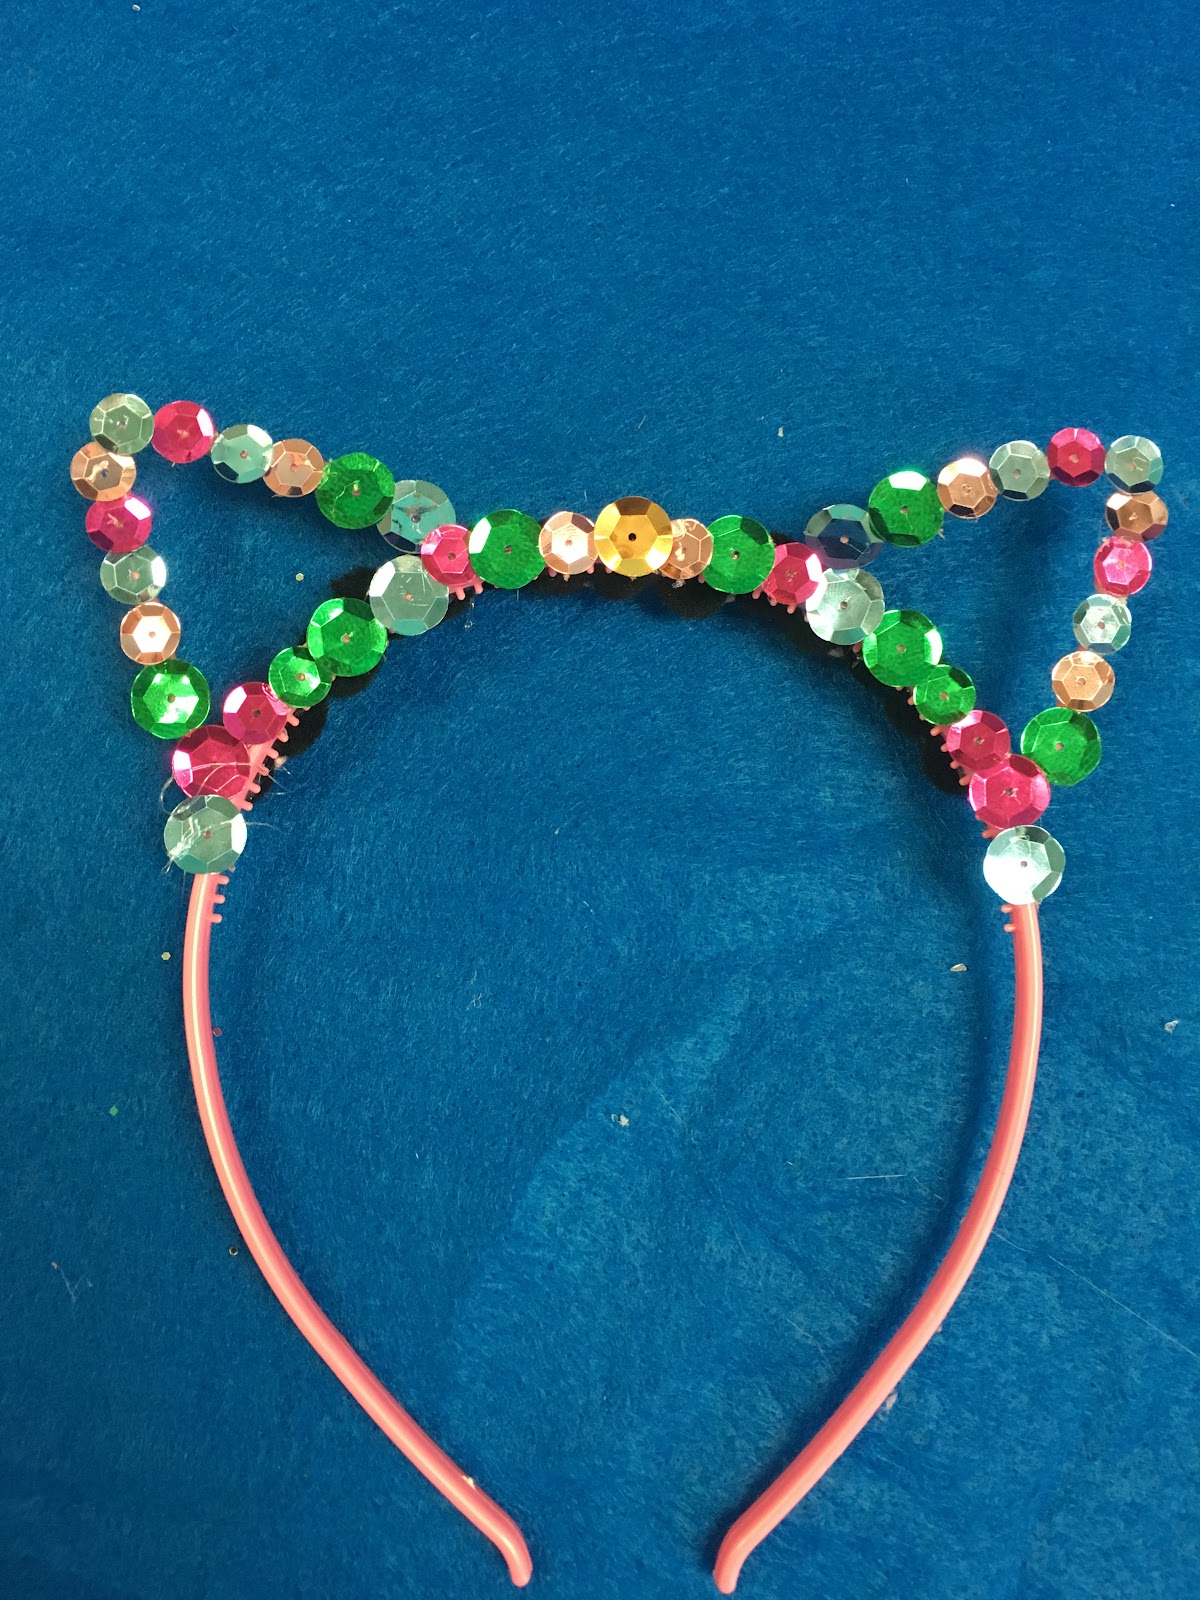
Here’s an easy one that doesn’t need much explanation… cat ears!
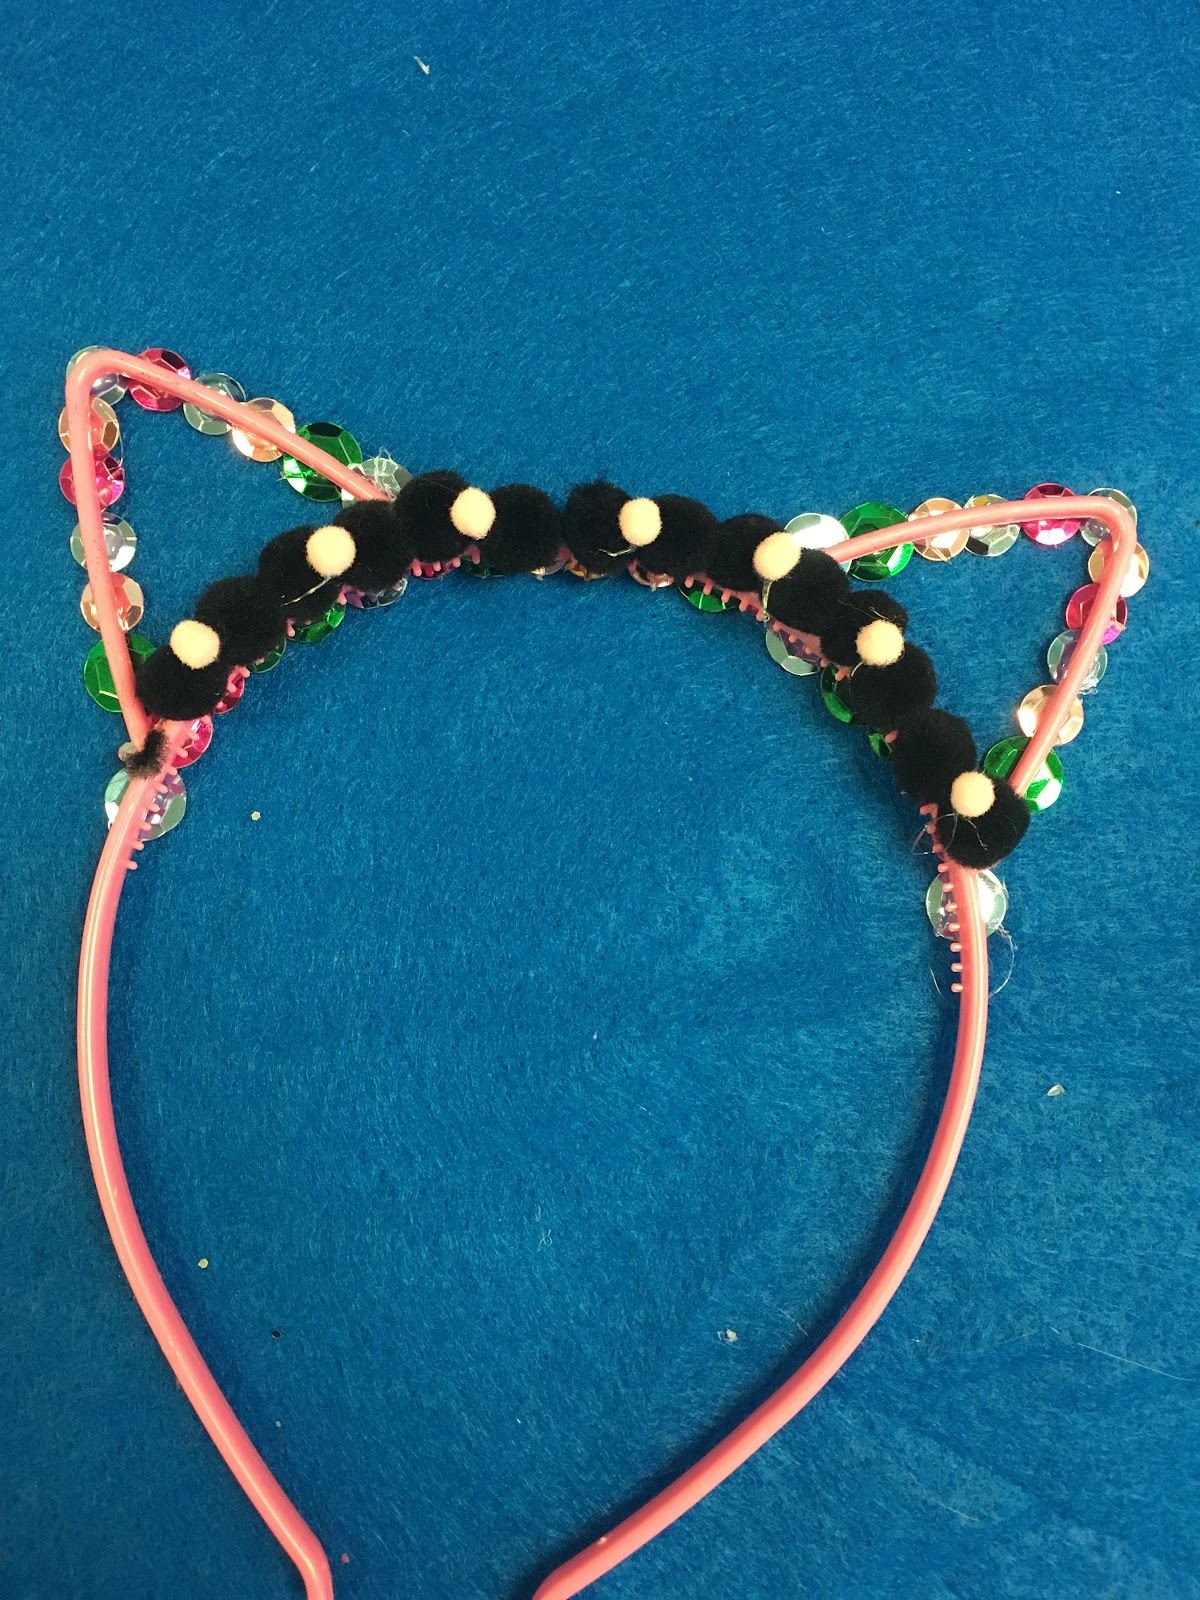
We started with a simple plastic ear headband base (packs of these are available on Amazon with a
huge variety of colors!).

There’s a lot of creativity with this one, as you can add whatever you have on hand. We simply
hot-glued items in place to decorate them.

Some suggestions of additions:

Pompoms
Sequins
Beads
Ribbon
Pipe Cleaners
Washi Tape
Paper Cut-outs
Yarn
Plastic Jewels or Rhinestones


You can have a lot of fun laying out different designs on these things!
Guitar Boxes

Here’s how to make your very own guitar shaped box!


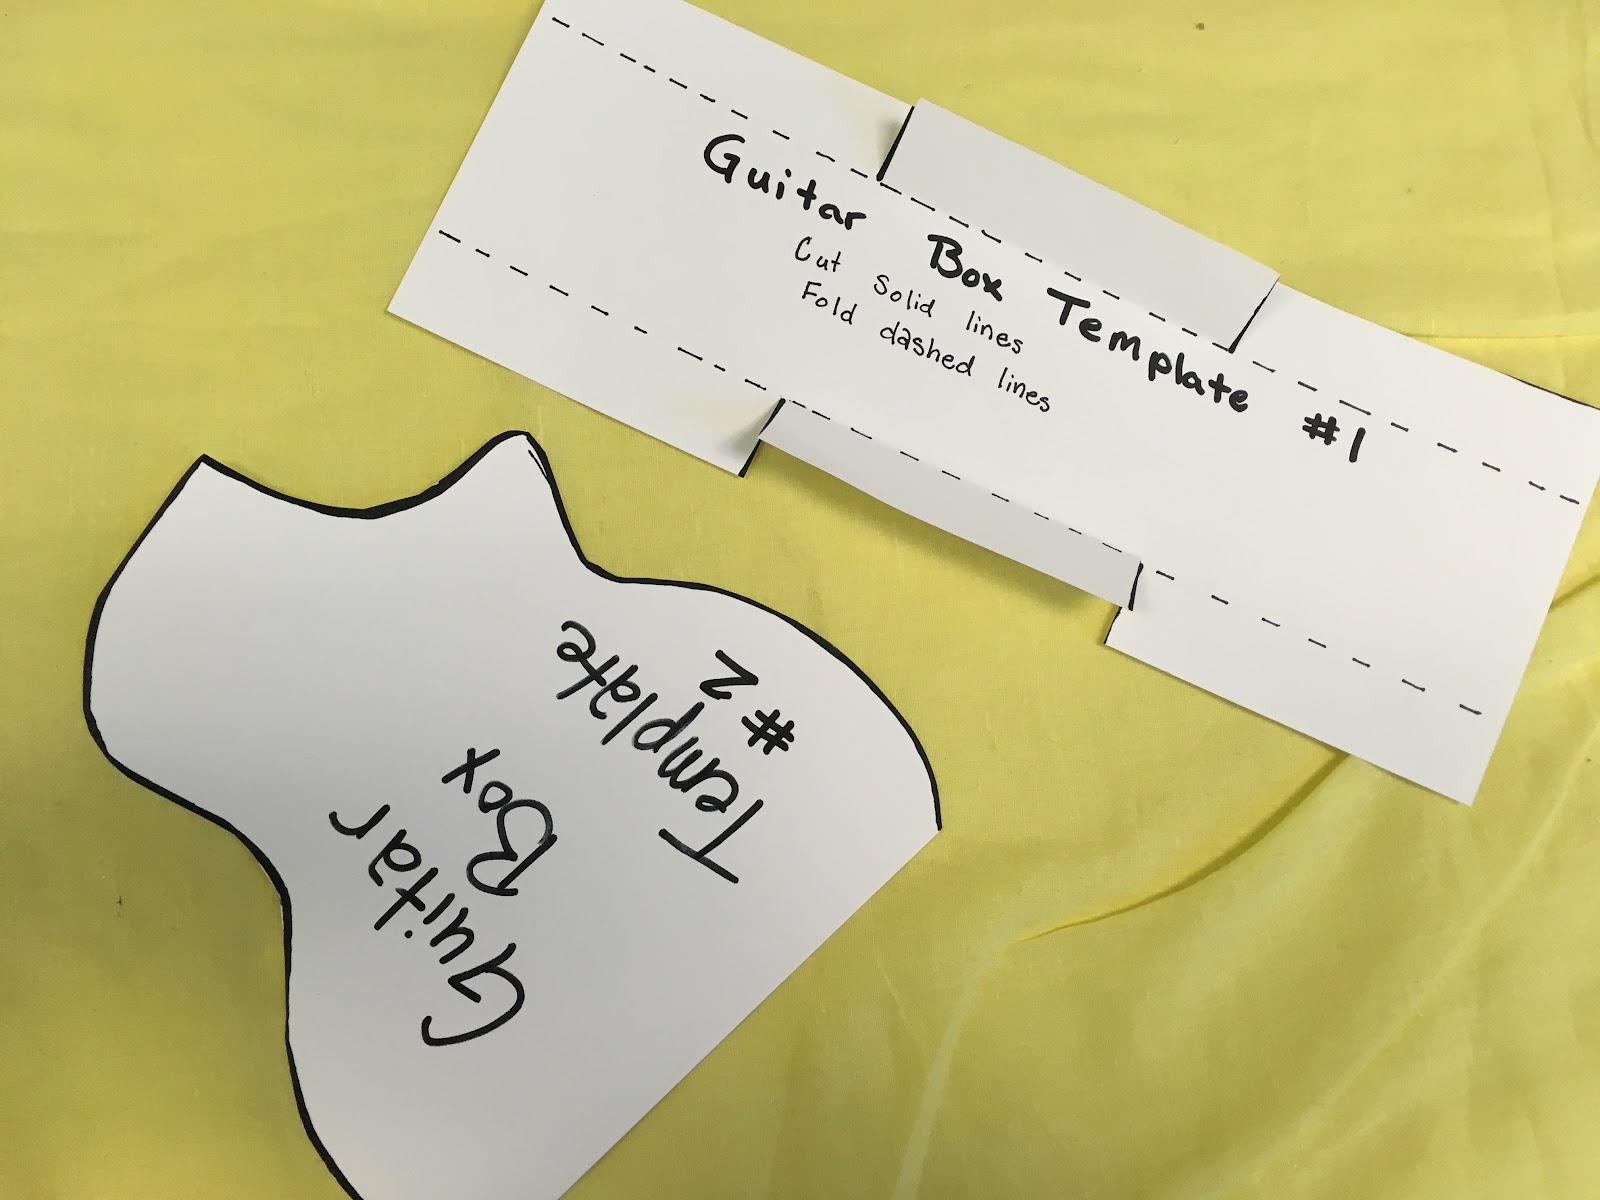
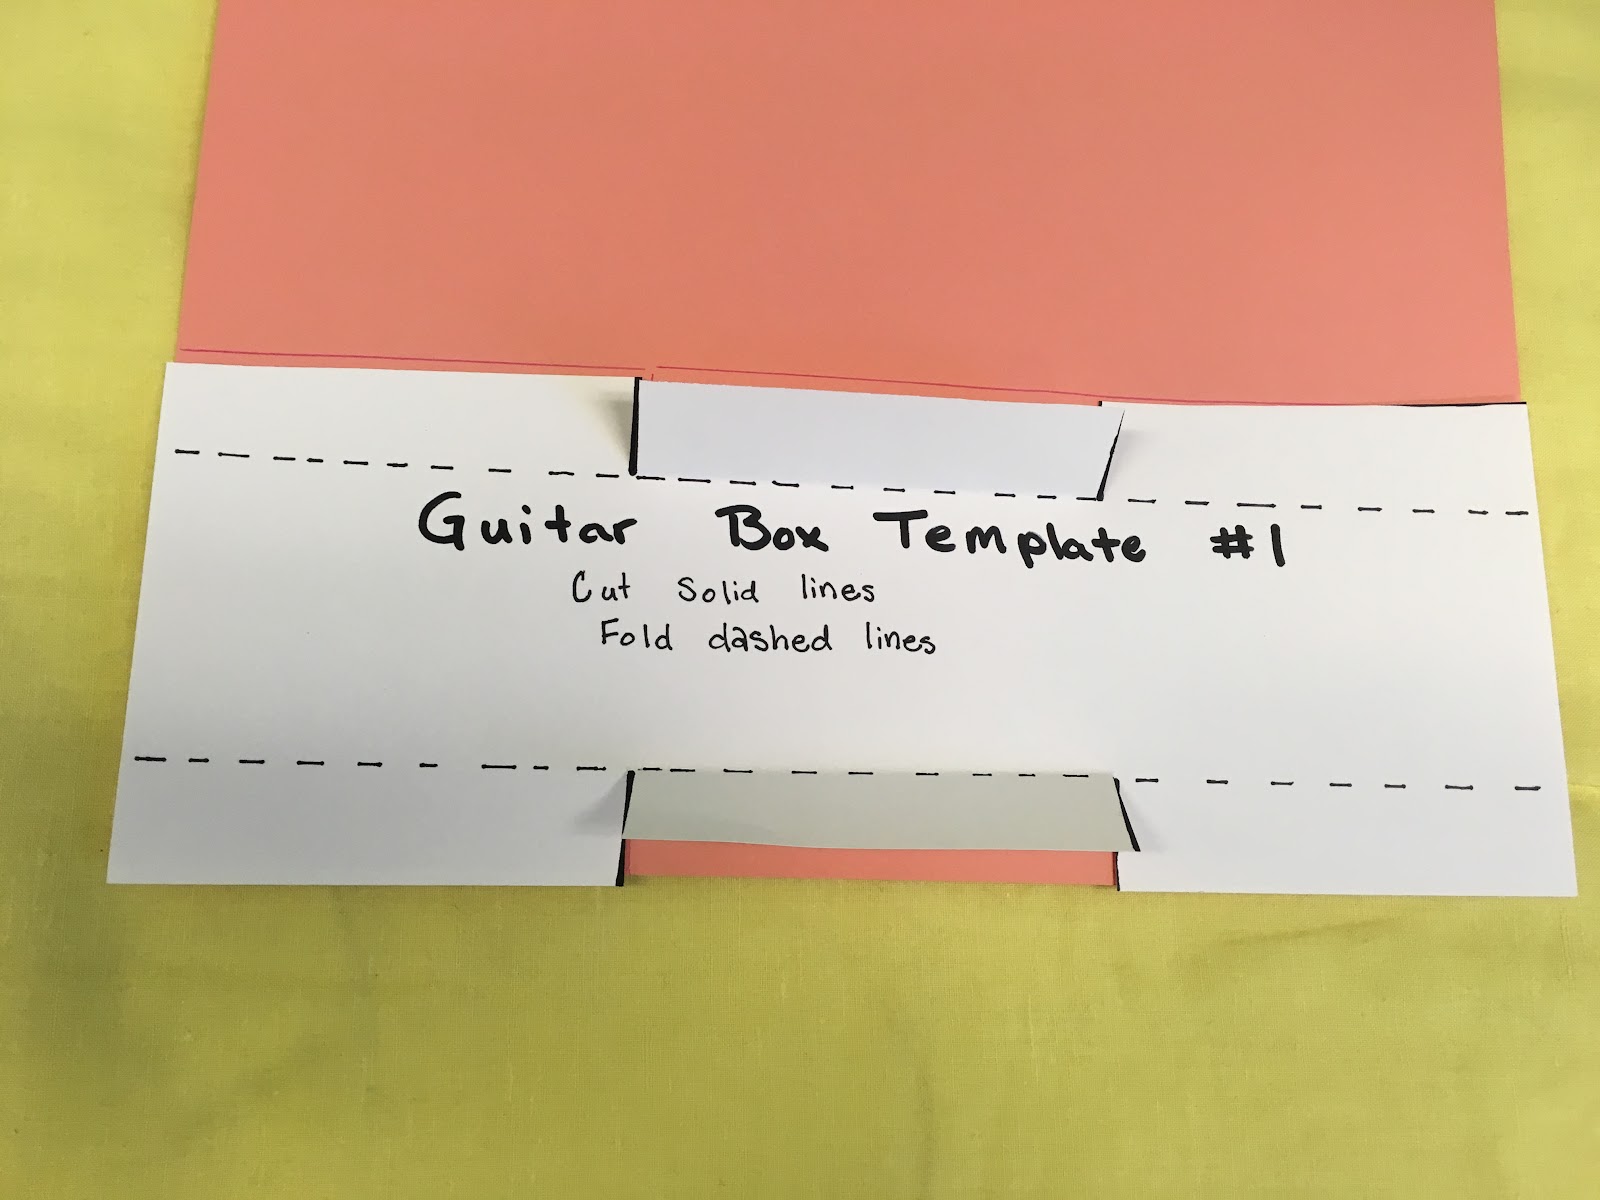
The first step is to print these Guitar Box Templates on Cardstock. Cut them out so you’re ready to
go! On the first template, be sure to only cut the solid lines, not the dashed ones.


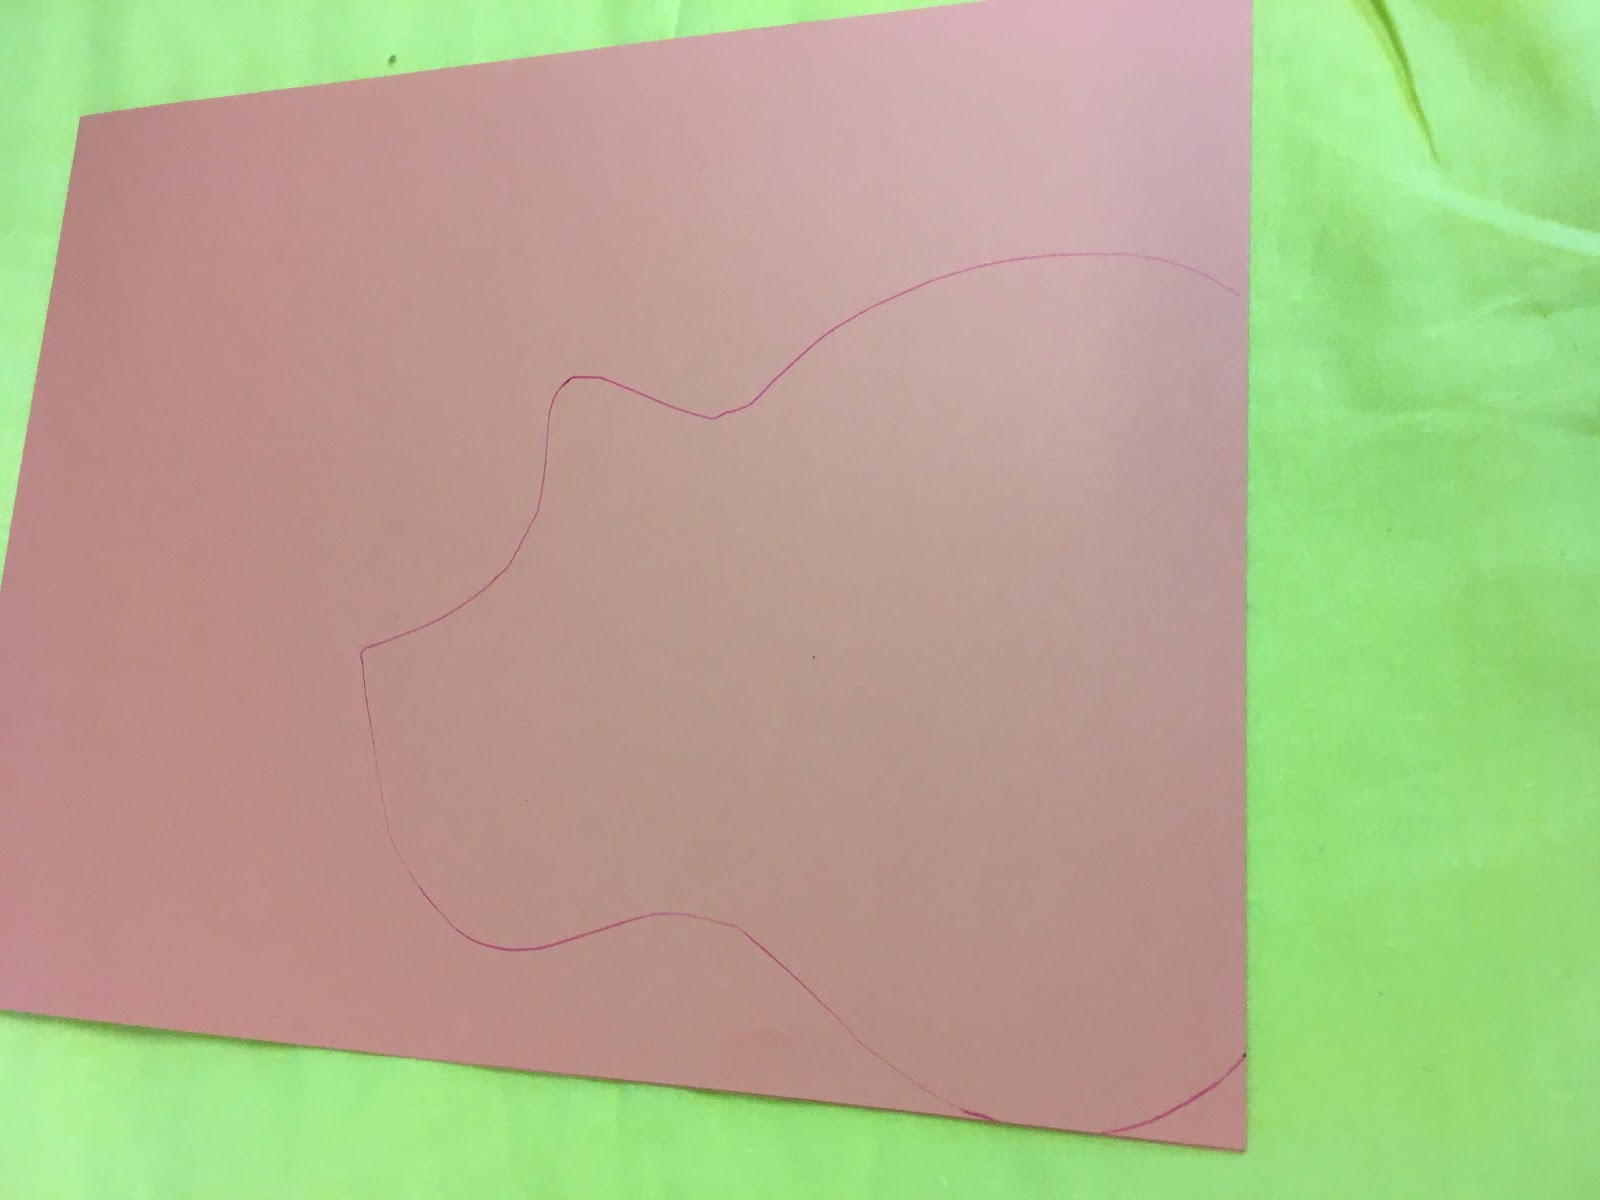
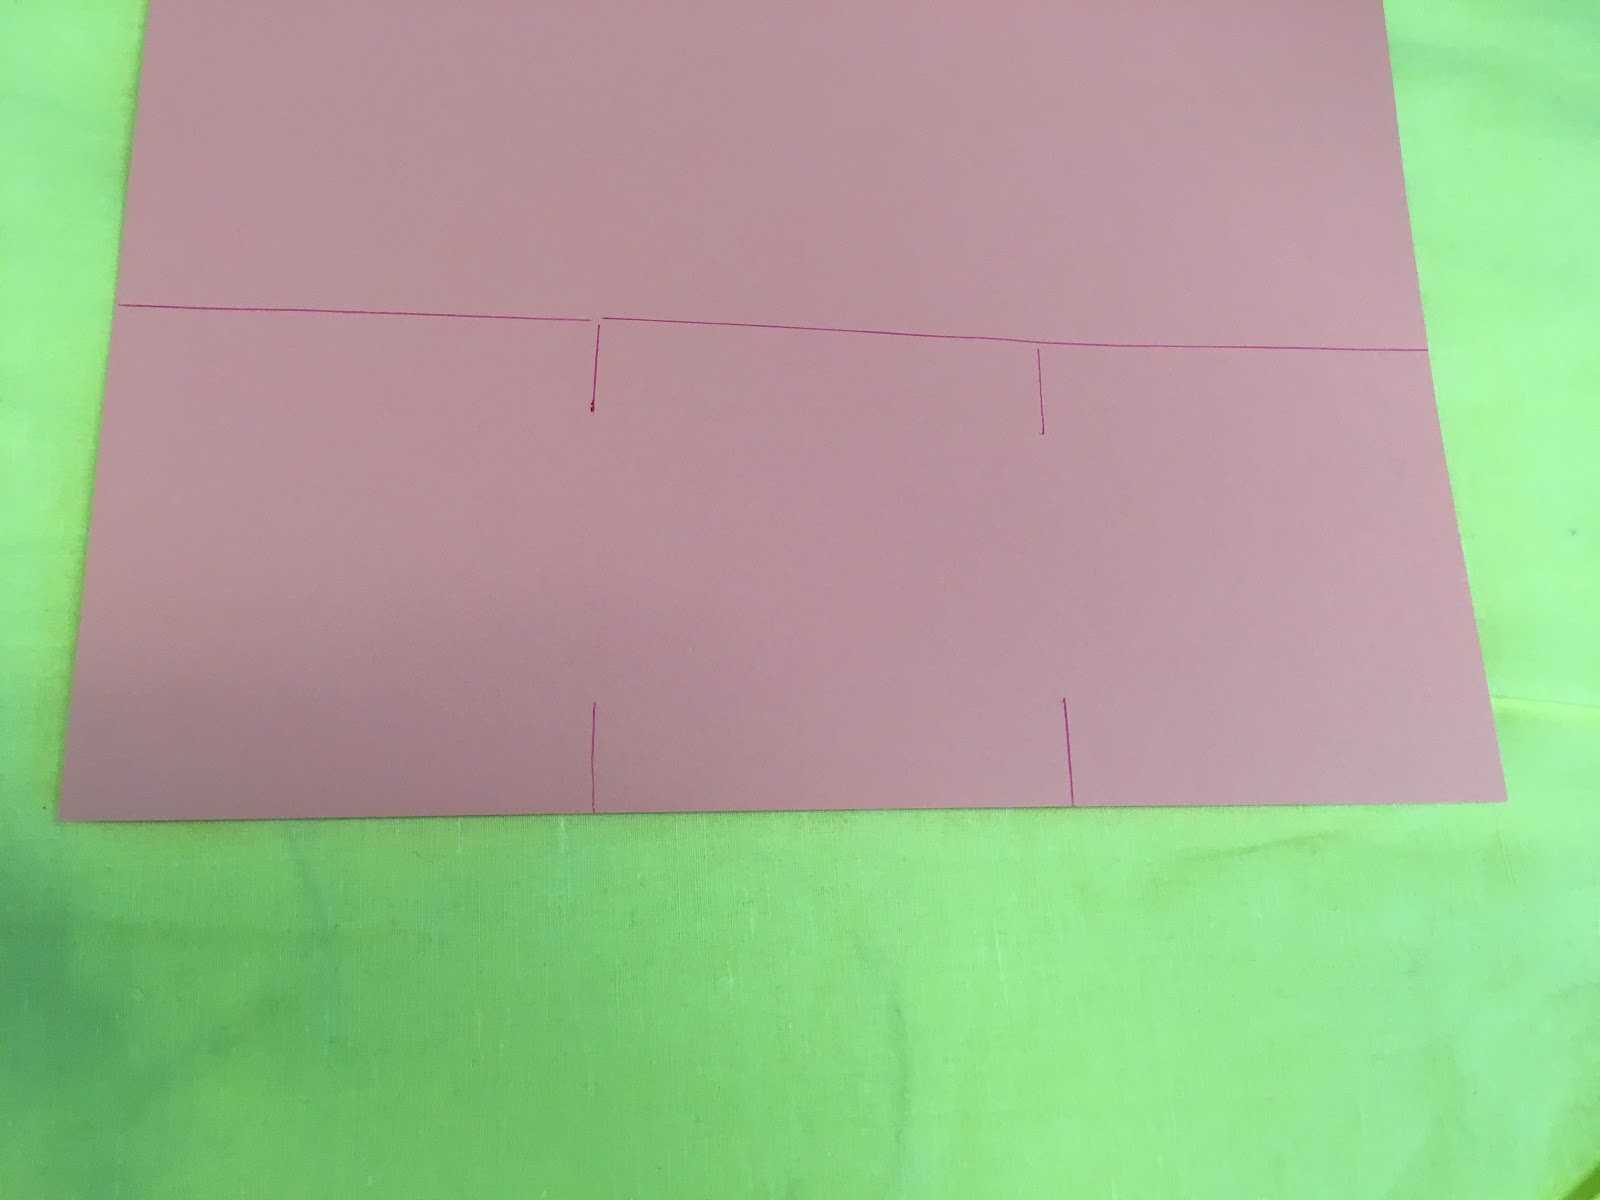
Next, trace both of these templates on your preferred color of cardstock. You will need one copy of
template 1 and two copies of template 2 (see what I did there?). It is easier to trace template 1 if you
fold the sides in to trace the vertical lines.


Both shapes can be traced in from the edge of your cardstock, as they have flat edges.


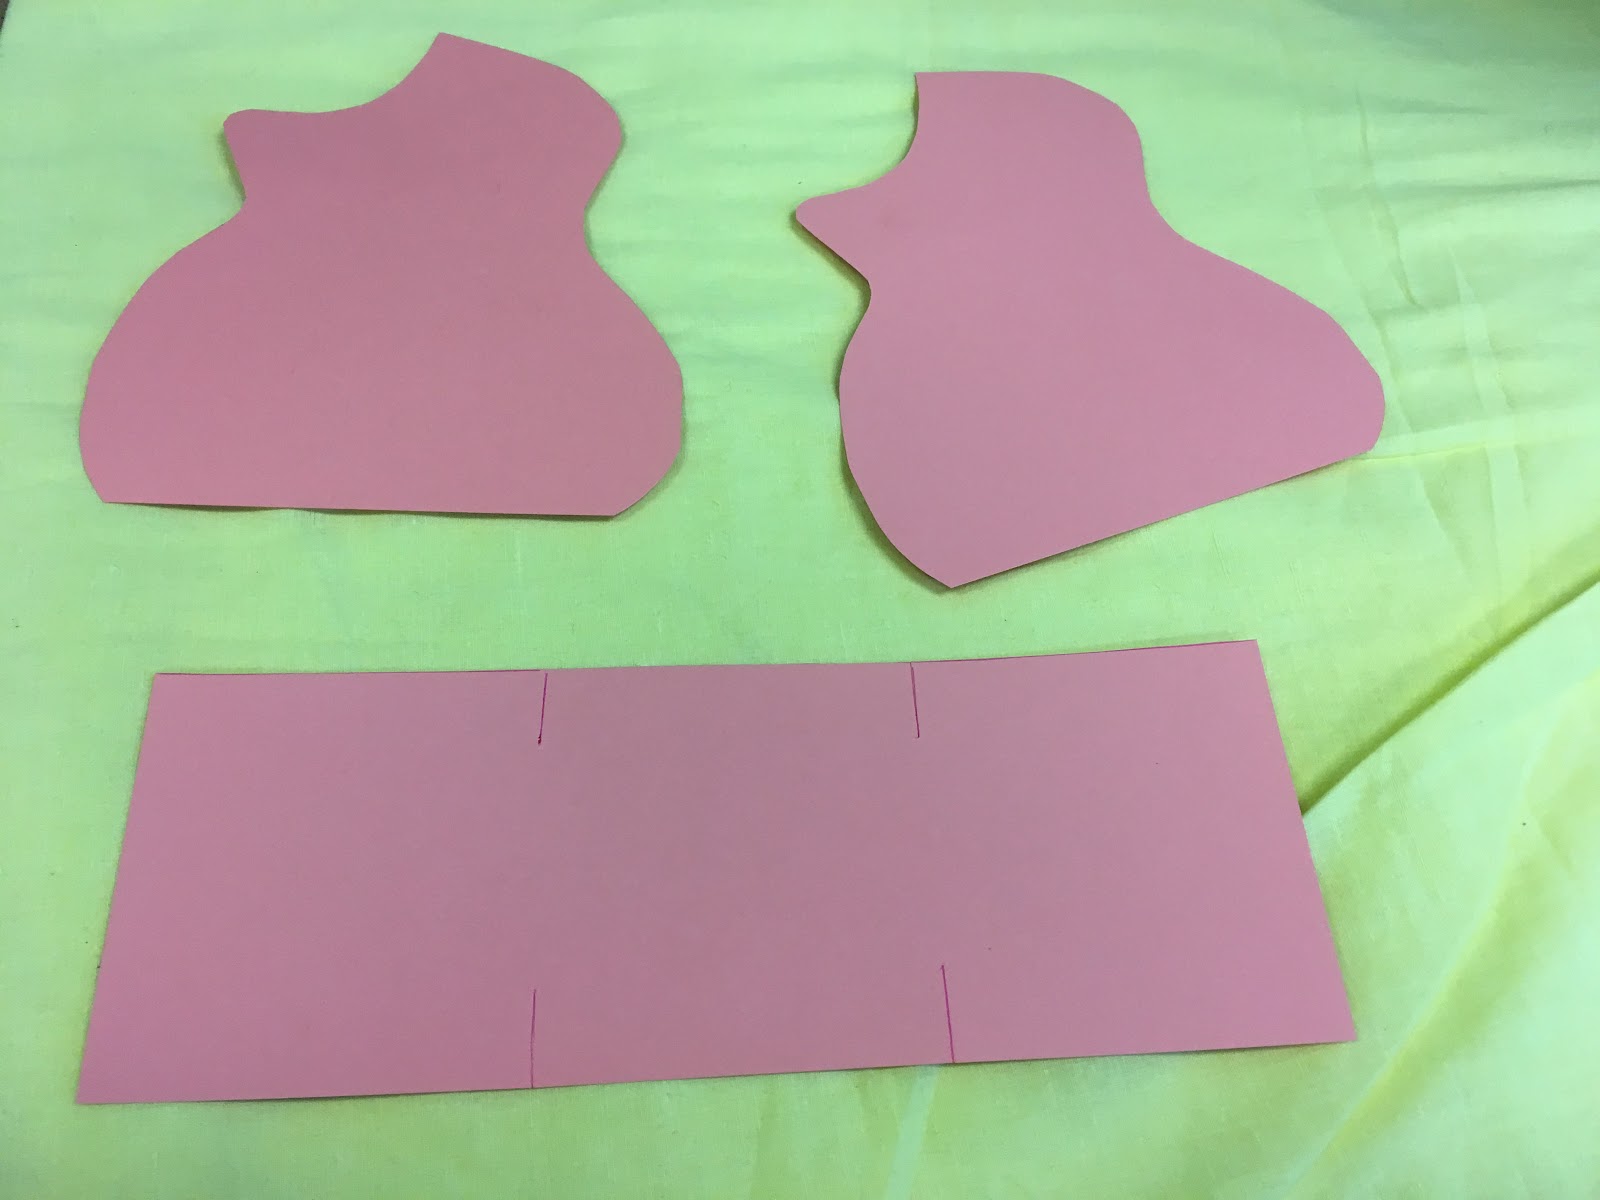
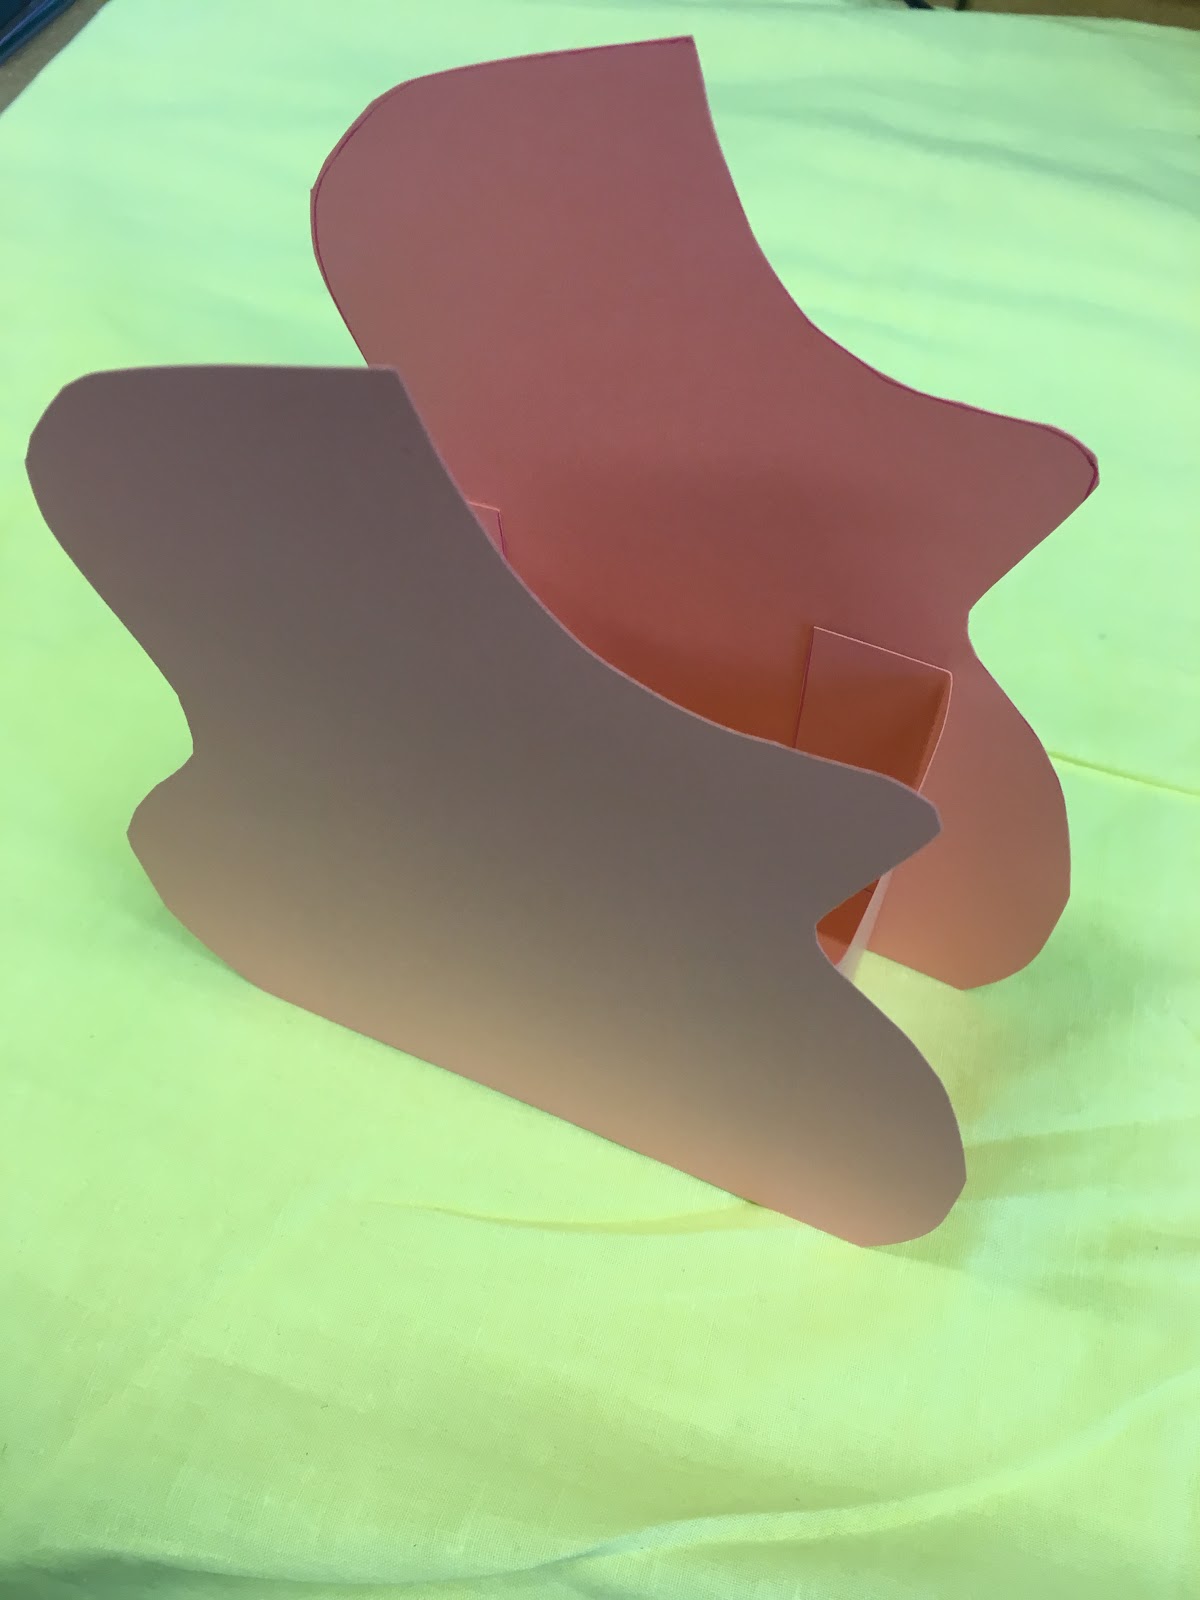
Cut out your traced pieces so that you have three total forms (two of the guitar shape, one of the box
shape). Cut the vertical lines in your copy of template one, but again,  DO NOT cut where the
dashed lines would be.


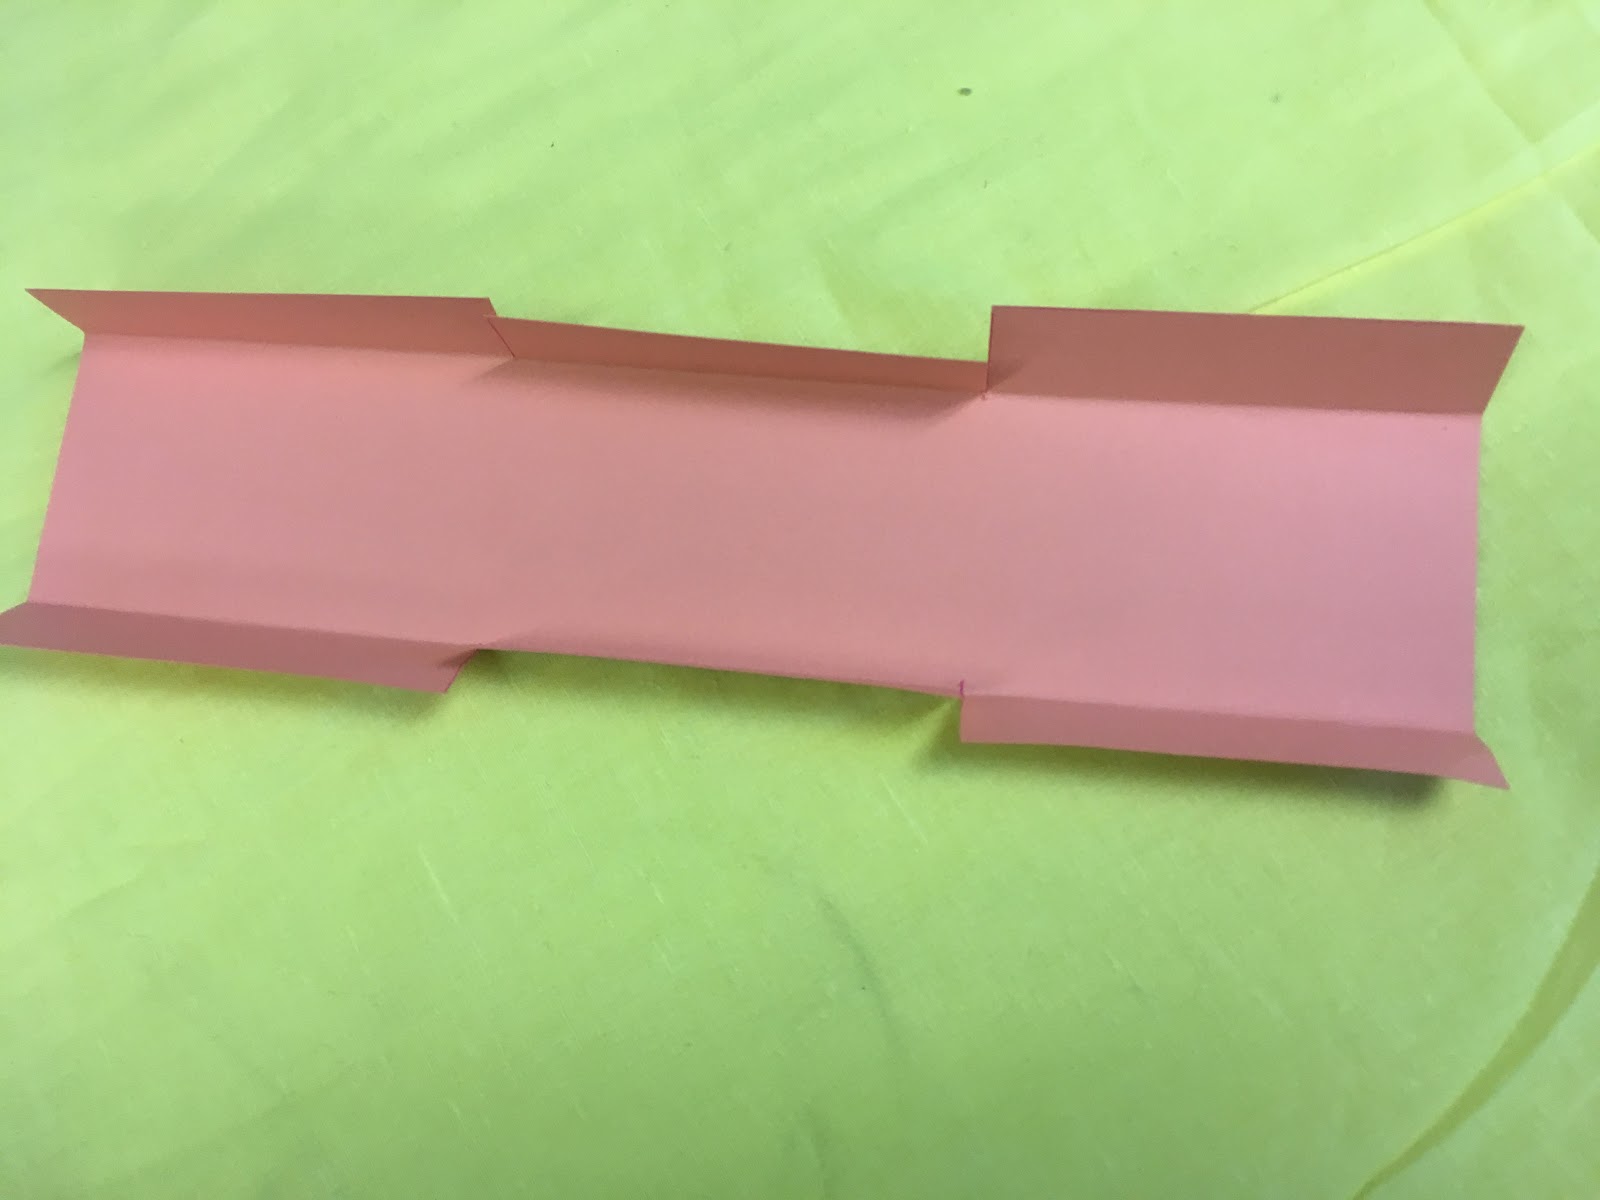
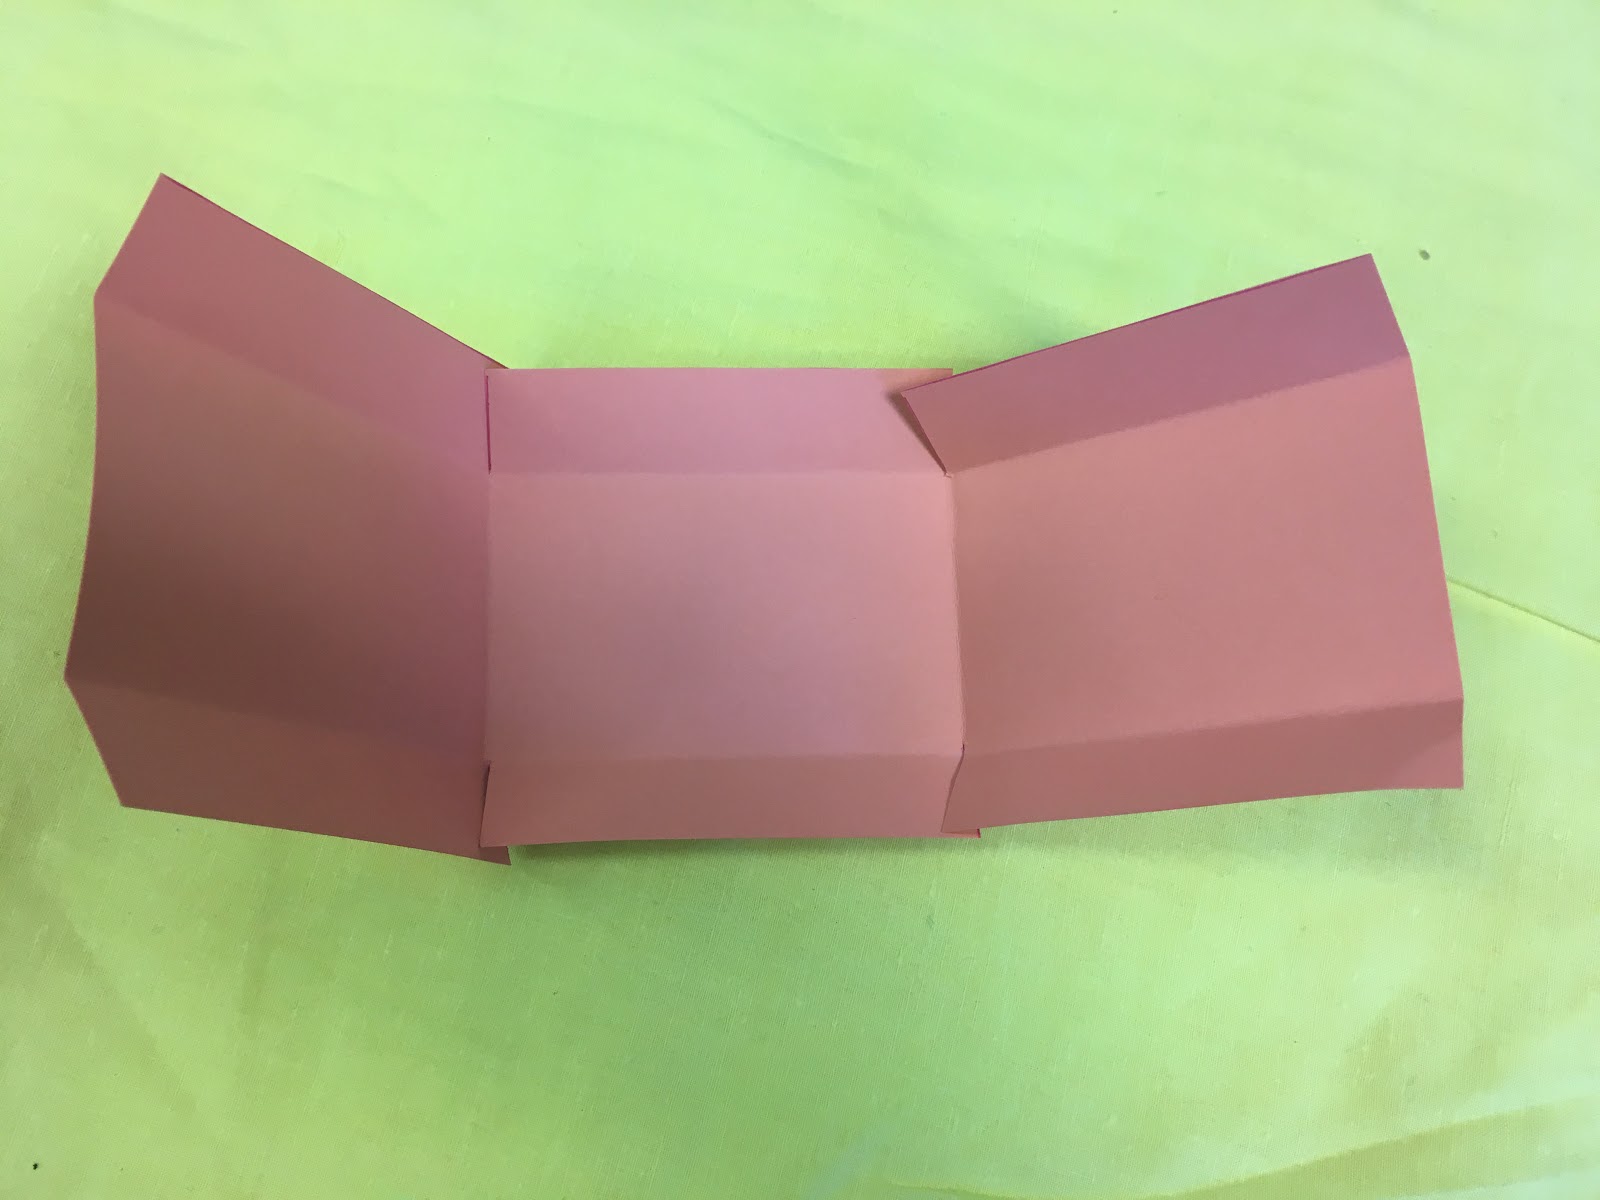
Fold the ‘dashed lines’ of your box form in toward the middle. The creases should line up with the
ends of your vertical cuts, making a straight rectangle in the middle of your shape. Once the top and
bottom are folded in, create creases from the vertical slit on one side to the one across from it. This
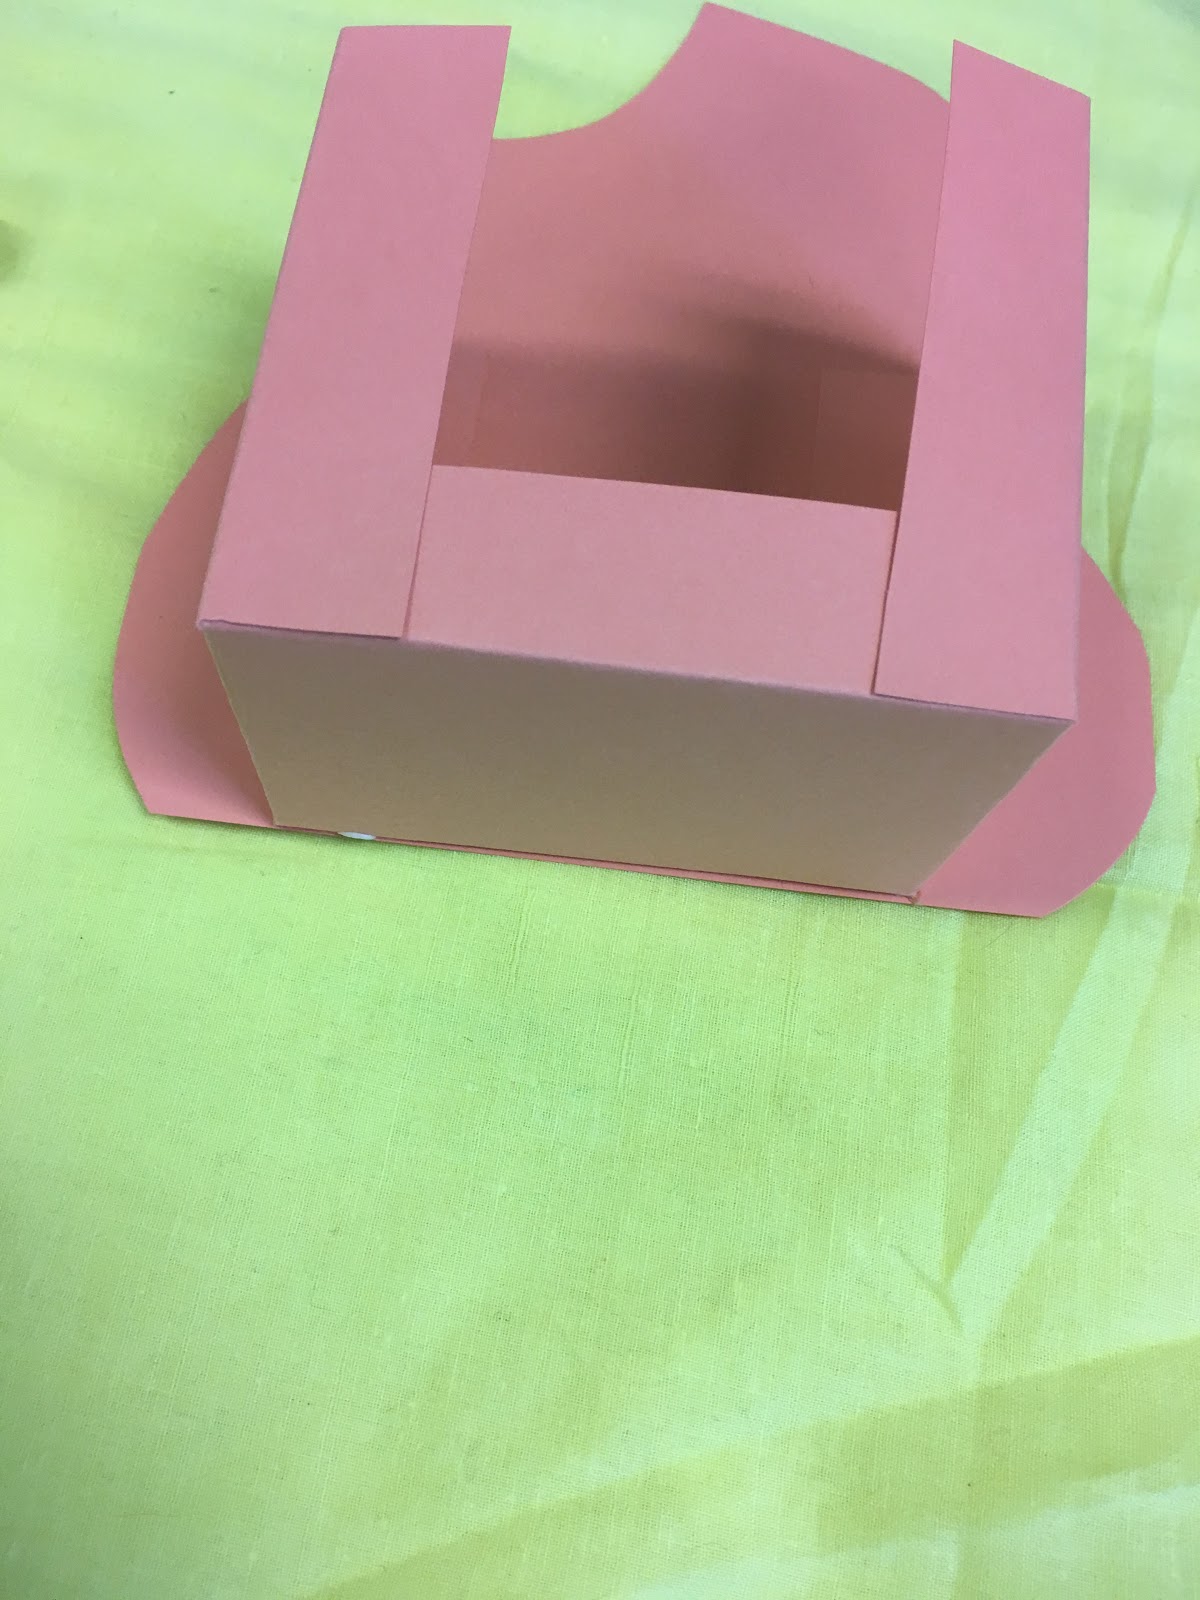
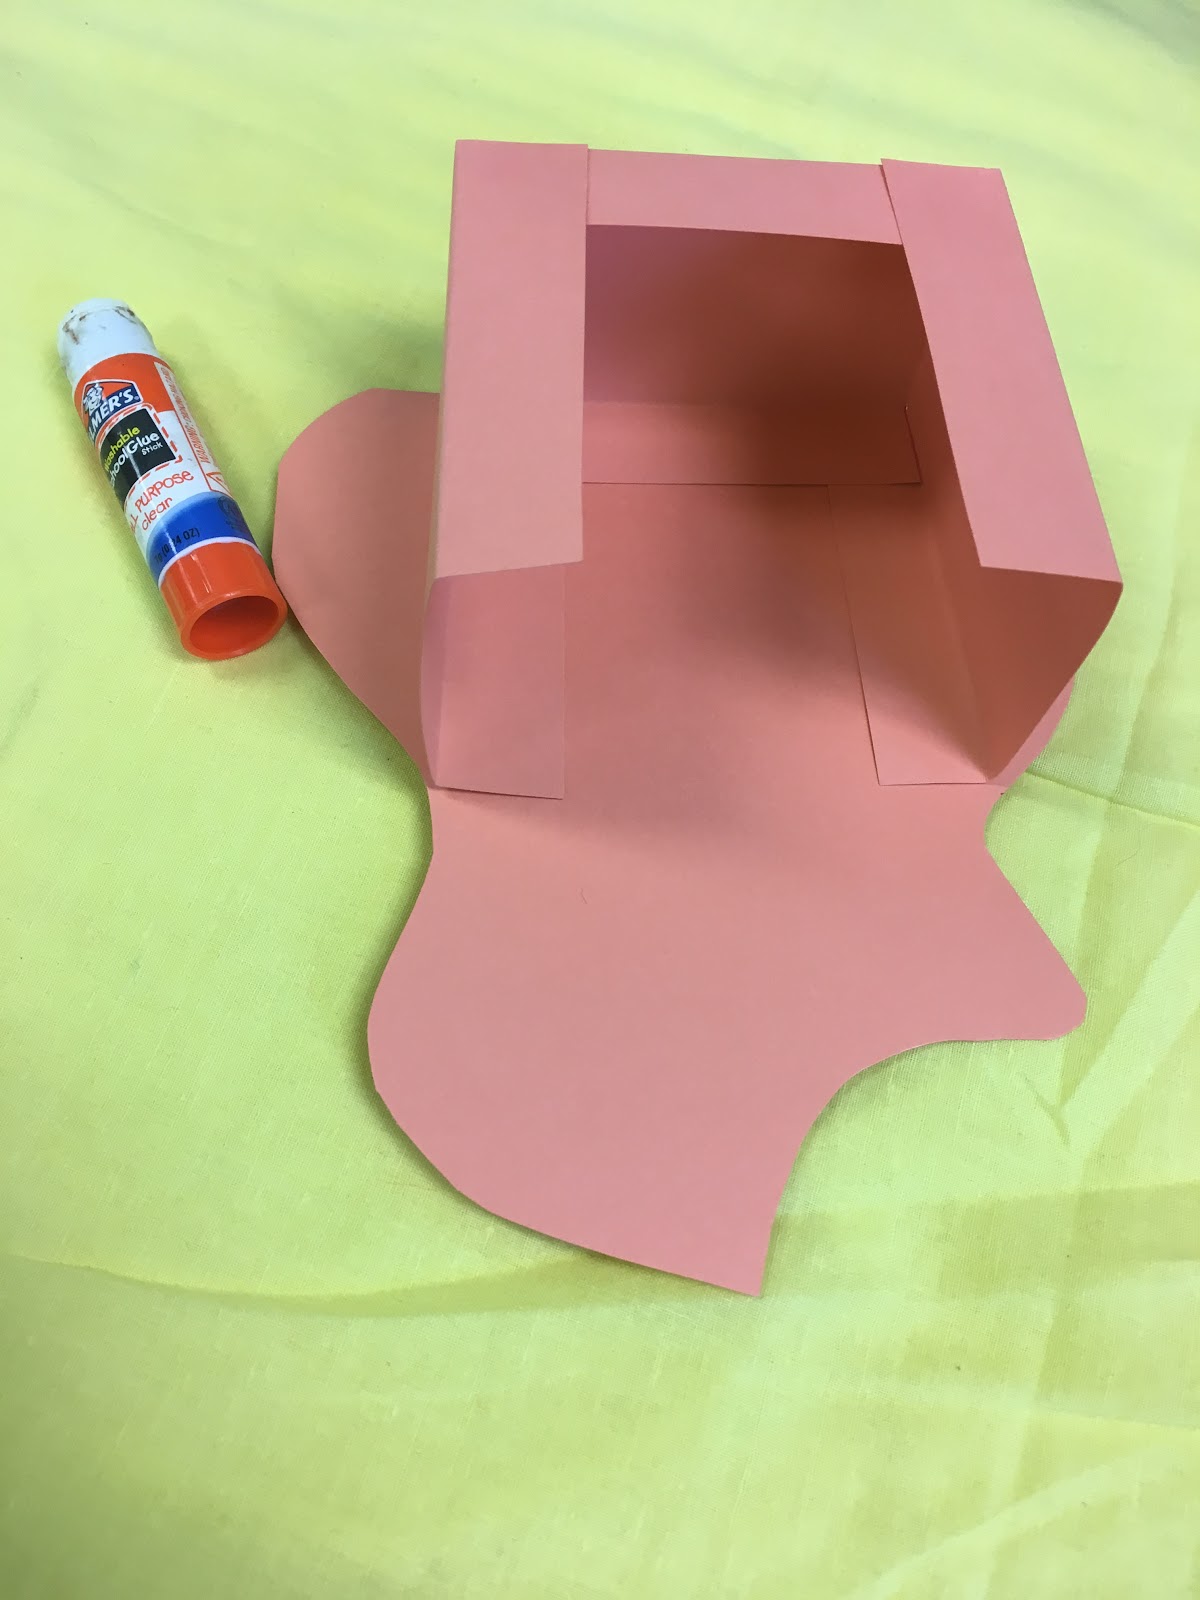
will let your shape fold into a box! Secure the box shape with glue or tape.


Once the box shape is created, glue the guitar forms to each of the open sides. The flat part of the
guitar will line up with the bottom of the box, and the box shape should line up with the thinnest
parts of the guitar.


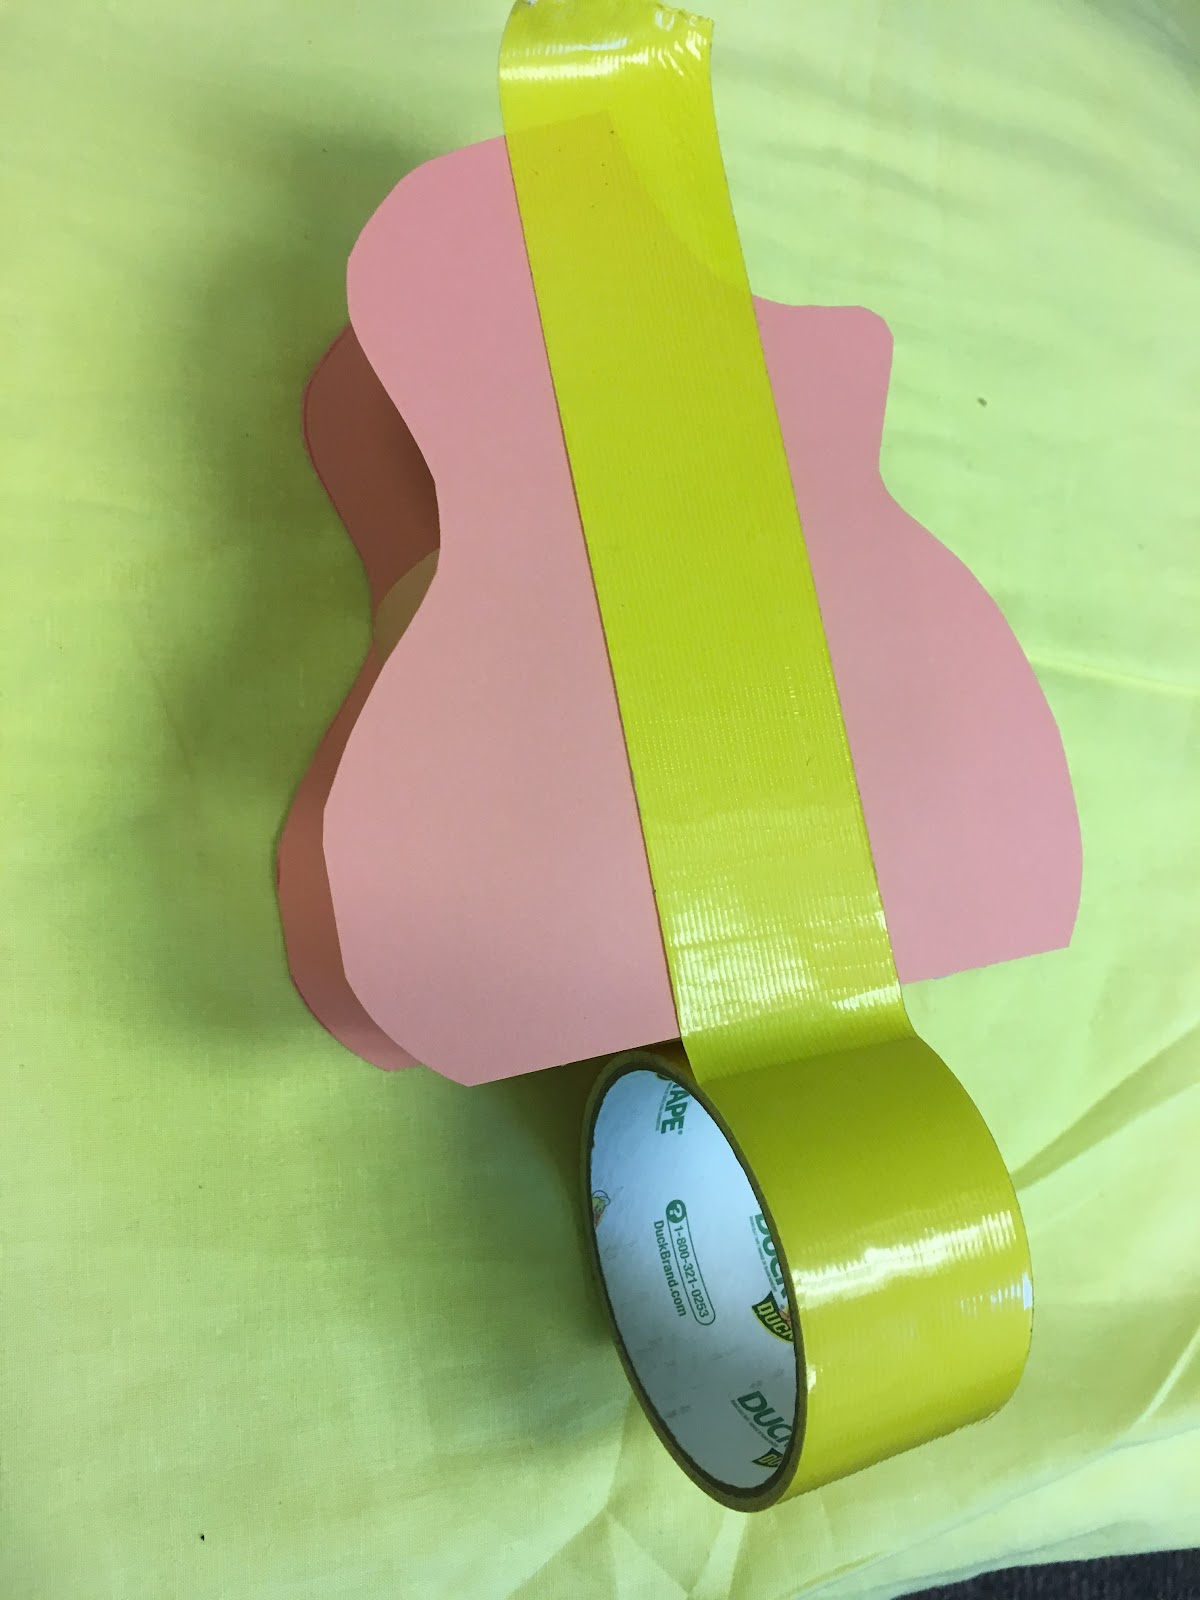
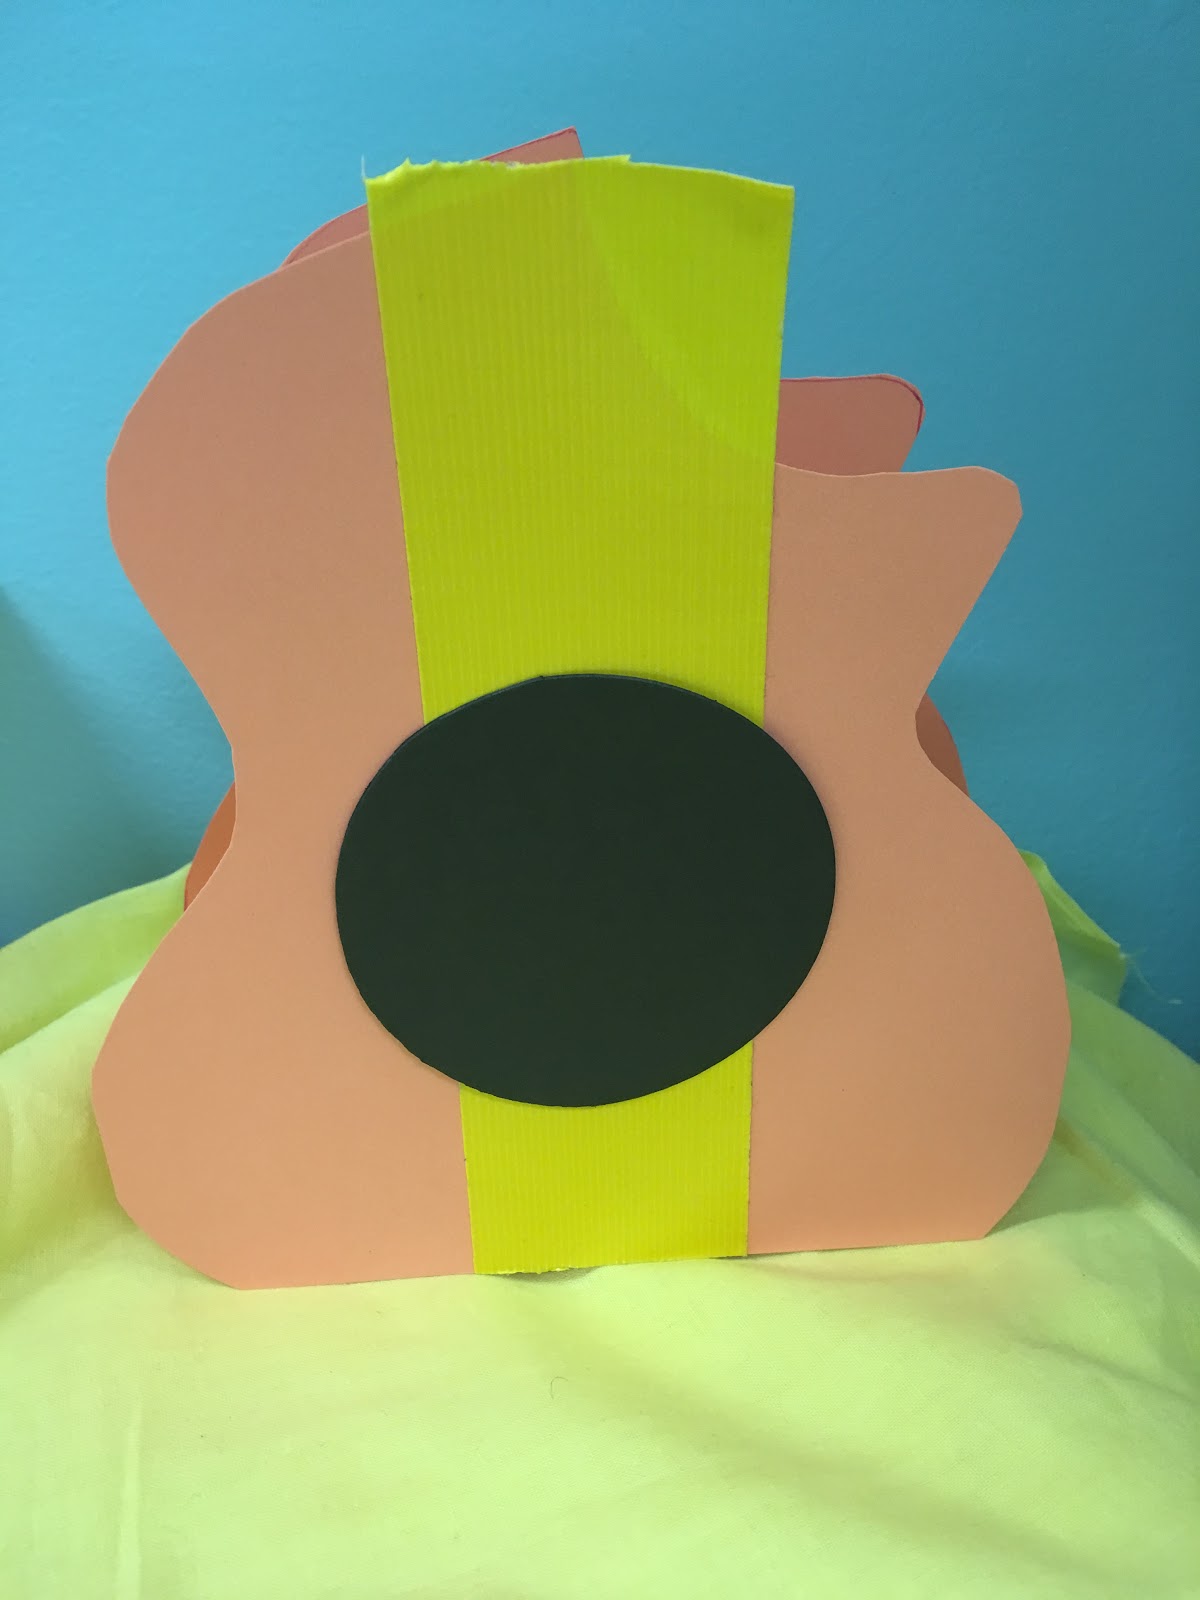
Add a stripe of duct tape through the middle of one side of your guitar box. Part of the tape will
extend past the guitar, and will hang over the edge of your cardstock. This is perfectly fine.


Glue a black circle of cardstock (around 3” ) onto the middle of your shape.

If you’d like, feel free to decorate your box further! I used sharpies to add strings and a few other
designs to mine, but I also think they look just fine without them. You could also add stickers,
doodles, string, or anything else you want to personalize your craft!

Free-standing Paper Elephants

I can’t get over how cute these elephants turned out… but first, a disclaimer:
I stole the original cartoon elephant shape form the internet, and made my own adjustments
and alterations to turn it into a craft. If this is your elephant… my apologies.


And now the fun stuff!


This is a super easy craft, but I think it’s absolutely adorable.


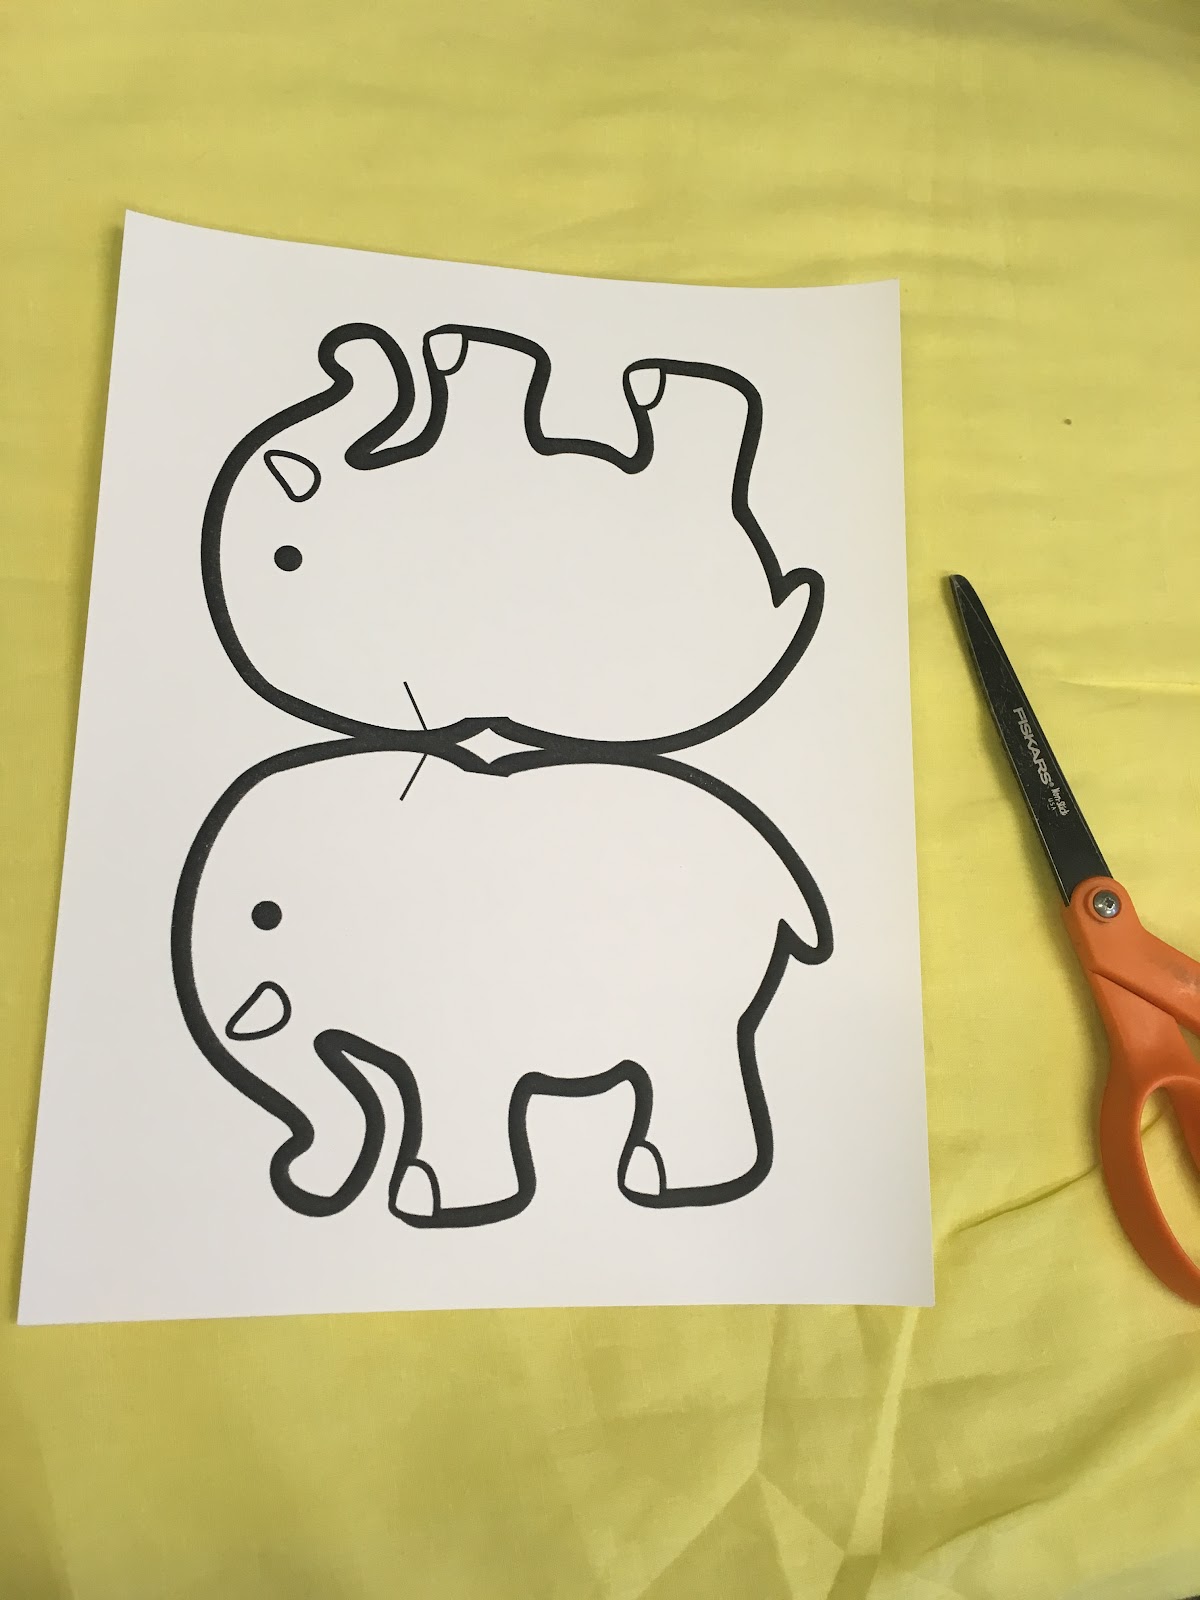
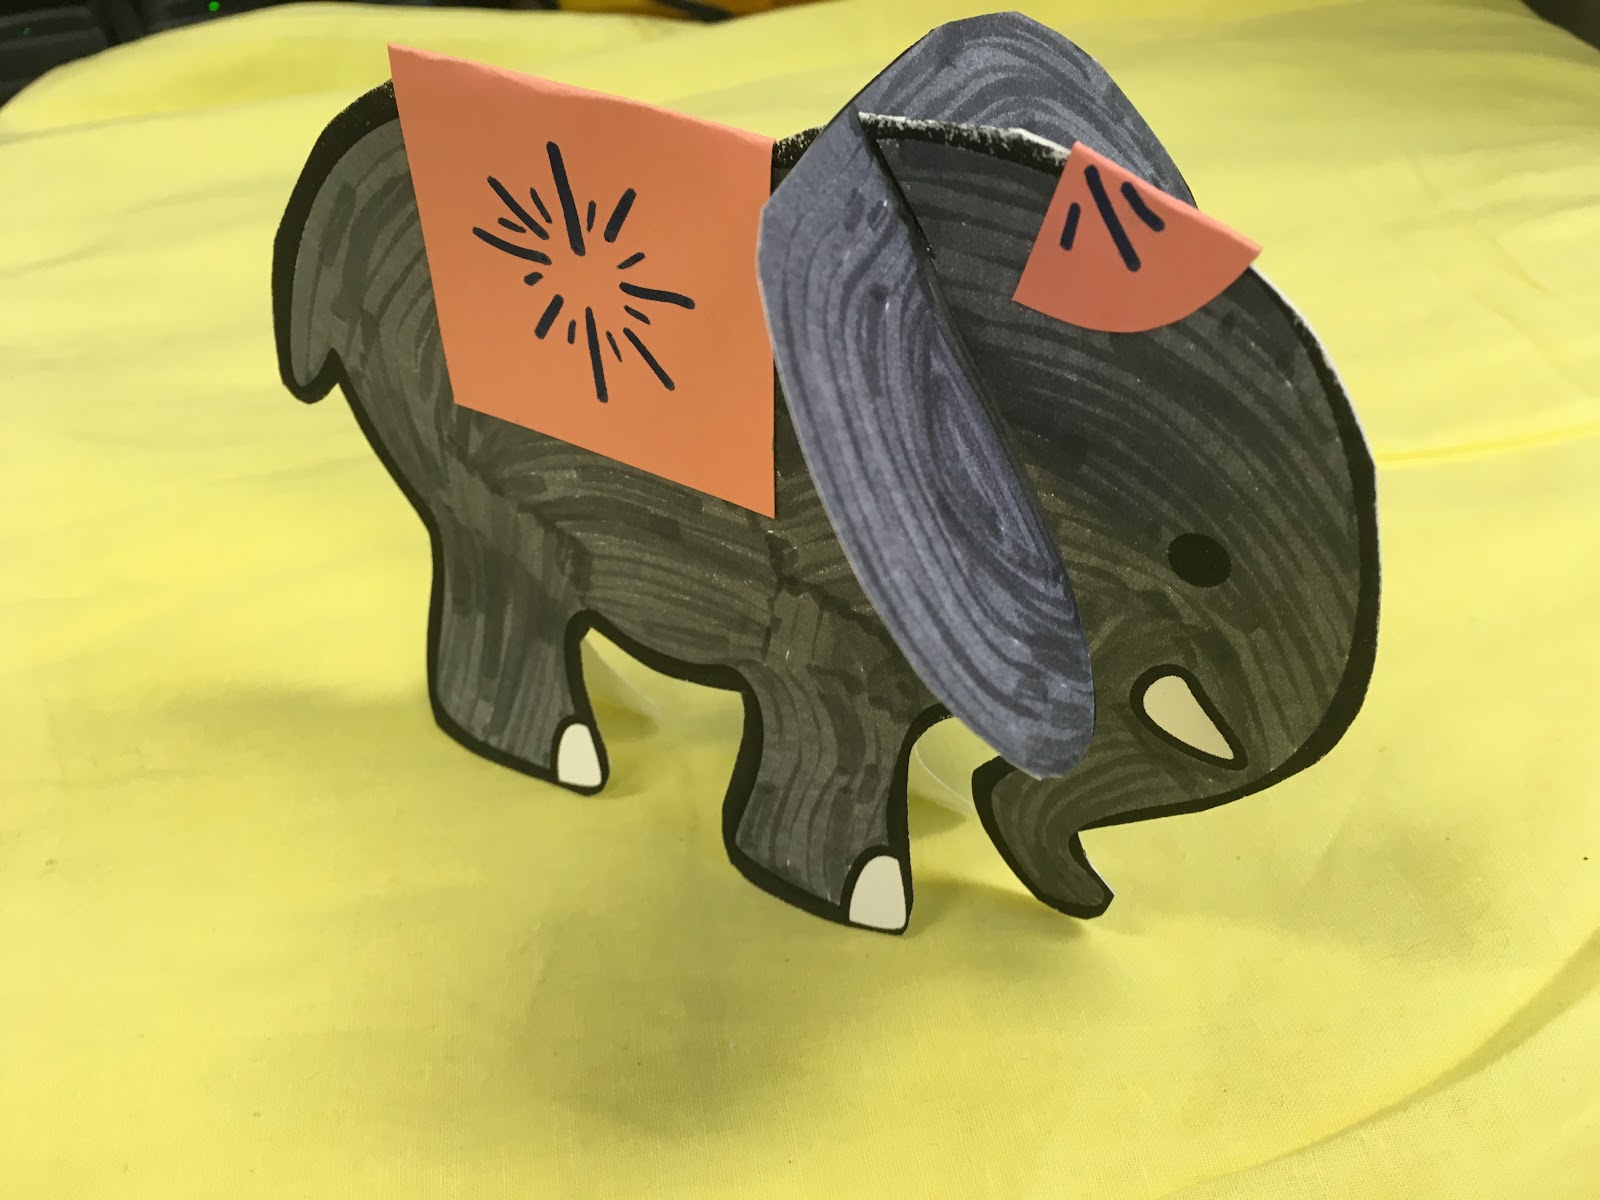
Here is the printable Elephant Design

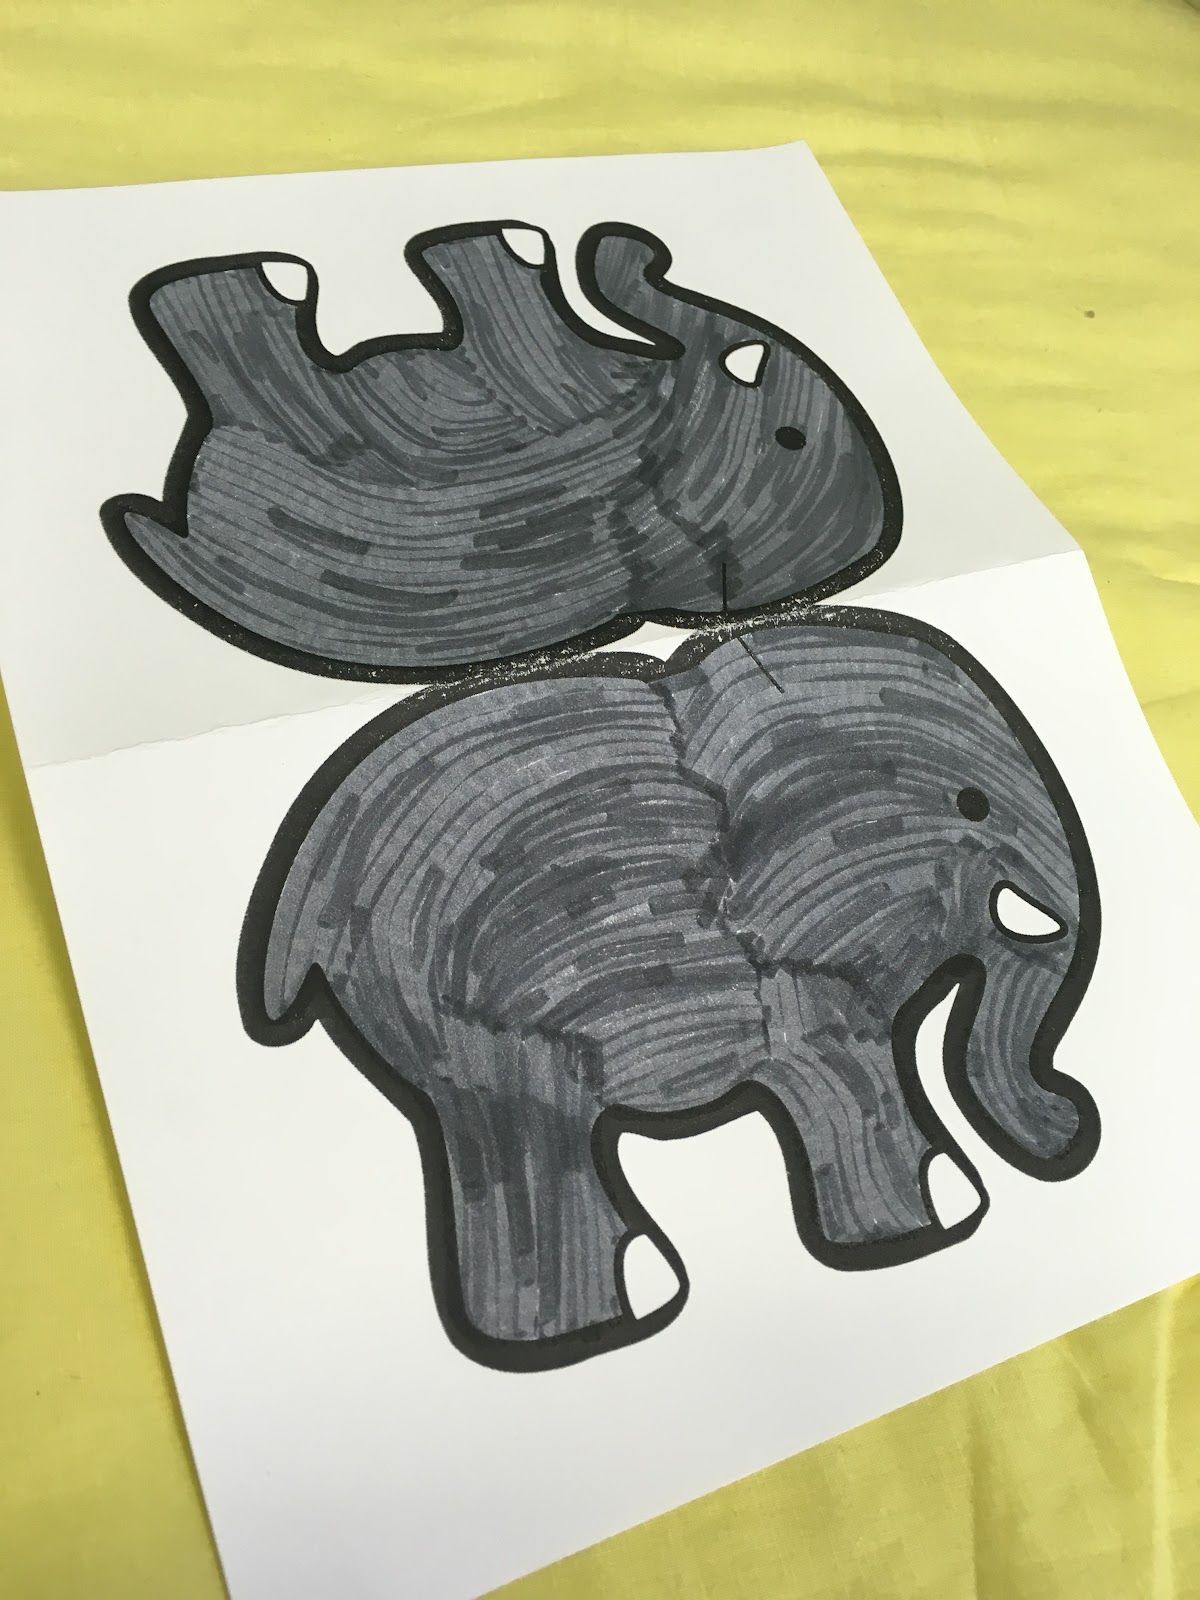
Step 1. Print copies of the elephant design on cardstock. The image is two elephants
connected at the top - one page makes one elephant

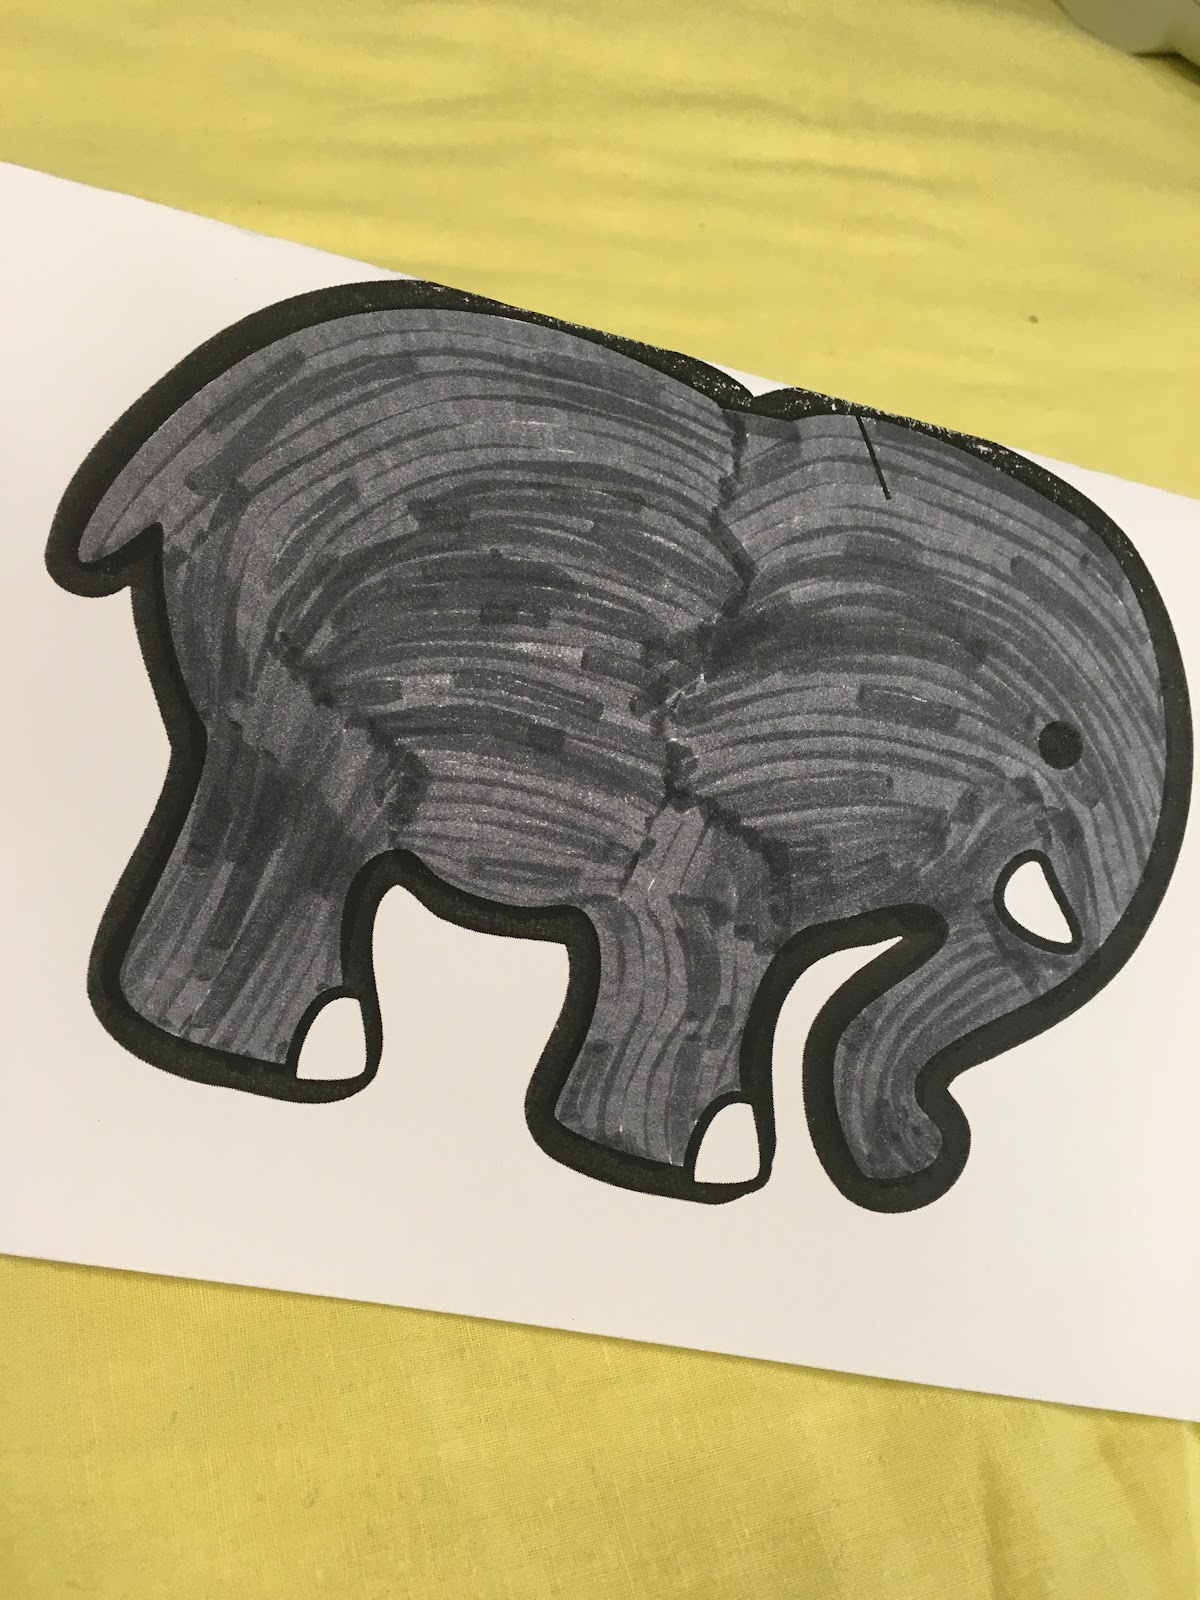
Step 2. Color and fold. Color both elephant shapes with whatever color you would like.
I just made mine gray… but colorful elephants can be just as fun… and they can have tons of
personality! I chose to leave his tusks and toes white, but those can be colored in too.
The paper then folds in half along the top of the elephant (which should be right around the middle
of the page).

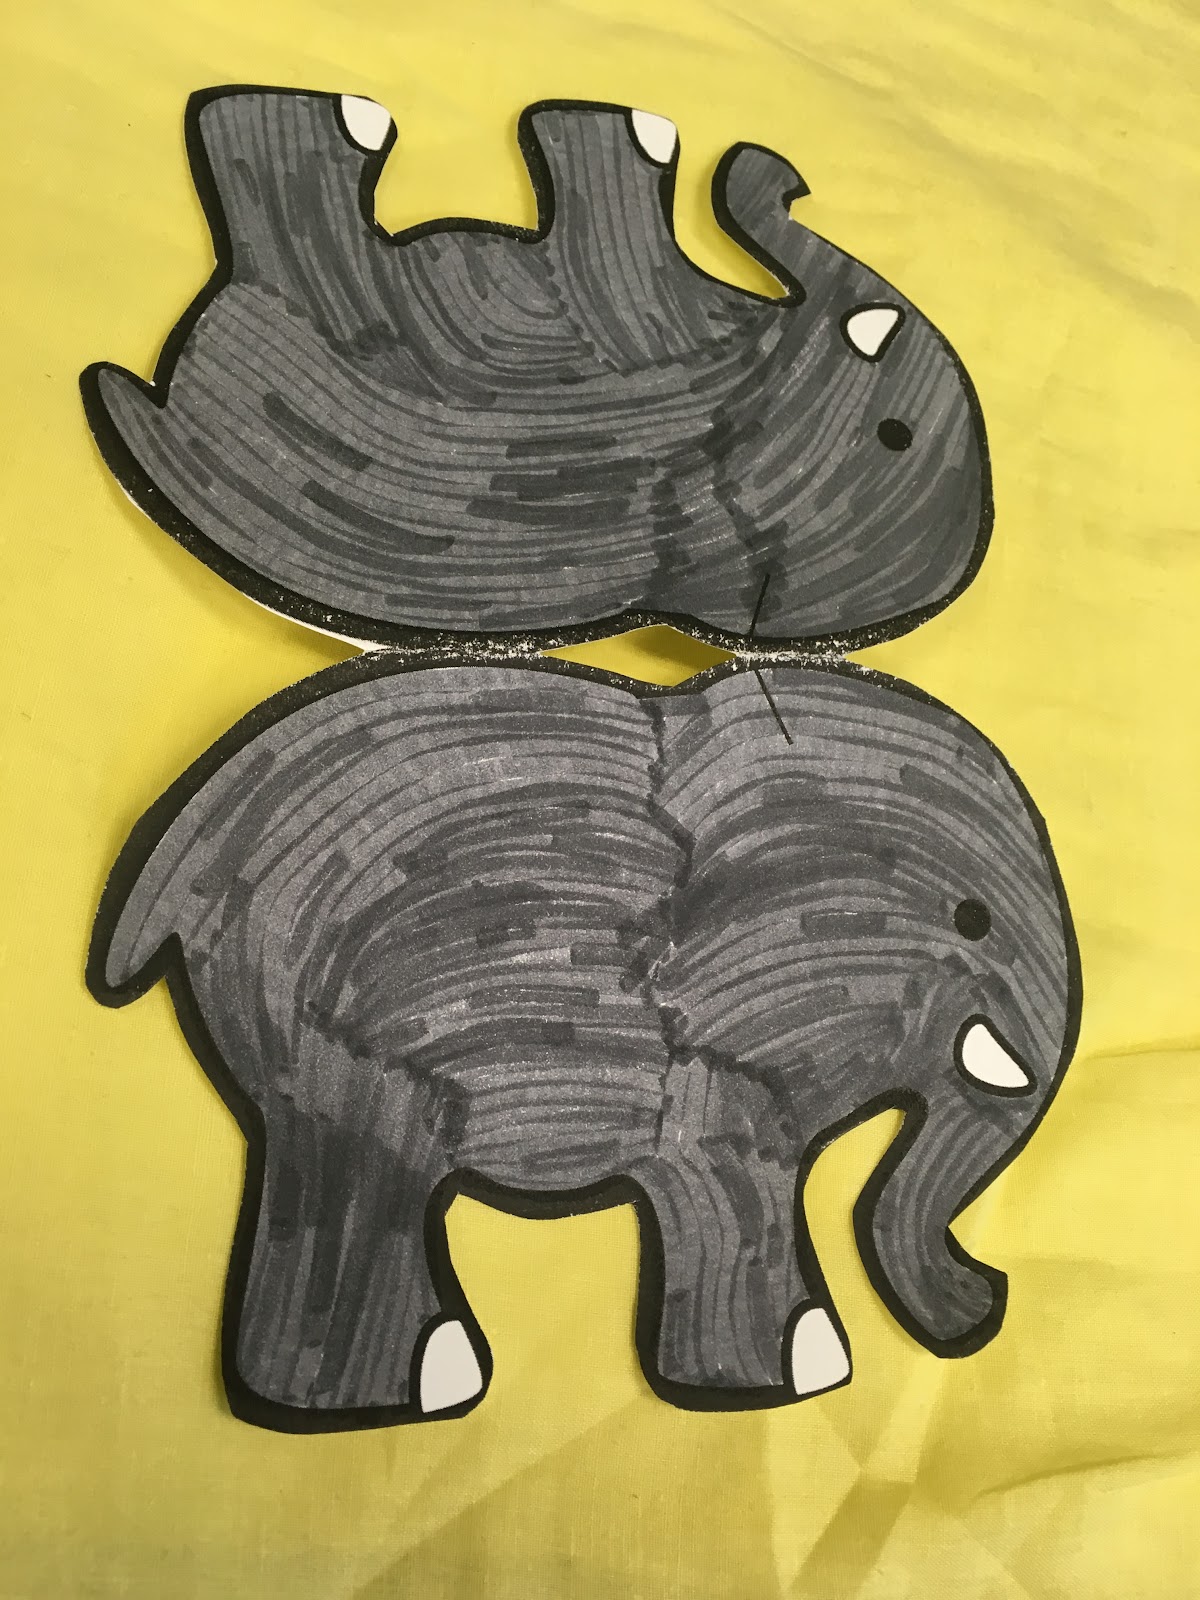
Step 3. Cut out your elephant! Be careful to leave the folded part attached, so you don’t end
up with two separate elephants. It should stay connected at the head and the back, but the white
space in the middle can be cut while it is still folded.

You should also color and cut out the earpiece (which looks like a butt).

Step 4. Glue the elephant sides together. You can use a regular glue stick or plain school glue
for this.It should be glued along the body, tail, and trunk… but NOT the legs. The legs will stay
separate so that there are four of them, and he can stand up.


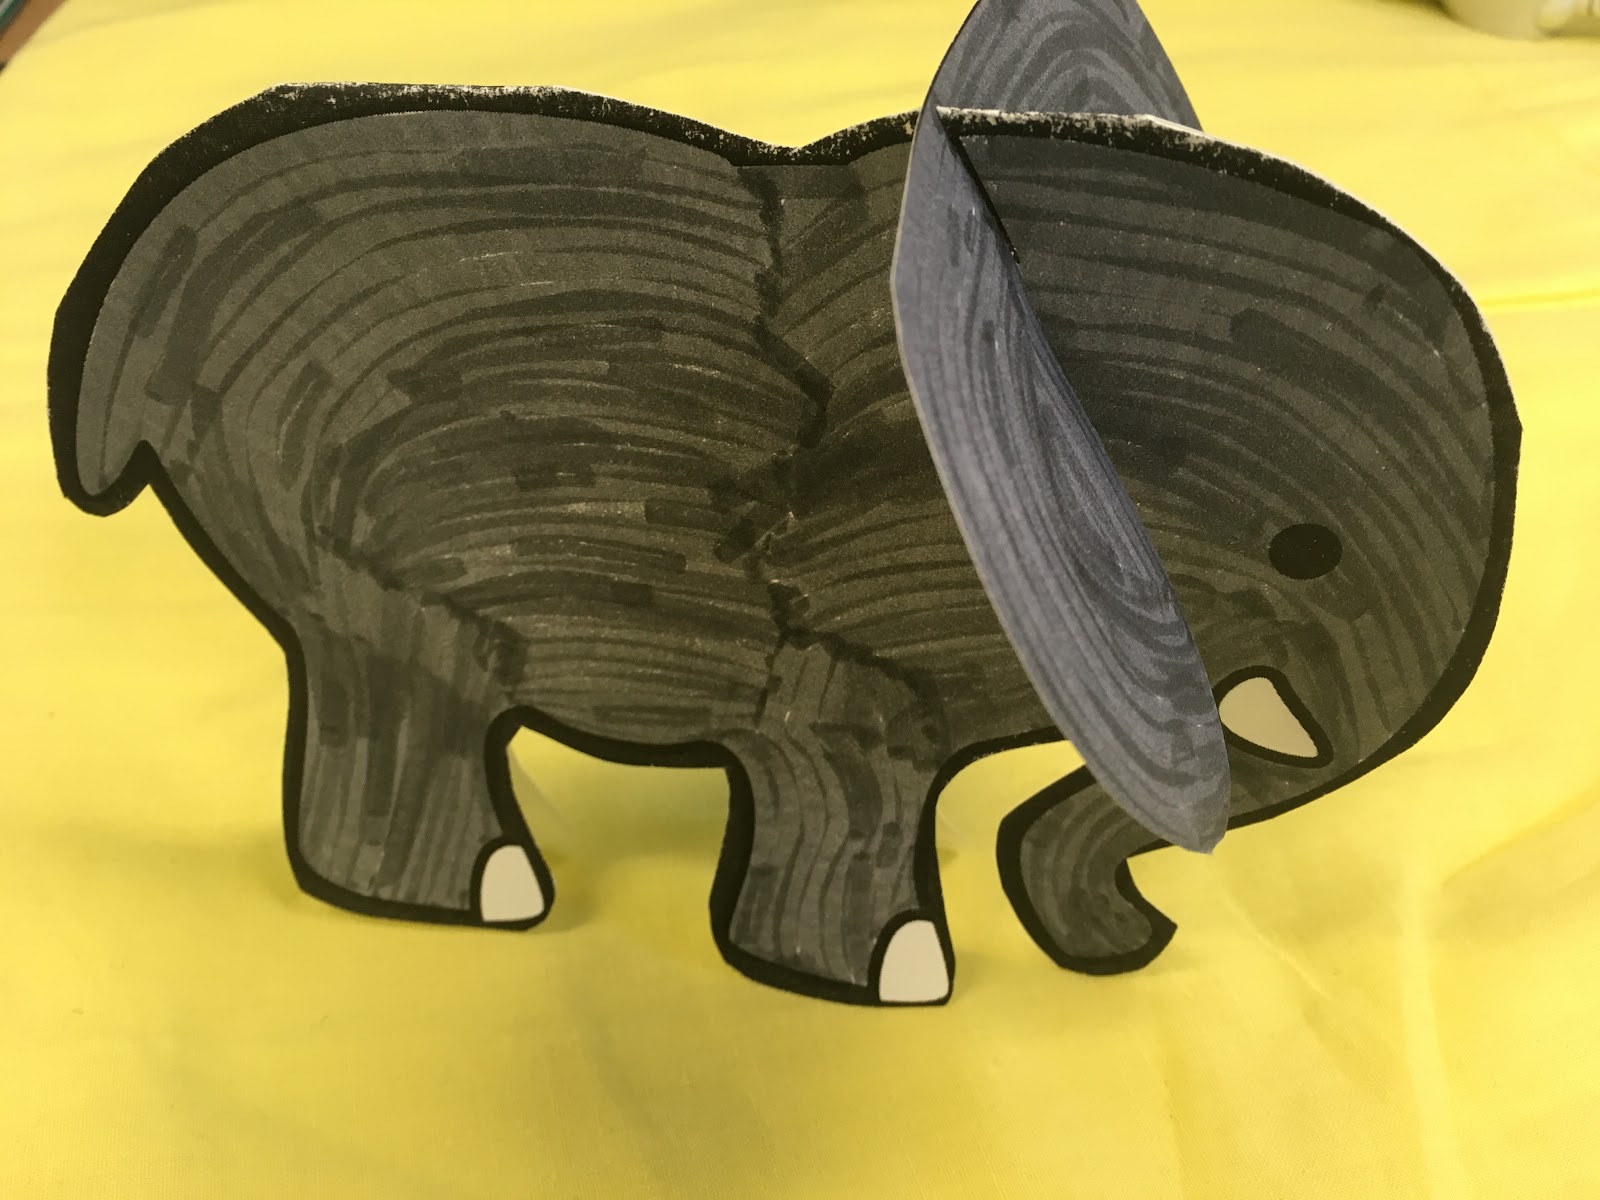
Step 5. Attach the ears. There is a small black line on the elephant’s head. Once both sides are
glued together, you can carefully cut the line. This will create a slit for the earpiece to slide into.
When the legs are separated (which you can do by gently folding them out… not enough to make
a crease, but enough for a slight curl), the ears help balance the elephant to stand on its own!

Step 6. Decorate it! The elephants can be decorated any way you like. I used a rectangle and
a half-circle of cardstock, decorated them, and folded them in half. These pieces were adhered
with a regular glue stick. That’s it!

Enjoy the elephants!

Friday, May 11, 2018

Record Mandalas

Record Mandalas


This decorative craft only requires a few materials: An old record, a small paintbrush,
and some acrylic paint!


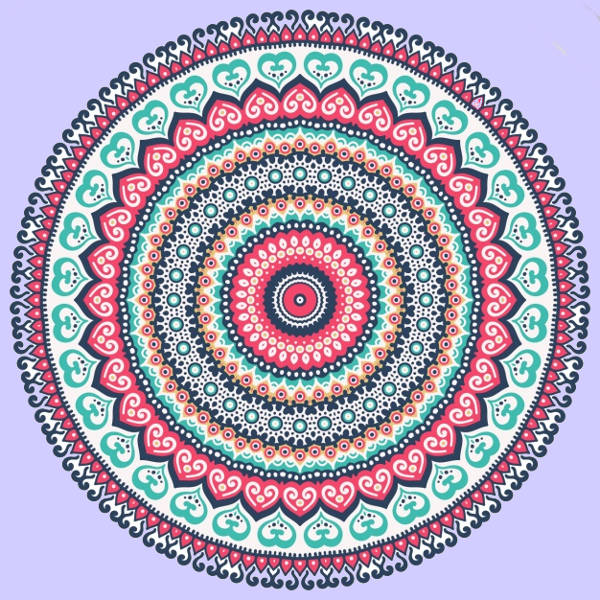
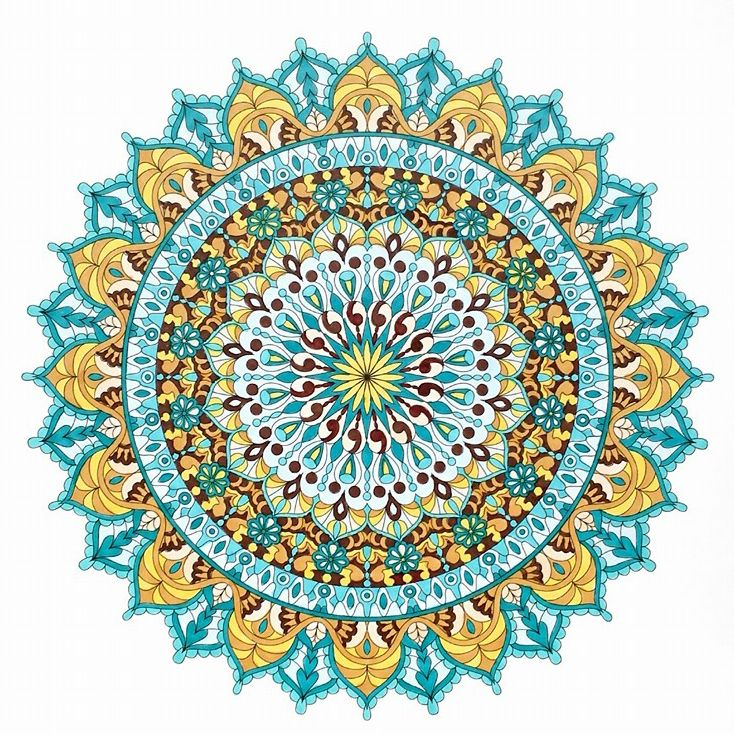
The Mandala pattern is easy to recreate by repeating patterns of dots, lines, and other shapes
in a circular motion.
Mandalas are symbols that represent unity, wholeness, and the full cosmic universe.  


We used a very small paintbrush to create the dots used in our record mandala.
Different patterns and designs can be found all over the internet for inspiration.
The record provides a unique surface that is already the perfect size and shape for a
mandala design.


All Mandala examples were found online. Rights belong to their original creators.


The best way that we’ve found to create the pattern is to simply focus on one row at a time.
We began with a round of dots surrounding the label in the middle of the record.
After one row was down, additional rows could be spaced in comparison to the first
(ie: one blue dot between every two pink dots, one purple dot in line with every blue dot, etc.).
It’s strangely relaxing to just sit for a while, adding dots to the piece.


It’s easiest to paint from the inside out, turning the record as you go until each full circle is complete.
The paint dots are small enough that they don’t require much time to dry.

And just like that… Record Mandala Decorations!

Pop Art Band Prints

Pop Art Band Prints


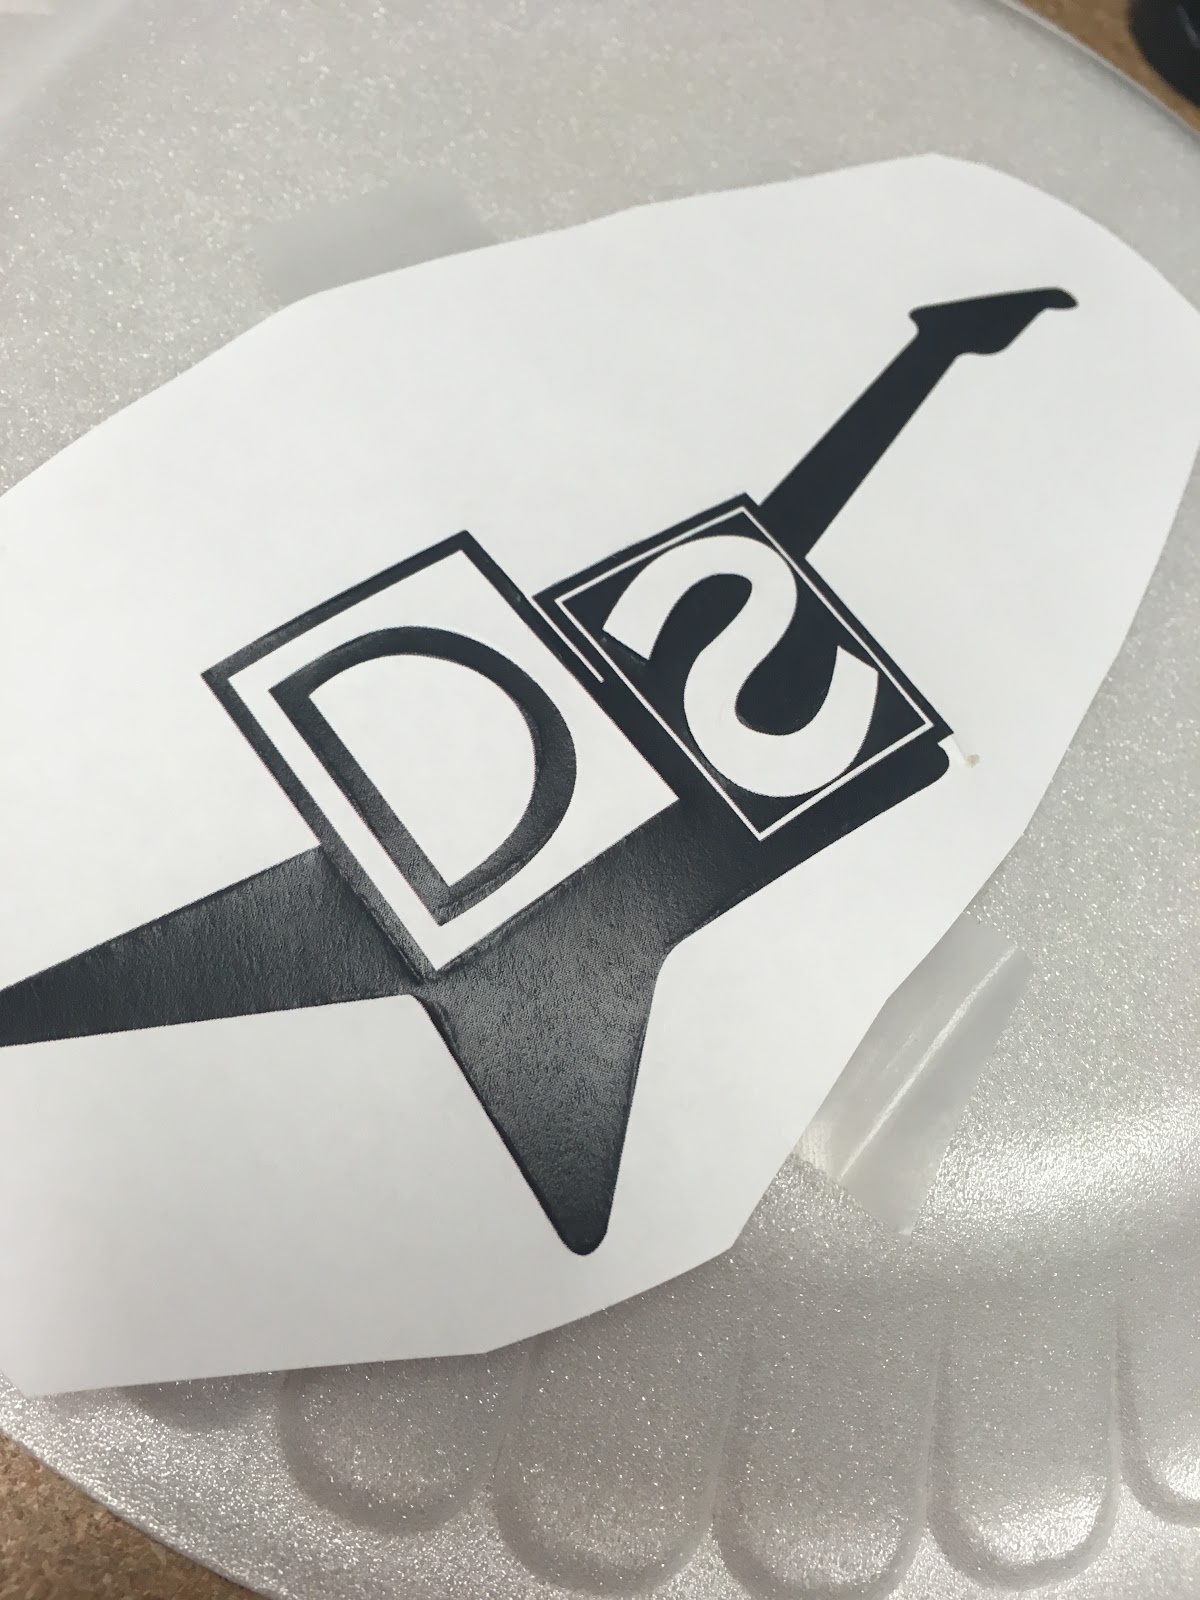
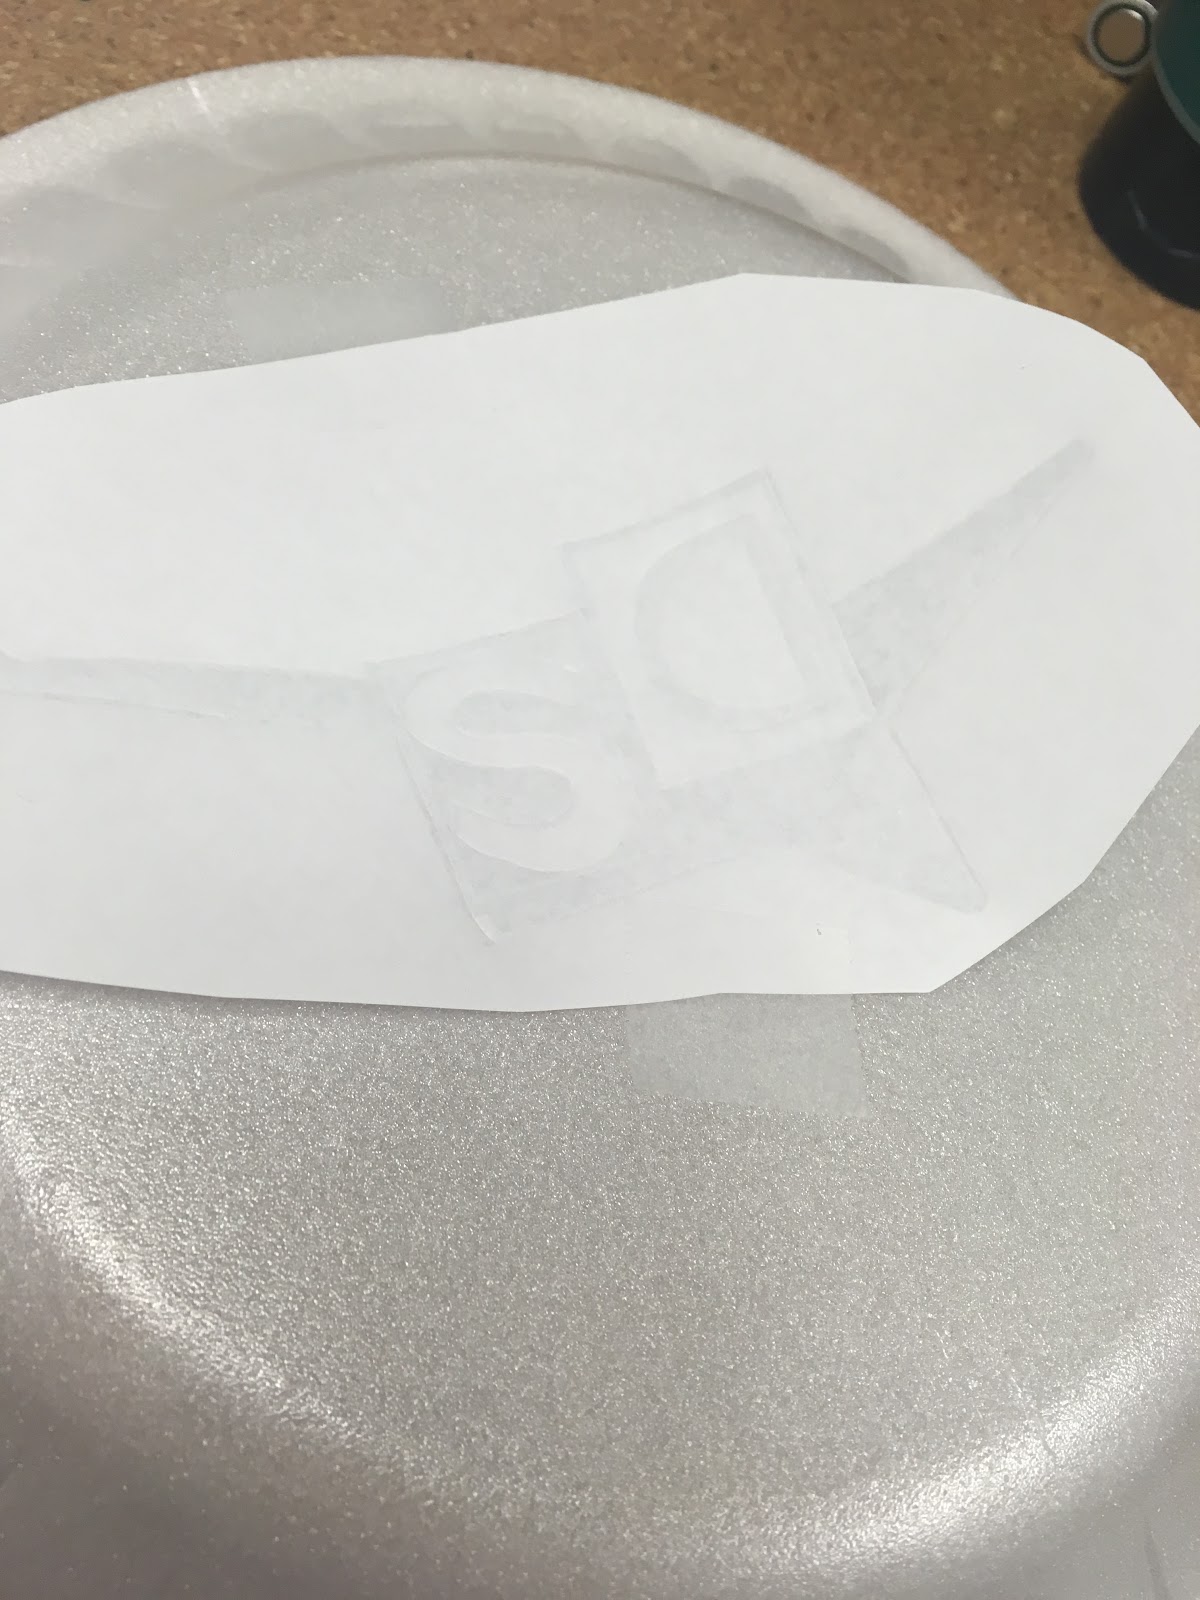
Design or print a logo to use for a Pop Art print on a separate sheet of paper.
This example uses a band logo from the TV show Lost.  
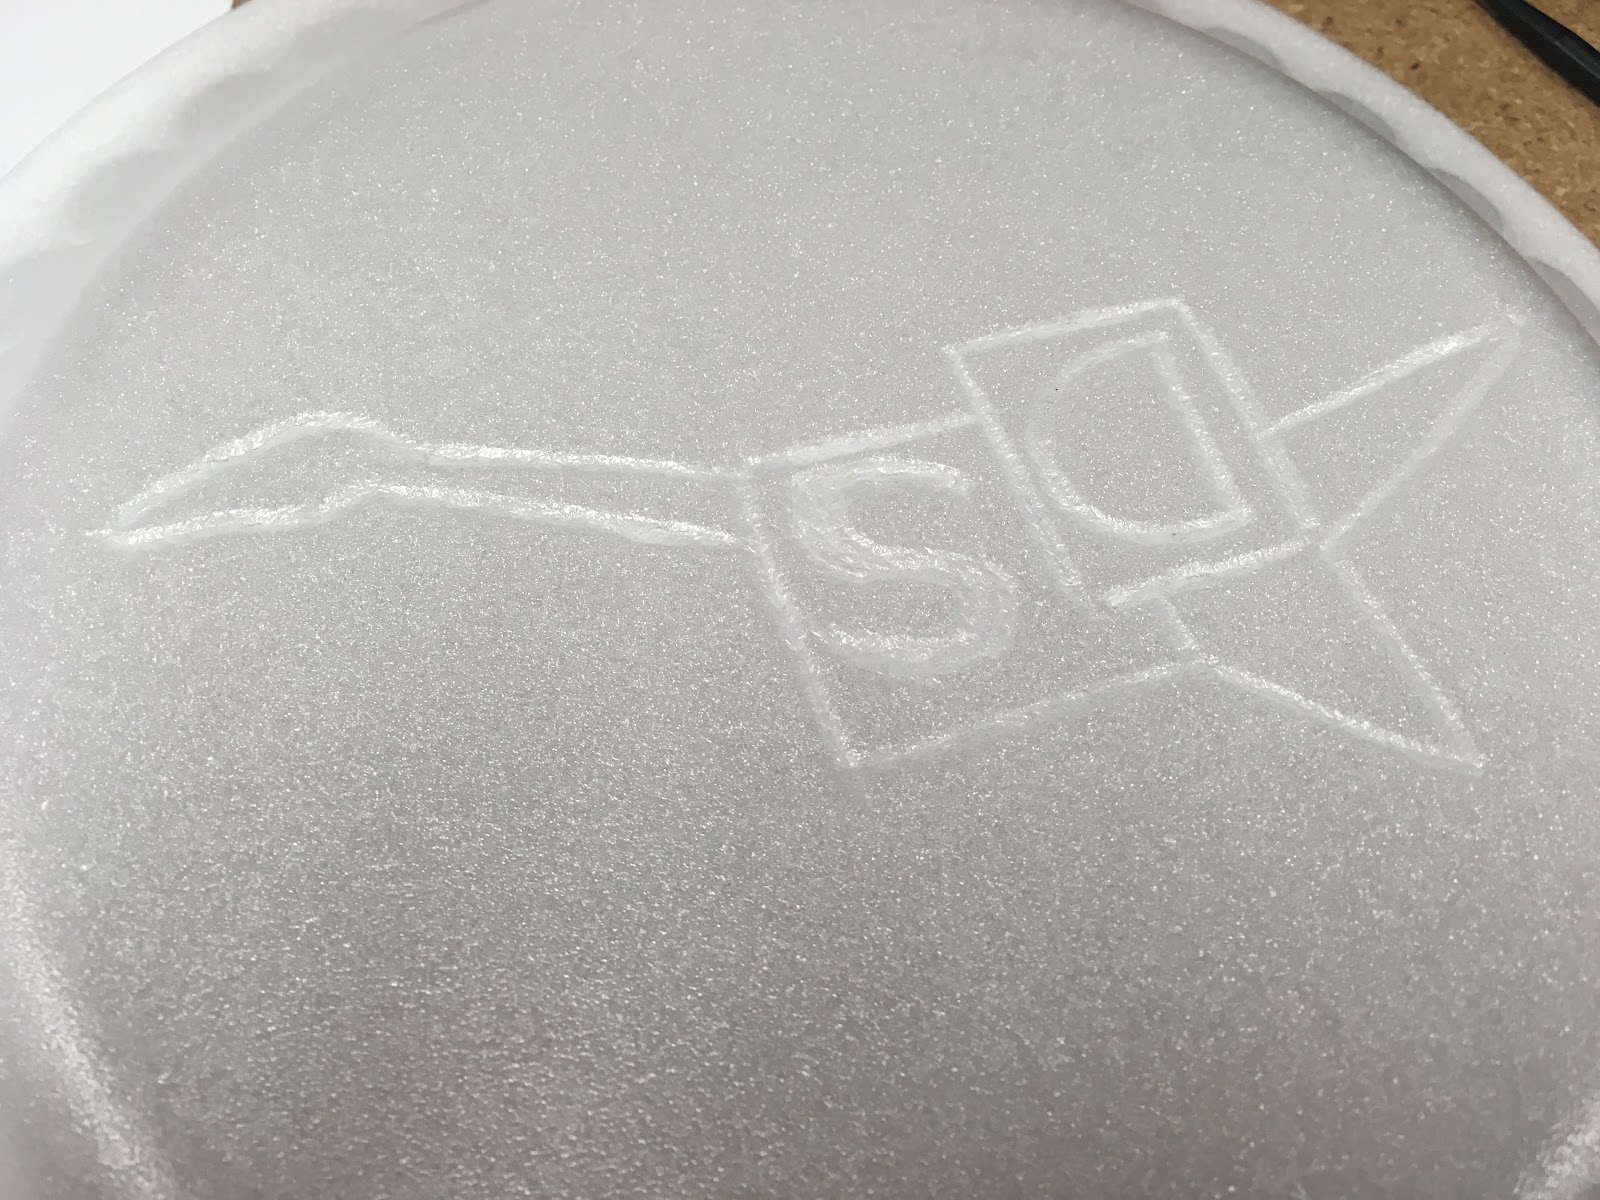
The indentation needs to be backwards on the plate “stamp,”
so you will need to place the paper upside down on the bottom of your plate.
Secure the paper in place with a piece of tape .


Using a plastic pressing tool (alternatively a pen, skewer, popsicle stick, or paperclip),
push down into the plate, tracing all of the lines of your logo.
You will want to press hard enough to make a dent in the foam,
but not hard enough to break through the plate.
Once all lines are traced, remove the paper with the original design.


Inspect your indentation. If any lines seem faint, go over them a few more times
with your pressing tool. Anything that is meant to be left white in your print should be
pressed in on the plate. You should be able to feel the difference in texture on your design.


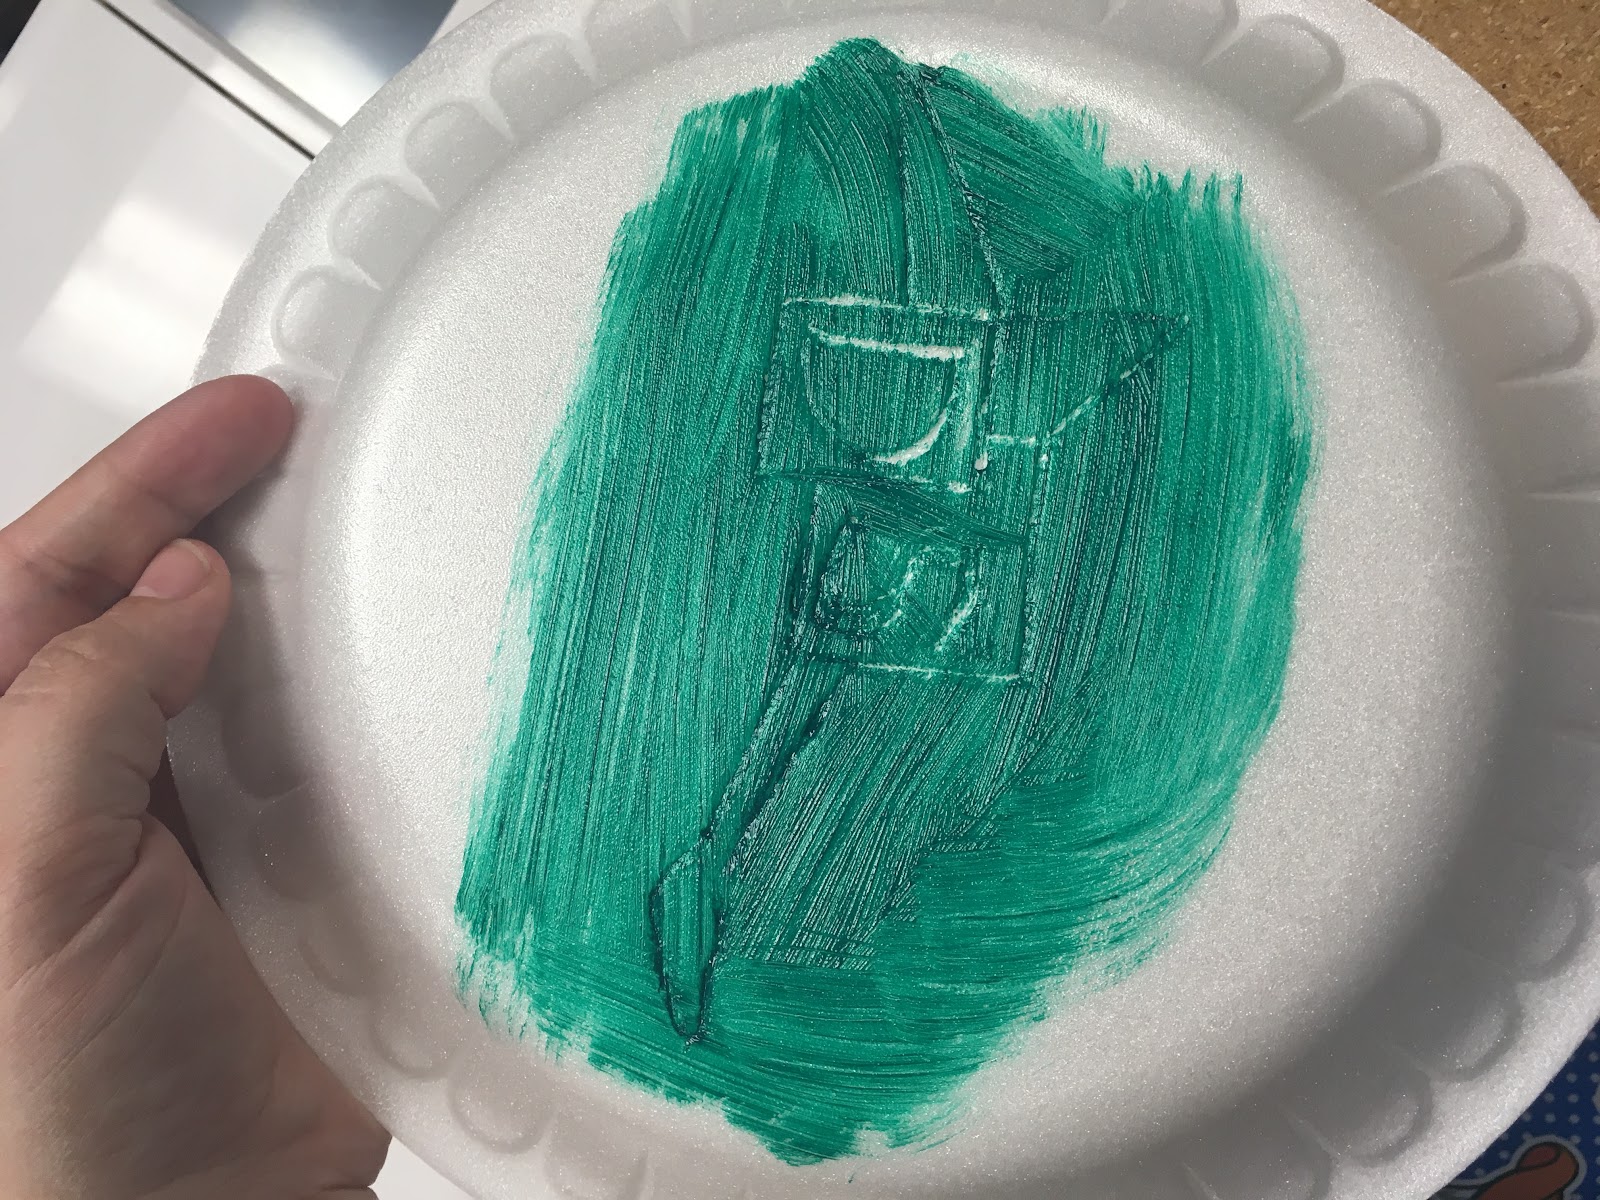
Cover the bottom of your plate in a thin layer of paint.
The paint should at least cover the area surrounding your design.
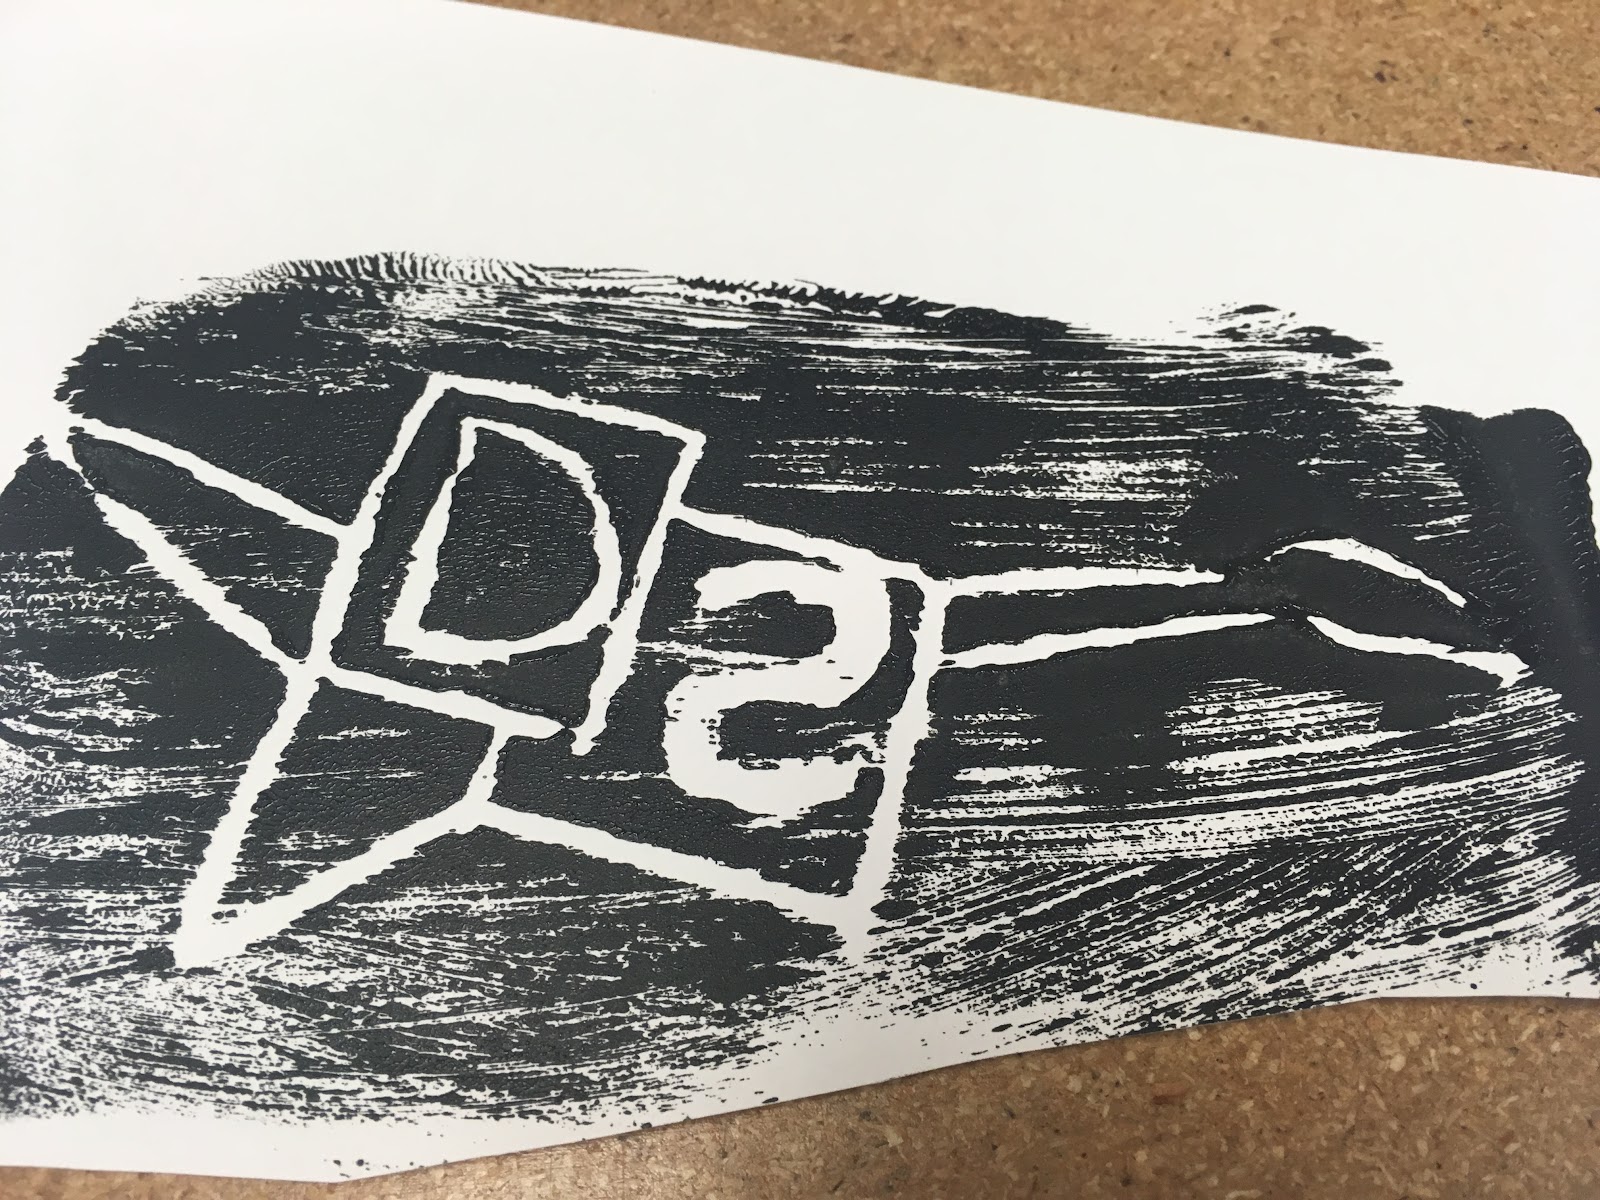
I like the effect made from visible brushstrokes where the color has been painted on,
but you could also smooth this out if you prefer.


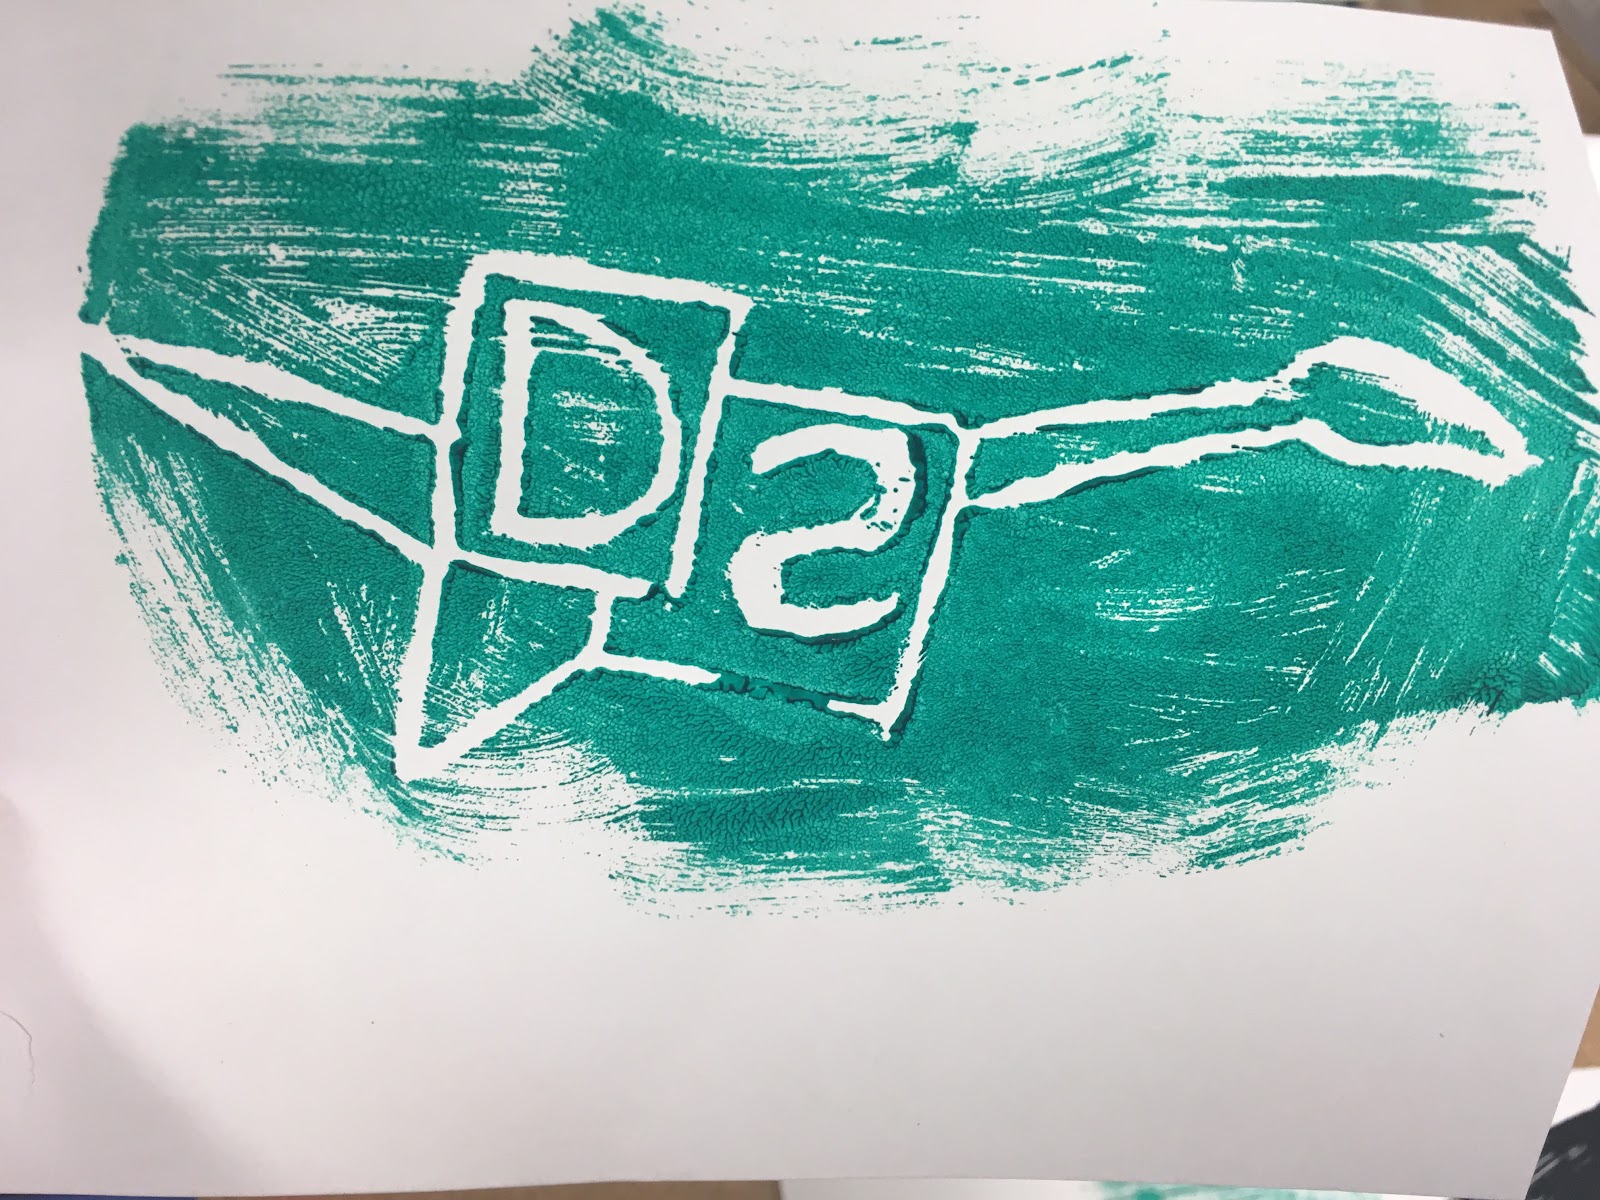
Carefully press the plate onto a sheet of poster paper with the paint facing down.
Gently rub the surface of the plate to be sure that all paint has had a chance to make contact.
Lift the plate straight up to remove it from the paper, leaving behind a print from your stamp design!
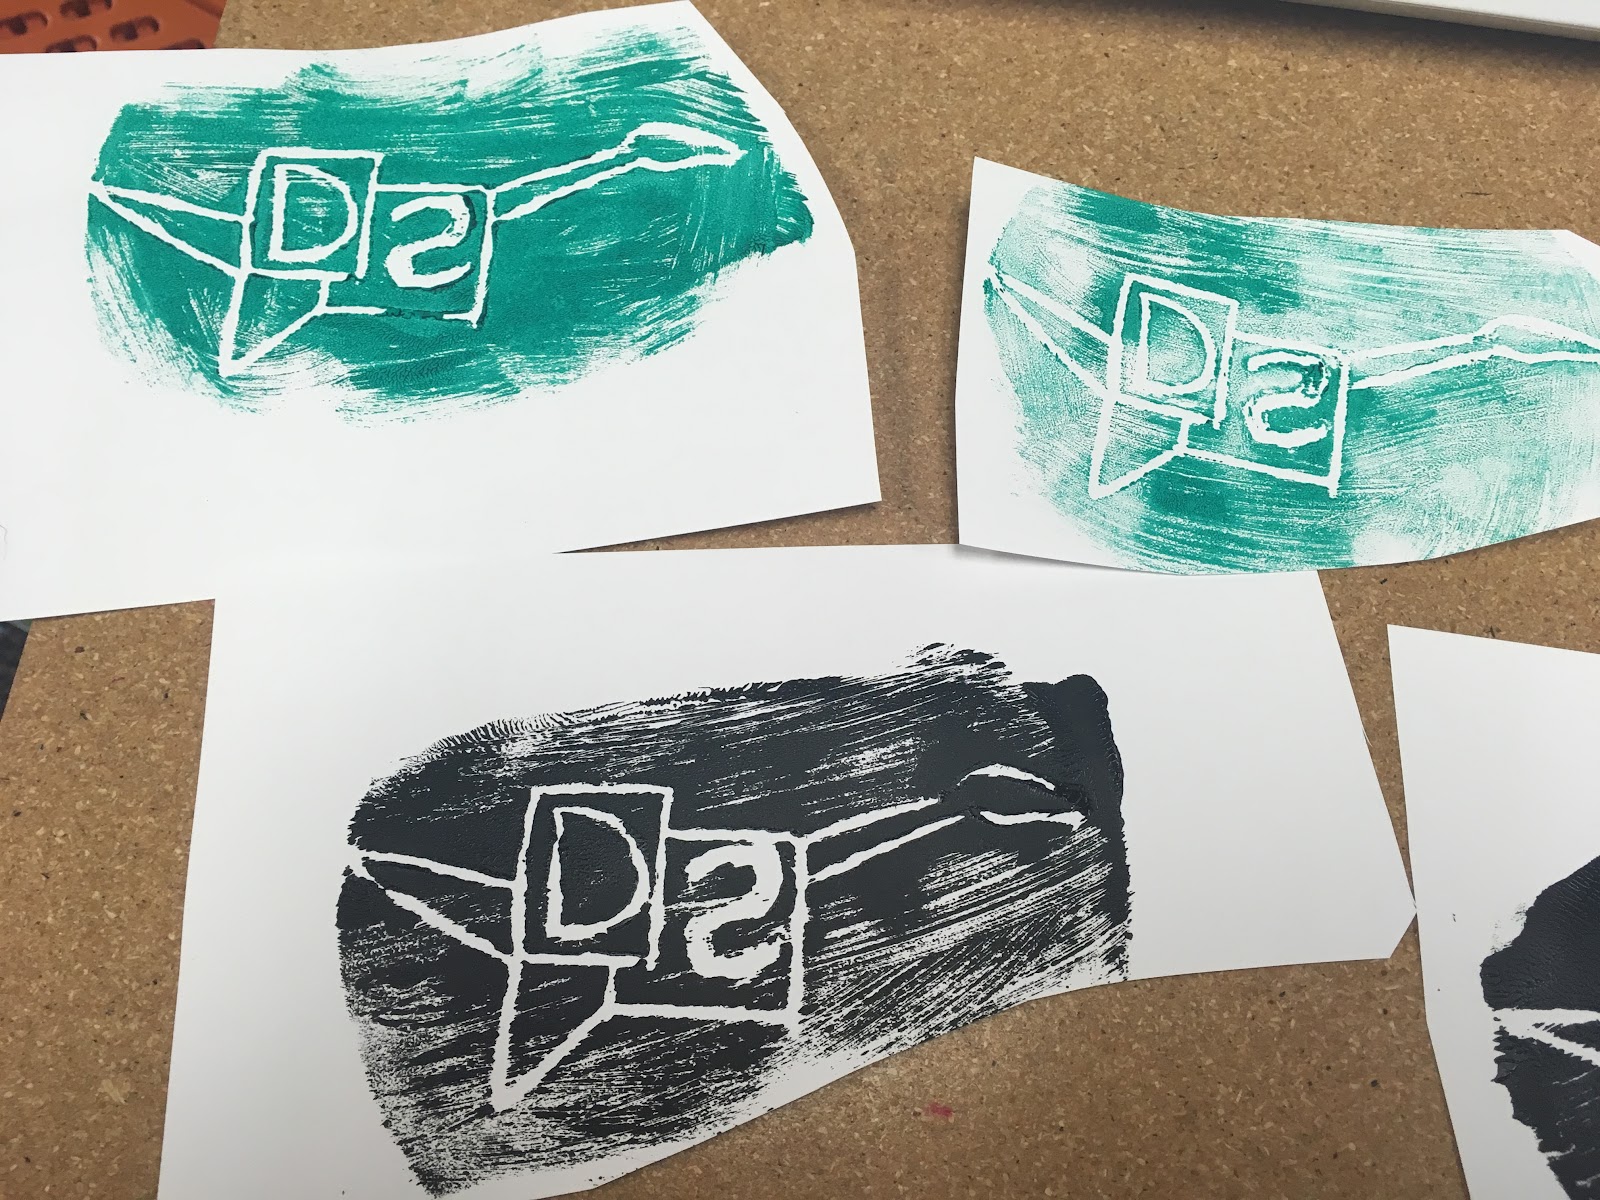
You can repeat the stamping process with different colors on the same sheet to turn your poster
into a true masterpiece.


Troubleshooting:


If your prints come out unclear like this, there is not enough paint on the bottom of the stamp.
The paint layer should be thin, but should be spread more evenly across your design.


If your prints are smudged like this image, there are two common problems.
Your stamp may have too much paint. Try stamping a second time without adding additional paint
to see if it prints more clearly.

The indentation may not be deep enough. Try going over the lines of your design again
with a little more force. If the indentation is deeper, it will be less likely to fill with paint.