Tuesday, April 2, 2019

Ornament Astronaut


Ornament Astronauts!

This simple craft is a BLAST!

It just needs some card stock, coloring materials, scissors, glue, a hot glue gun, something to take/print photos with, and half of a plastic ornament!

To start, you'll need a picture of your astronaut. This can be a picture from an actual camera, or a simple snapshot from a tablet or phone. It doesn't need to be on photo paper or anything... regular copy paper works just fine! 


The photo should focus on the face, because that's the only part you'll be using. (If you're feeling ambitious, you can even position the subject on the floor so their hair 'sticks up,' and then take the picture from above. It's fun to defy gravity!). The photo should be printed about wallet size. 


The next step is to color your astronaut print. (I found this astronaut clipart online, but couldn't find the source. If it's your design, let me know!) 
This should be printed off on card stock so that it's a little more stable. Decorate the space suit however you'd like! I just used colored pencils, but crayons, markers, stickers, paint, glitter, and other craft supplies could all work. They sky's the limit!

 
Cut out the face from your photo and glue it to the head of the astronaut. Once the face is secure, cut around the astronaut shape. 

Using a hot glue gun, attach one half of a clear plastic ornament over the space hood to create a 'helmet.'


And just like that... you're ready to take flight!


Moon Phase Tote


Moon Phase Tote

Here's how to make this simple Moon Phase Tote Bag!

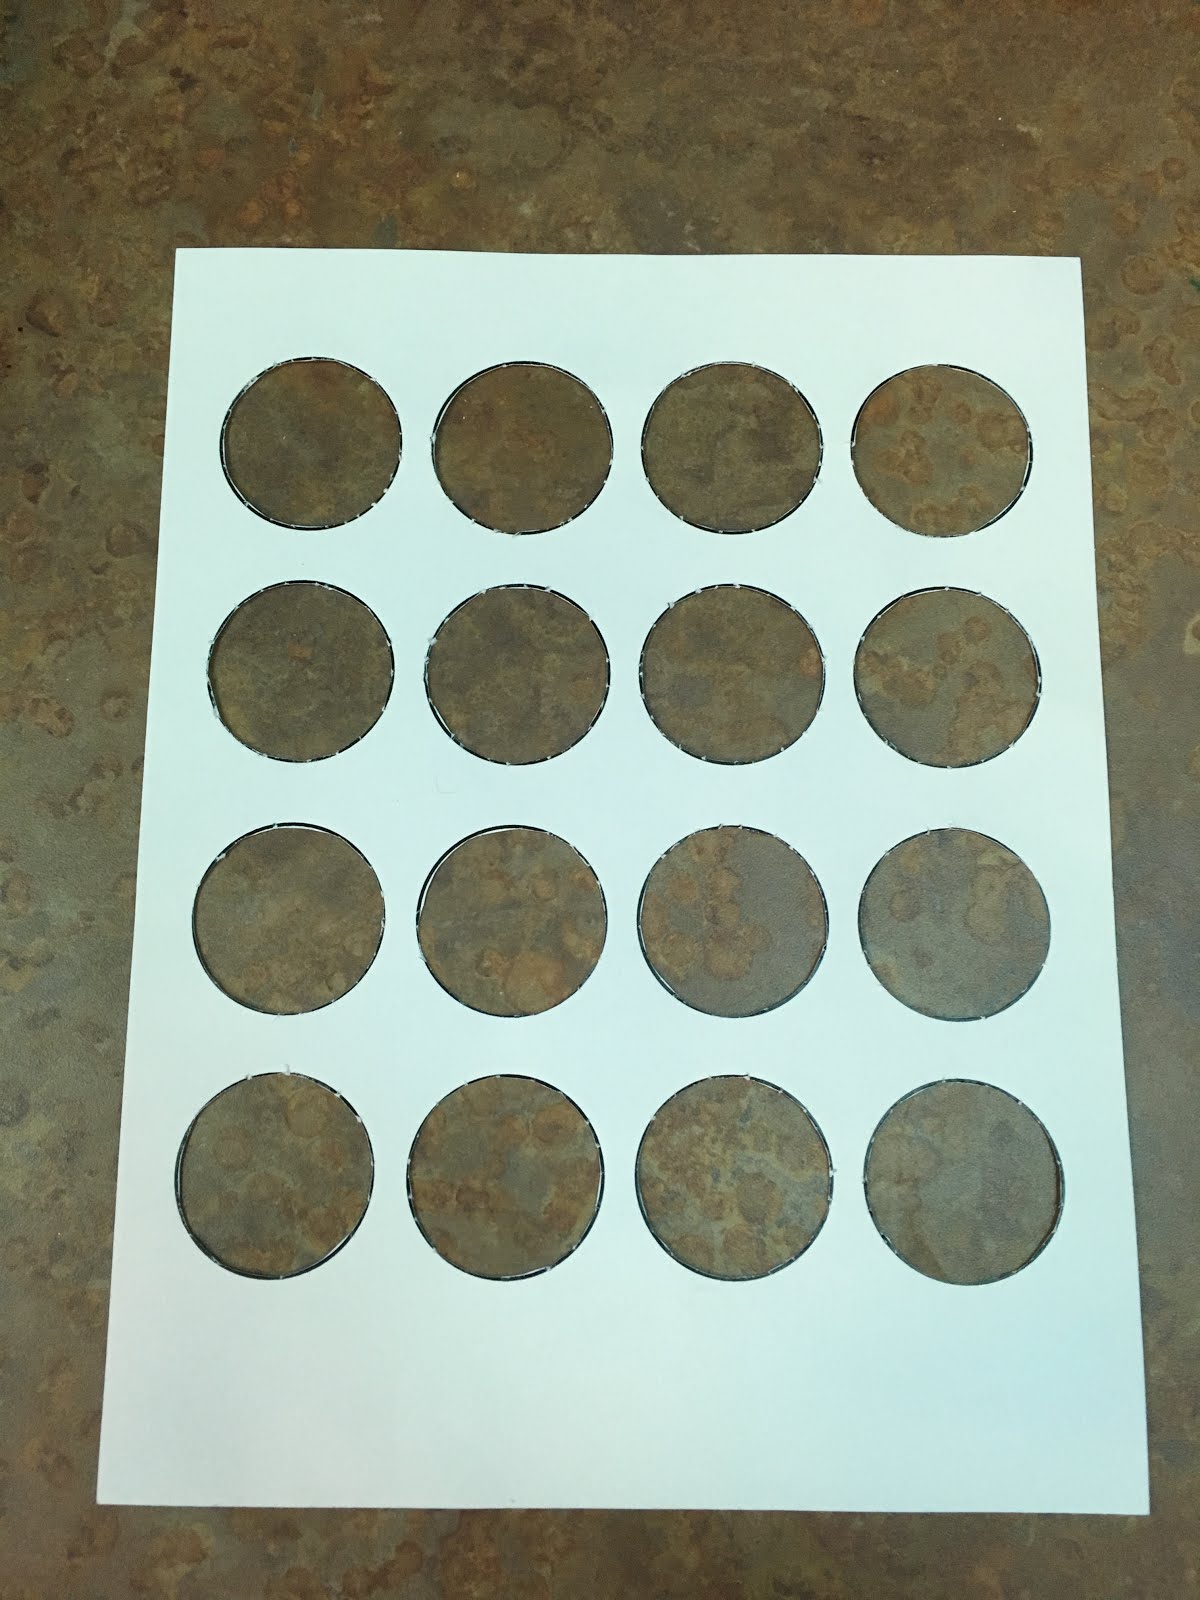
Start with a print of 16 circles on card stock.


You'll want to remove all of the circles, but leave the outlines in place. The best way to achieve this is to start with a pencil (or other pointy object). 

Poke the tip of the pencil through the middle of one of your circles to create a small hole. Use this hole as a starting point for your scissors to cut out the inside of the circle design. 


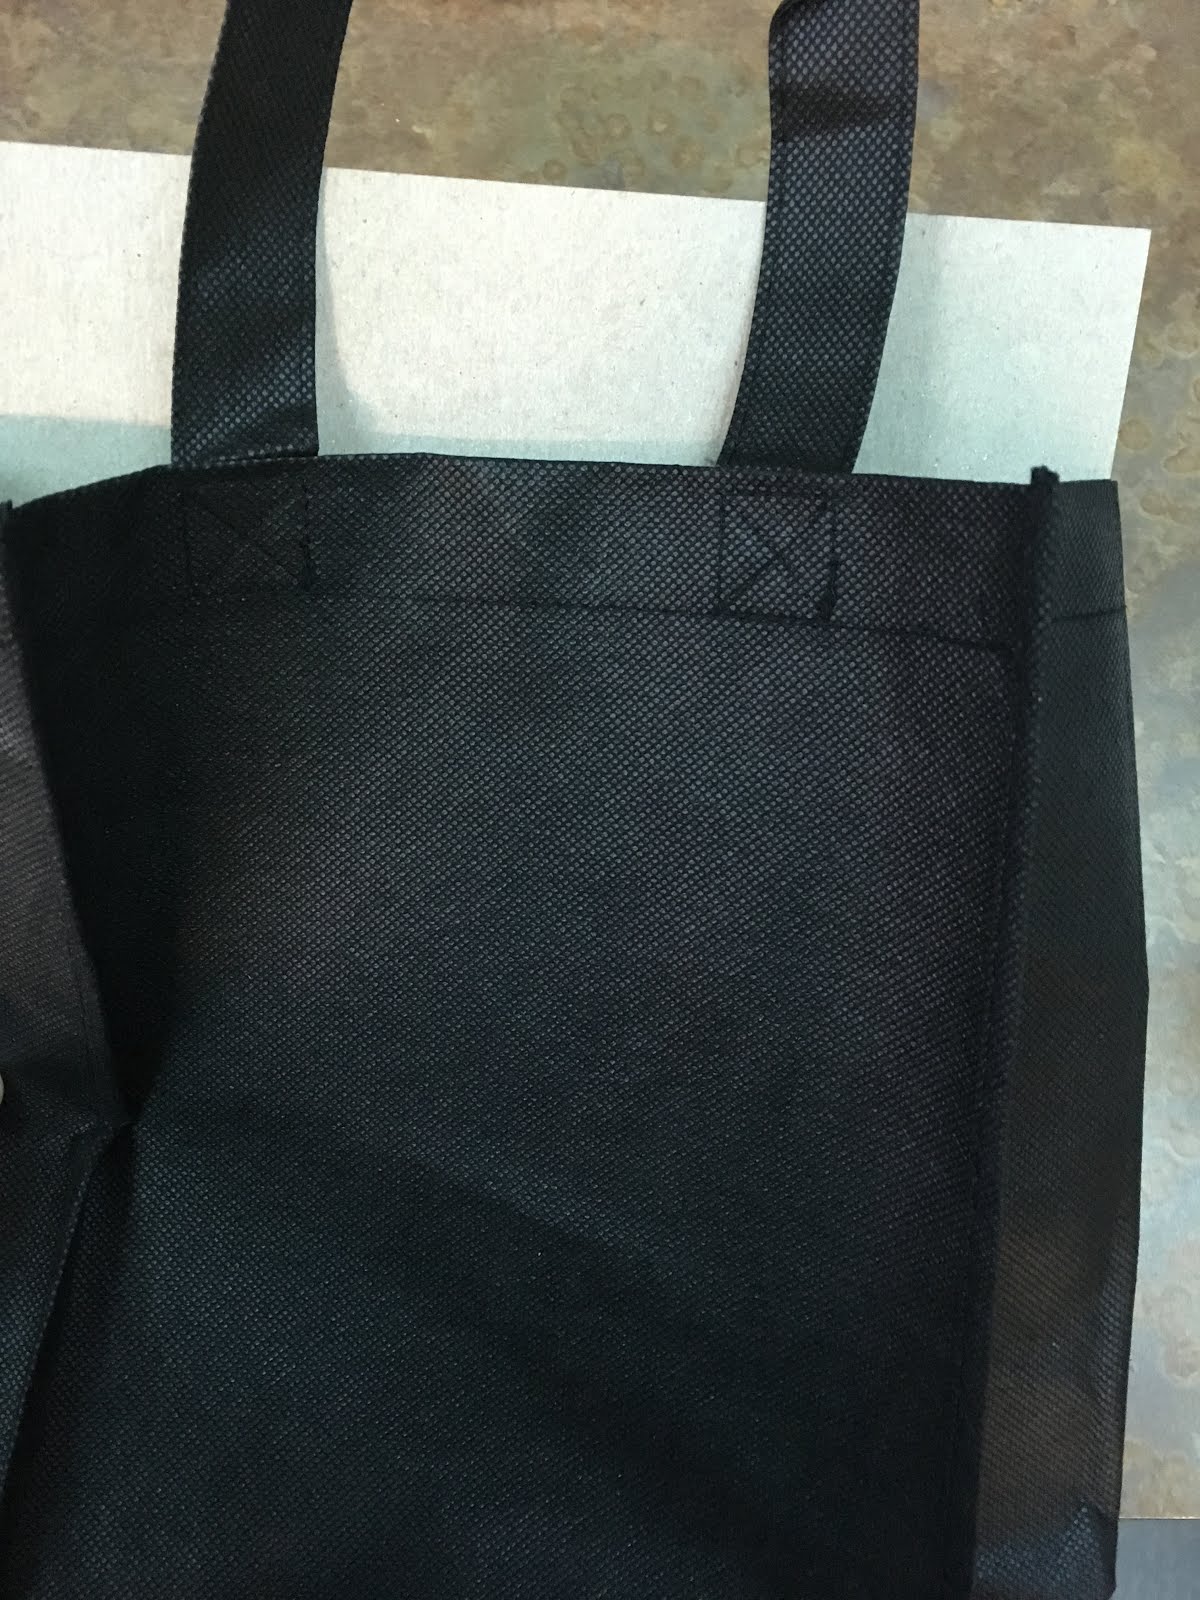
Add a scrap of cardboard inside your tote bag to protect it from paint bleeding through. Tape the circle template to the front of the bag, making sure it lays flat.


Using a foam brush and white fabric paint, use the circles as a stencil for your moon pattern. Dab the paint so that some spots are more opaque than others (darker sections look like craters and shadows). You'll start by painting only the edge of the first circle, gradually adding paint a little farther in each circle after. 


Around the halfway point, you'll end up with a complete circle filled in. After this, gradually decrease the amount of paint in each circle, from the same side you started with. You'll basically be reversing the pattern you just created.


Give the paint a moment to dry. If you need to go over with a second layer of paint, it's best do to this before you move the stencil. Peel the template off once your paint is dry.

That's it! Your new tote is good to go!


Wednesday, March 27, 2019

Plastic UFO Flyer


Let's make this UFO Flyer!


All you need for this project is a clear plastic plate, a sheet of cardstock, some paint (plus a paintbrush), the dome of an acorn capsule, a mini plastic alien, and a hot glue gun!


Use your Plastic Plate to trace a circle onto a piece of cardstock.
Set this aside for right now.


Start your Flyer art by adding buttons, levers, lights, and switches with paint. You should be painting on the inside (top side, if you were actually using it as a plate). These details can be as simple or complex as you want. I just made random dots and lines on mine.


Give the paint a few minutes to dry. Once it is ready (hardened enough to not smear), paint over everything with a layer of silver or gray. Let this dry as well.

While you are waiting for the paint to dry, cut out the circle of cardstock you traced earlier. (Tip: You may want to cut along the outside of your traced lines to give it a little extra space!)
You can also decorate one side of the cardstock with coloring materials during this time. This will be the bottom of your UFO.


Once your paint has dried and your decorating is complete, use the hot glue gun to attach the cardstock to the edge of your plate, sealing it up.


To finish up the flyer, use the hot glue gun to attach the plastic alien. Cover your alien pilot with the clear dome of an acorn capsule, and glue it down as well.

Hold things in place for a moment to make sure the glue hardens completely. Once everything is assembled, your UFO flyer is ready to go. Give it a toss like a frisbee, and watch the spaceship fly! 

Tuesday, June 5, 2018

Scrapbook Guitars


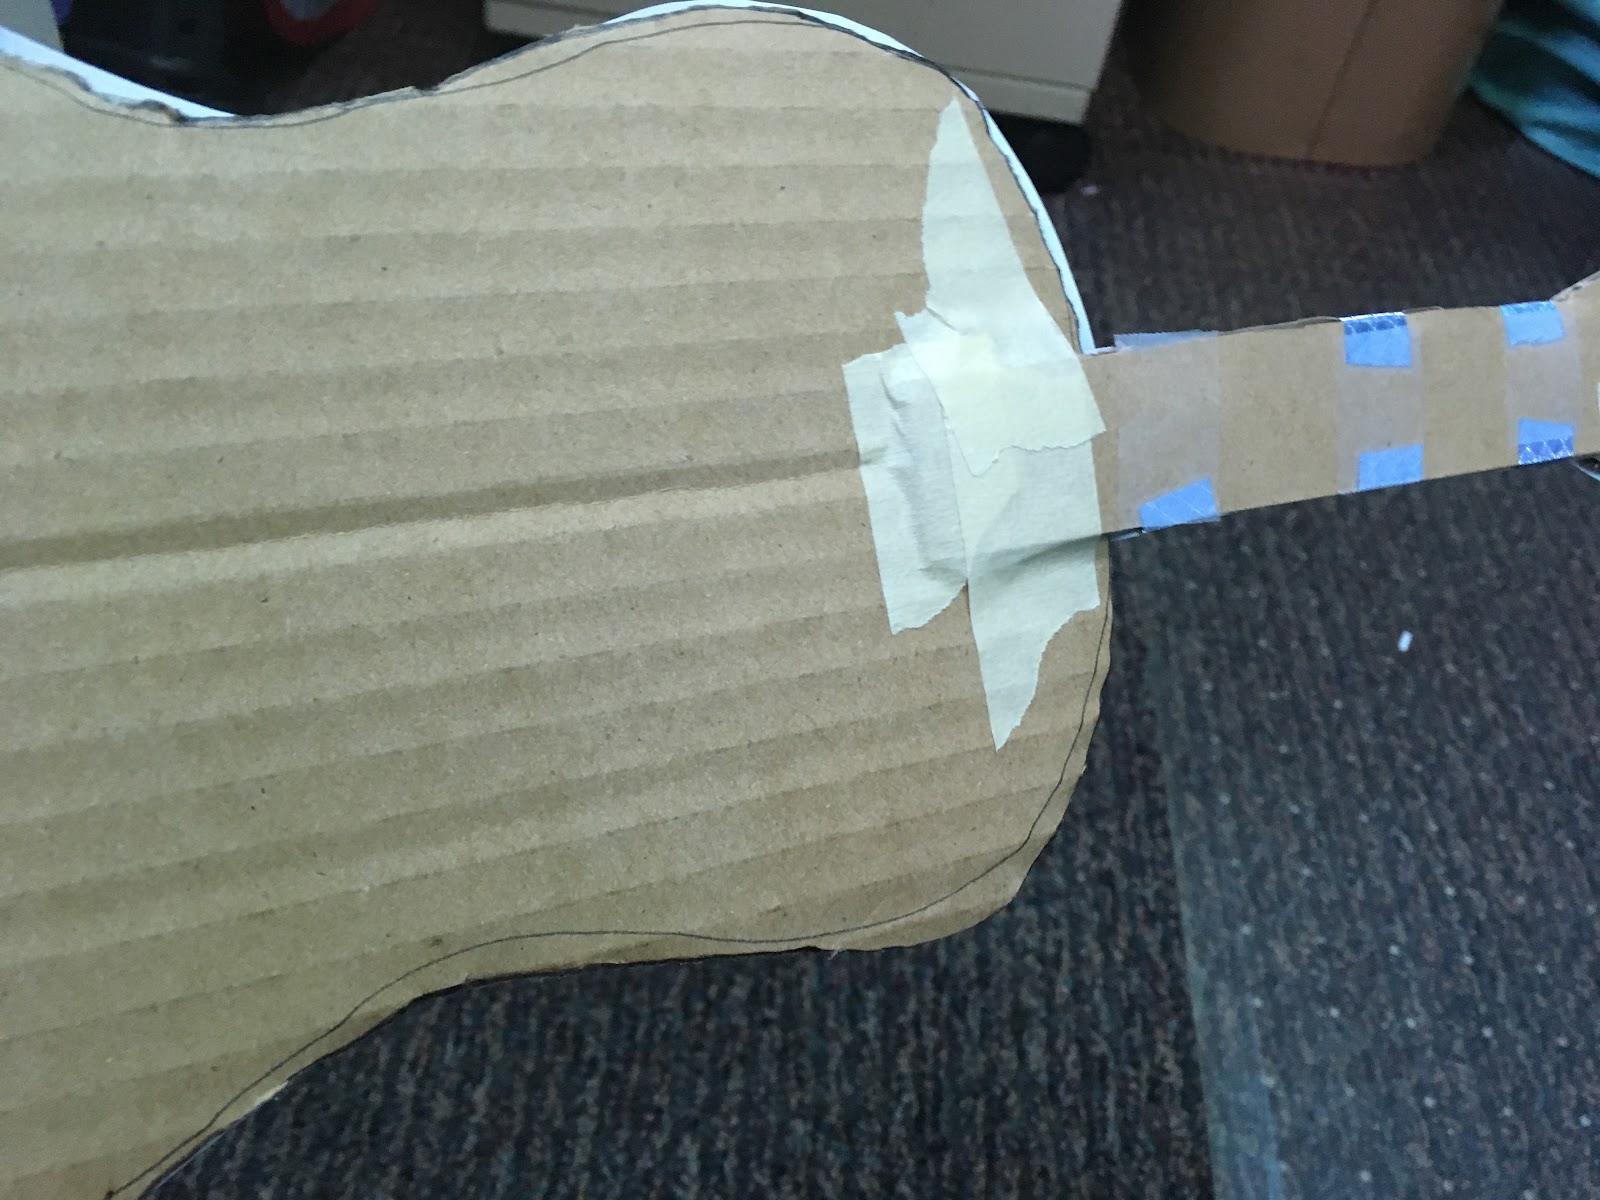
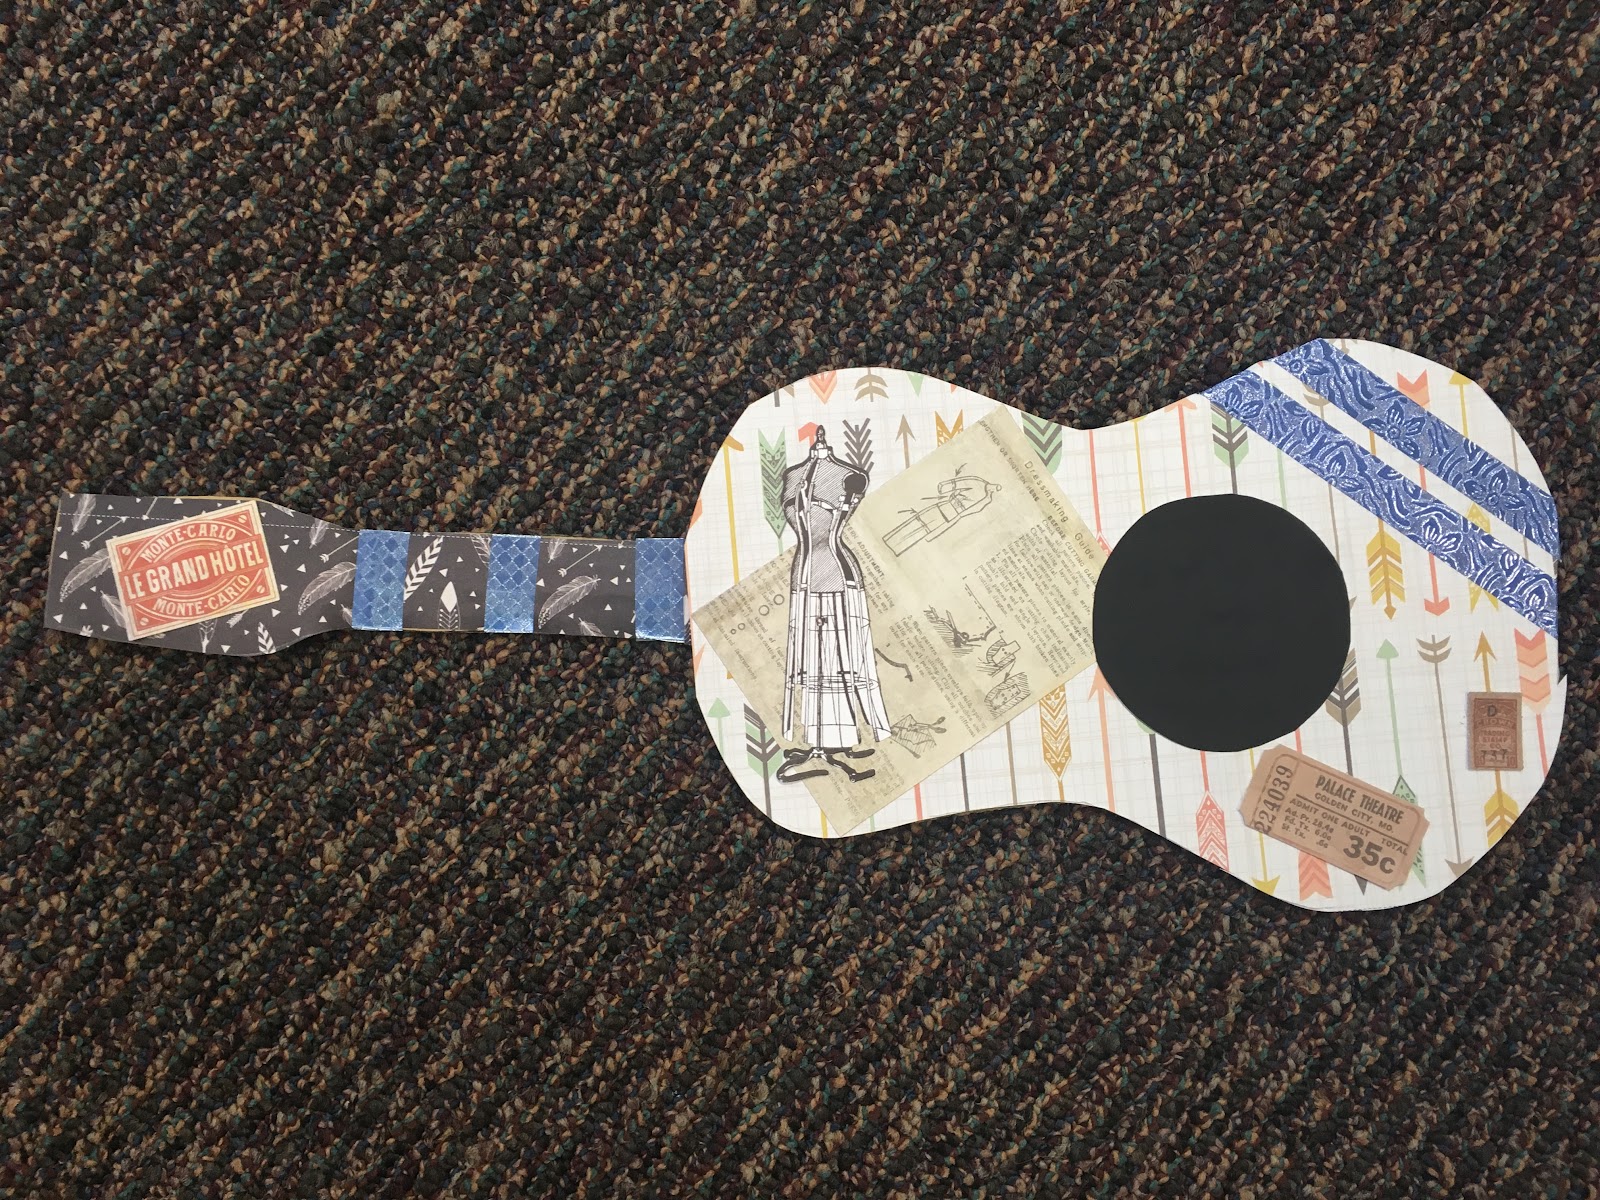
Here’s an easy one! Cut out the Guitar Template from printed cardstock. Trace both pieces on a
piece of cardboard. If they do not fit on the cardboard, make minor adjustments to the size of your
guitar shape. Cut both pieces out of the cardboard.


Attach the neck of the guitar to the body with craft glue or tape.


Then… decorate the guitar as you see fit! I used various scrapbook paper, washi tape, and vintage
paper accents in this example. Everything is attached with standard glue or its own adhesive. Finish
the guitar with a 3 inch circle of black paper to make the sound hole, and you’re done!
The good thing about this craft is the fact that it doesn’t have to be done a certain way. It’s just a
decoration! My guitar is actually backwards... but it worked better for the
specific pieces I wanted to use.

Thursday, May 31, 2018

Bird Kites

Bird Kites!
This one’s a heck of a project, but they’re SO COOL!


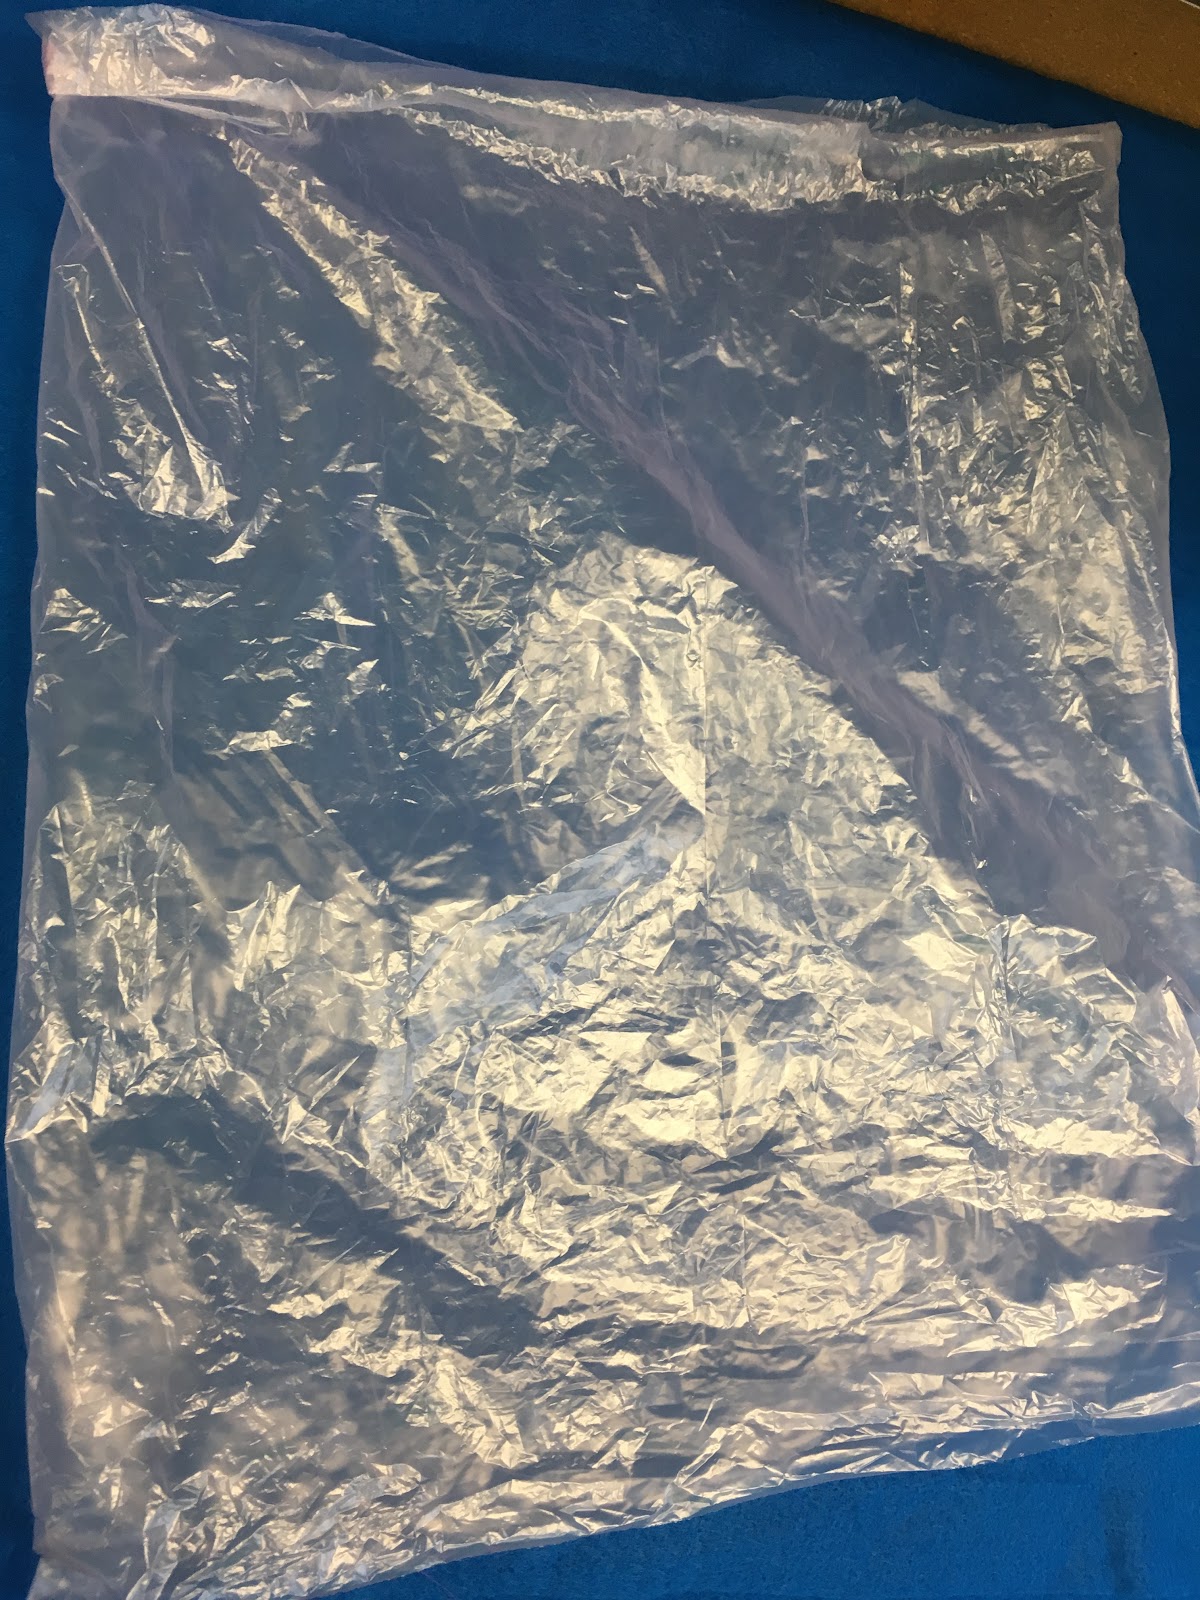
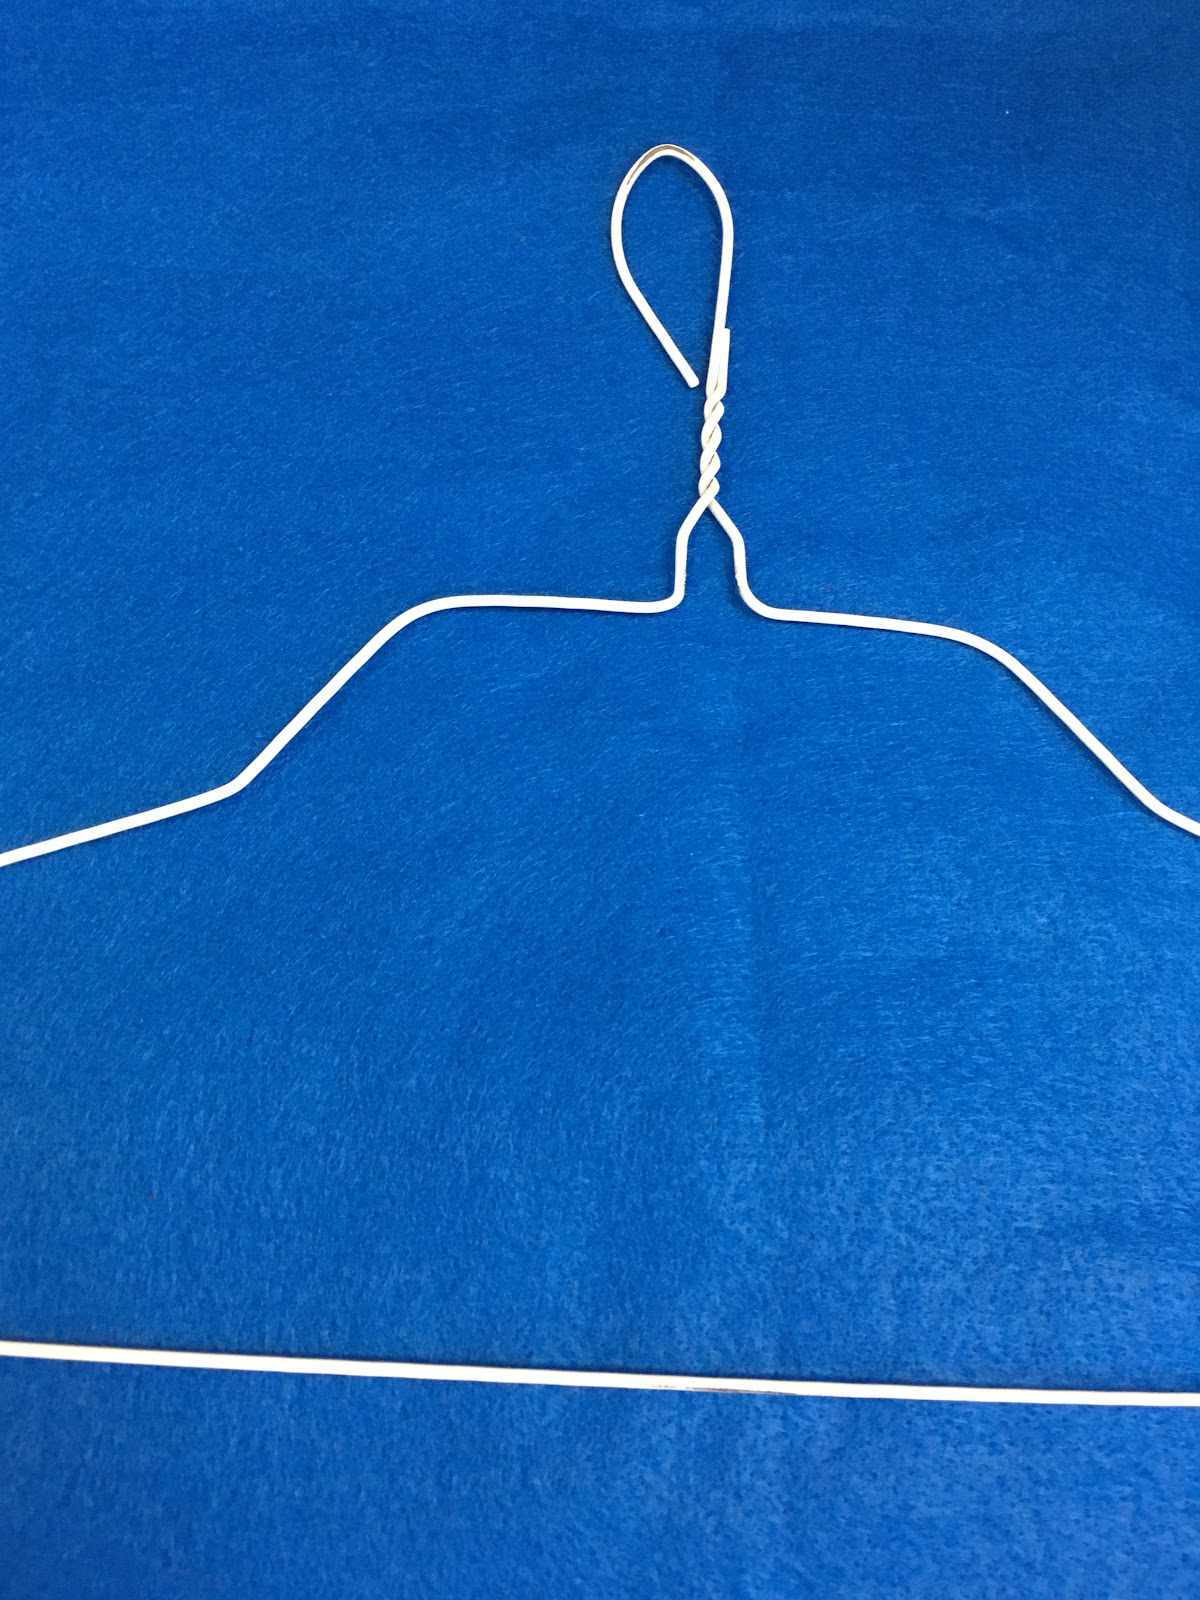
Here are your materials - a wire hanger, a small trash bag, a wooden dowel rod, clear nylon thread,
tape (I used packing tape, but other tape should work fine), scissors, and permanent markers.

This craft draws inspiration from the puppets used in the Broadway (stage) production of
The Lion King.  
Theirs are big, and awesome, and look like this.


This one is a little smaller… but is also awesome.


Let’s get started!


Step 1. Cut the bottom seal off of the trash bag so that it creates an open plastic tube. (This is
easiest BEFORE the trash bag is ‘opened,’ when it’s still folded into a rectangle, fresh off the roll).


Step 2. Bend the hook portion of the hanger so that it forms a smaller loop.
It doesn’t have to be perfect… a tight squeeze with your hand should be enough.


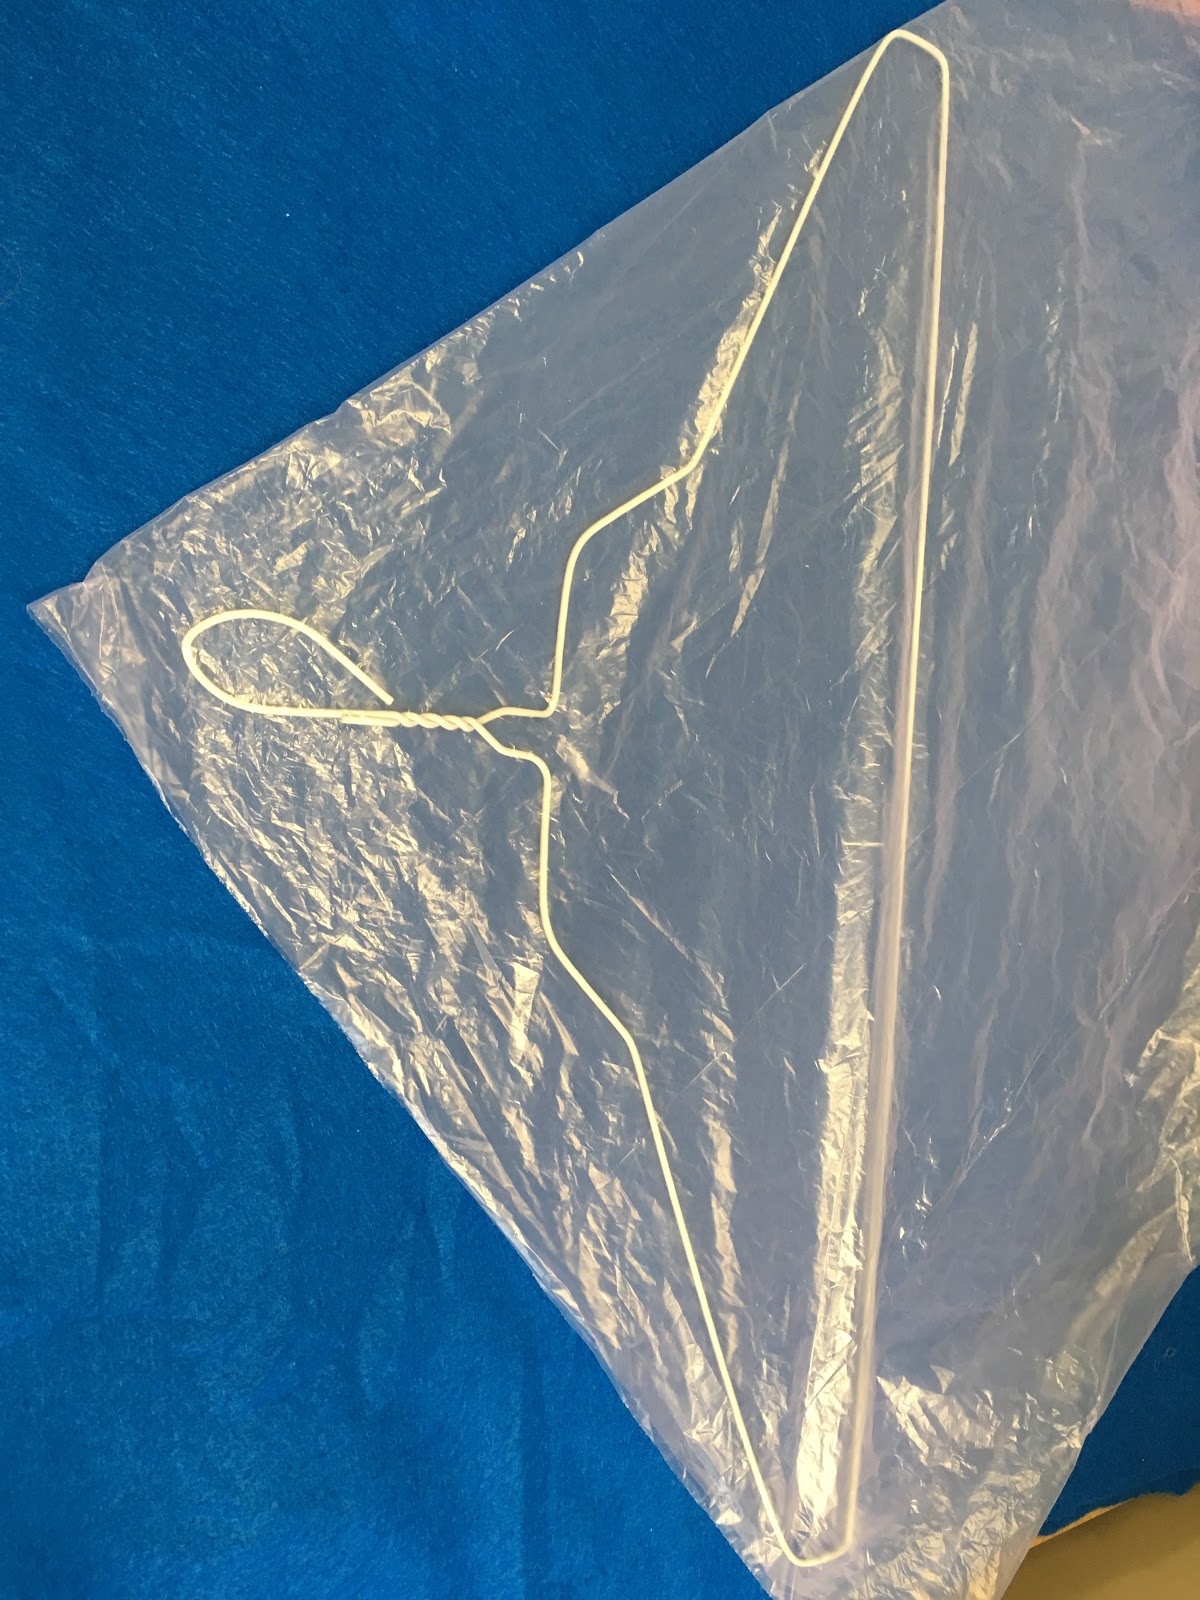
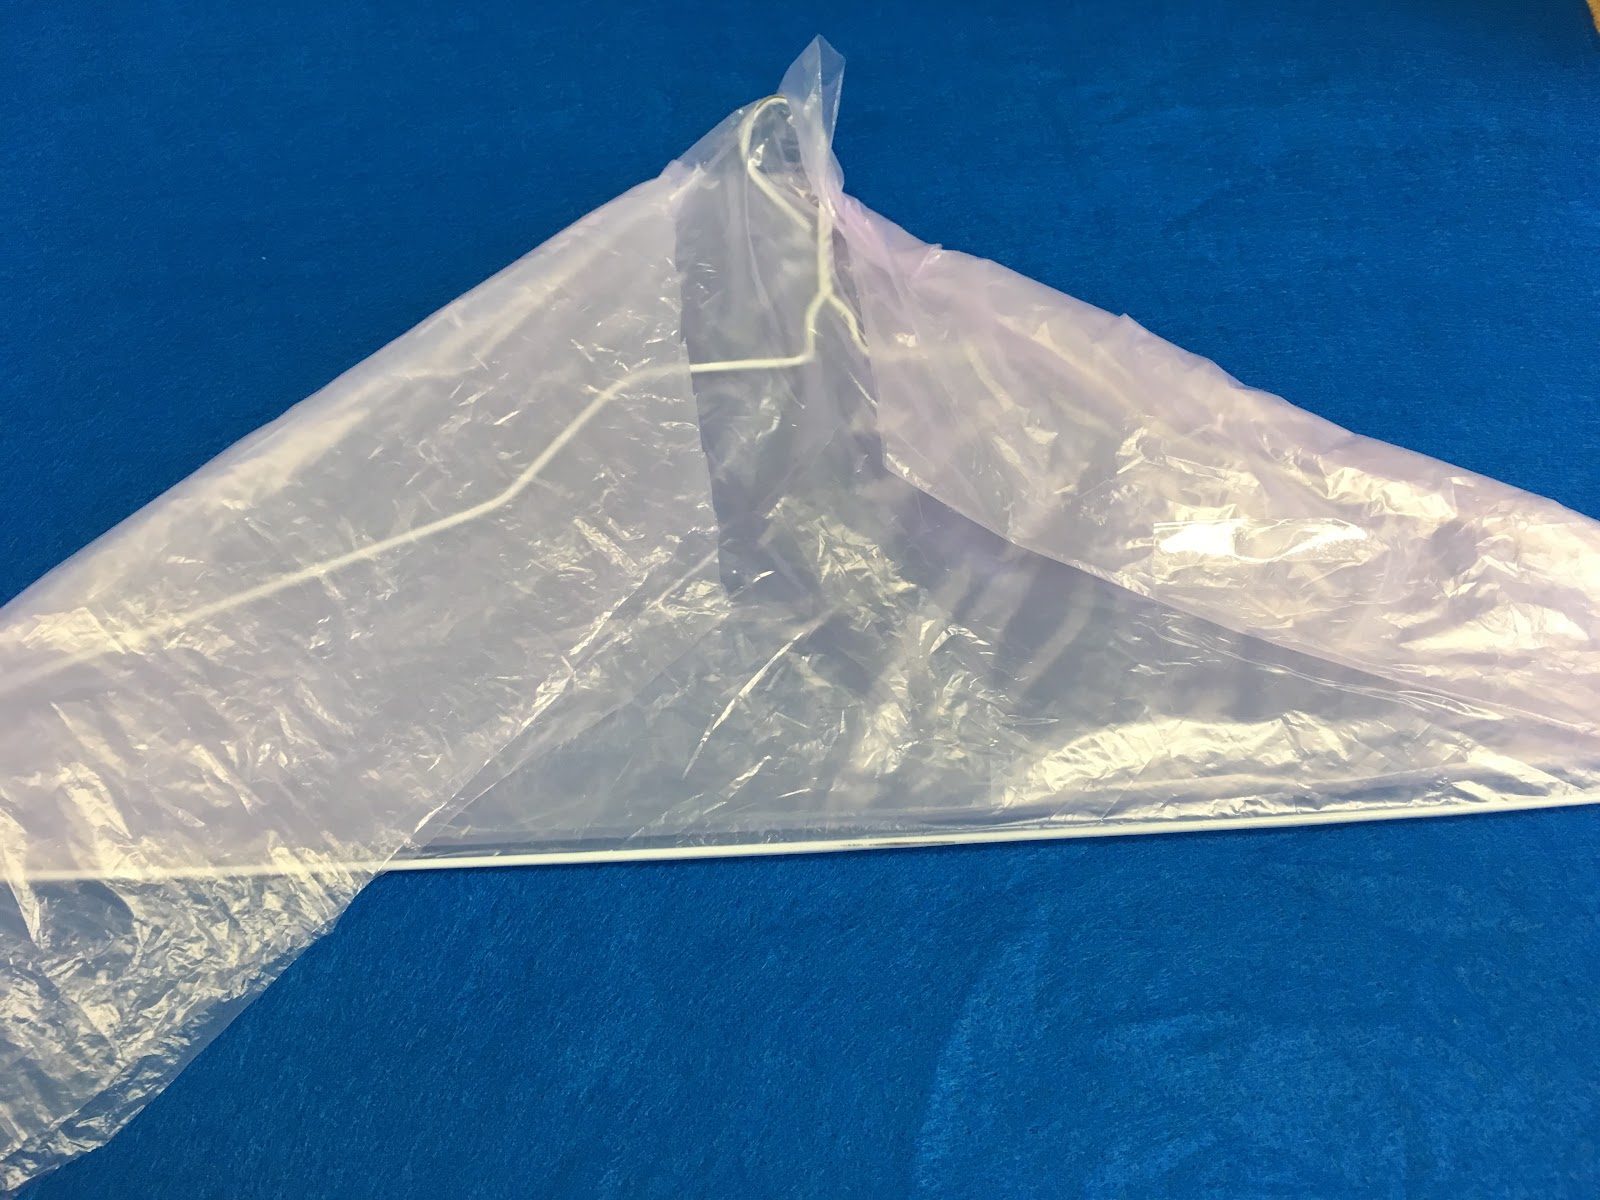
Step 3. Insert the hanger into the plastic tube. It should now be between two sheets of plastic. Point
the loop (which will become your bird’s head) toward one corner of the plastic, and make sure that
both corners of the hanger are fully covered. Move the hanger as close to the corner as you can get
it without exposing any of the wire.
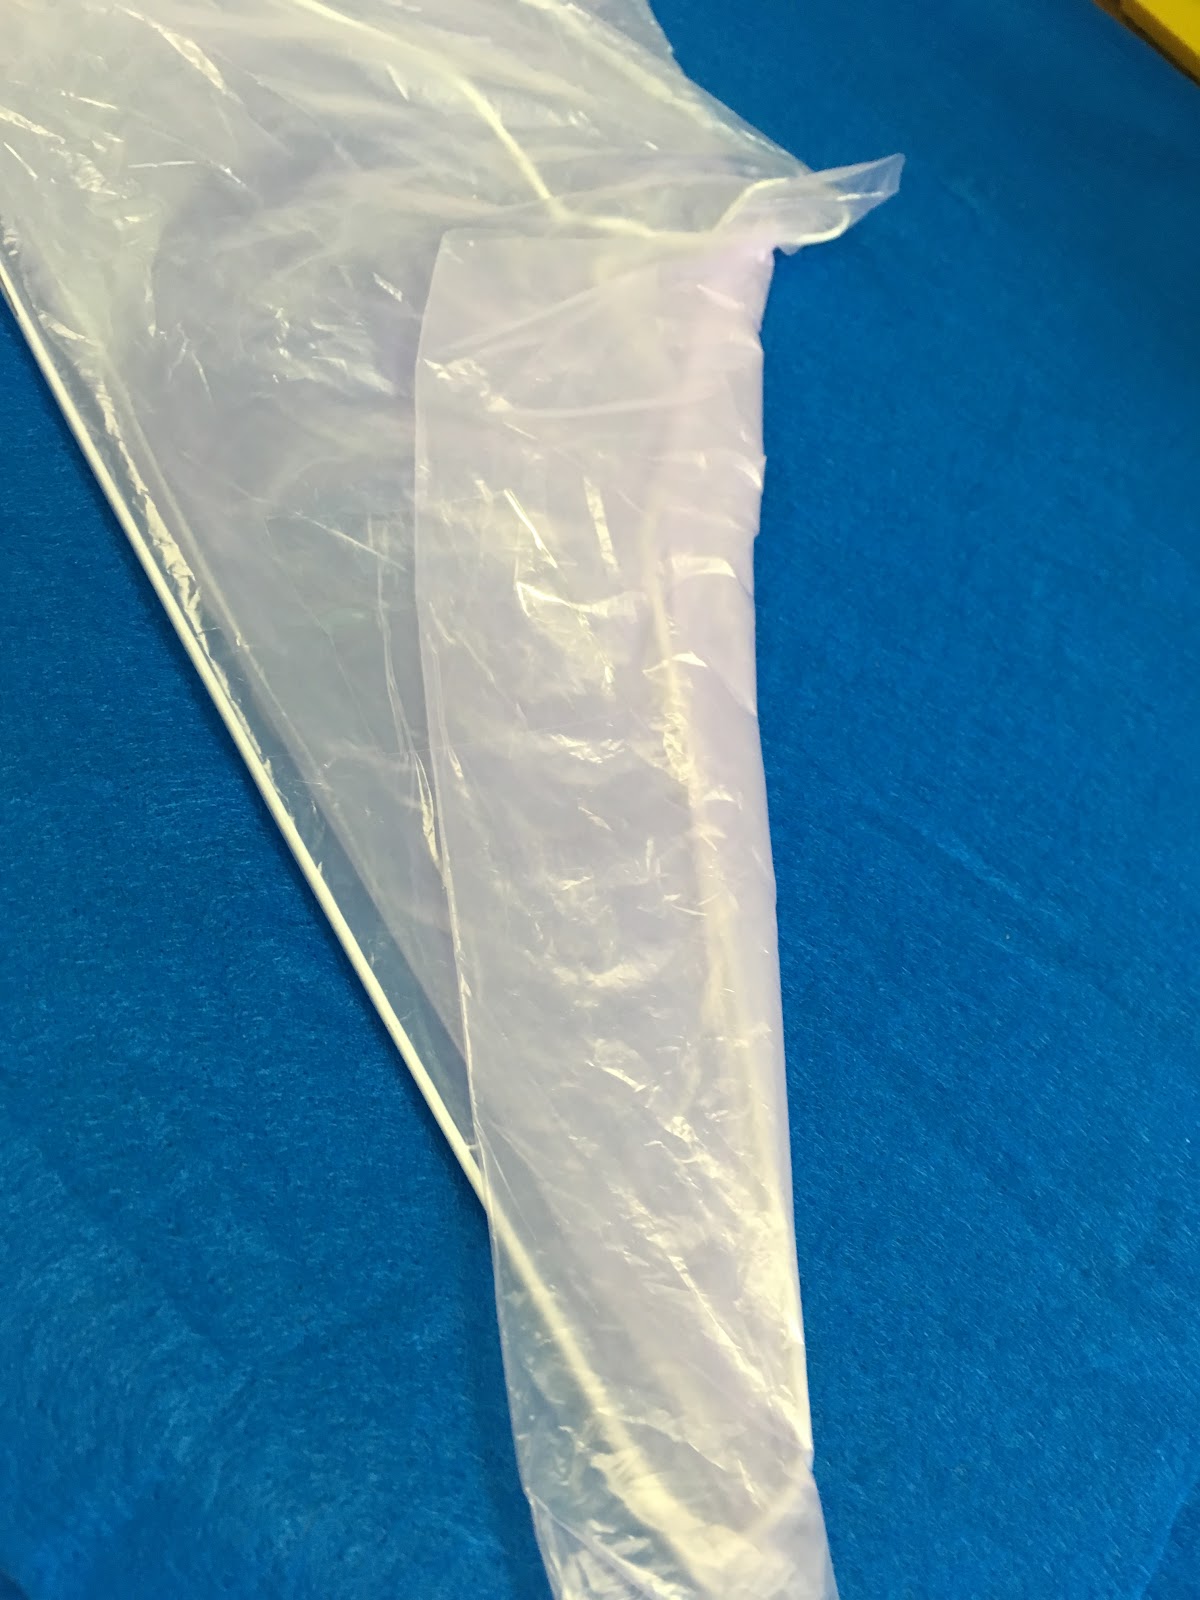
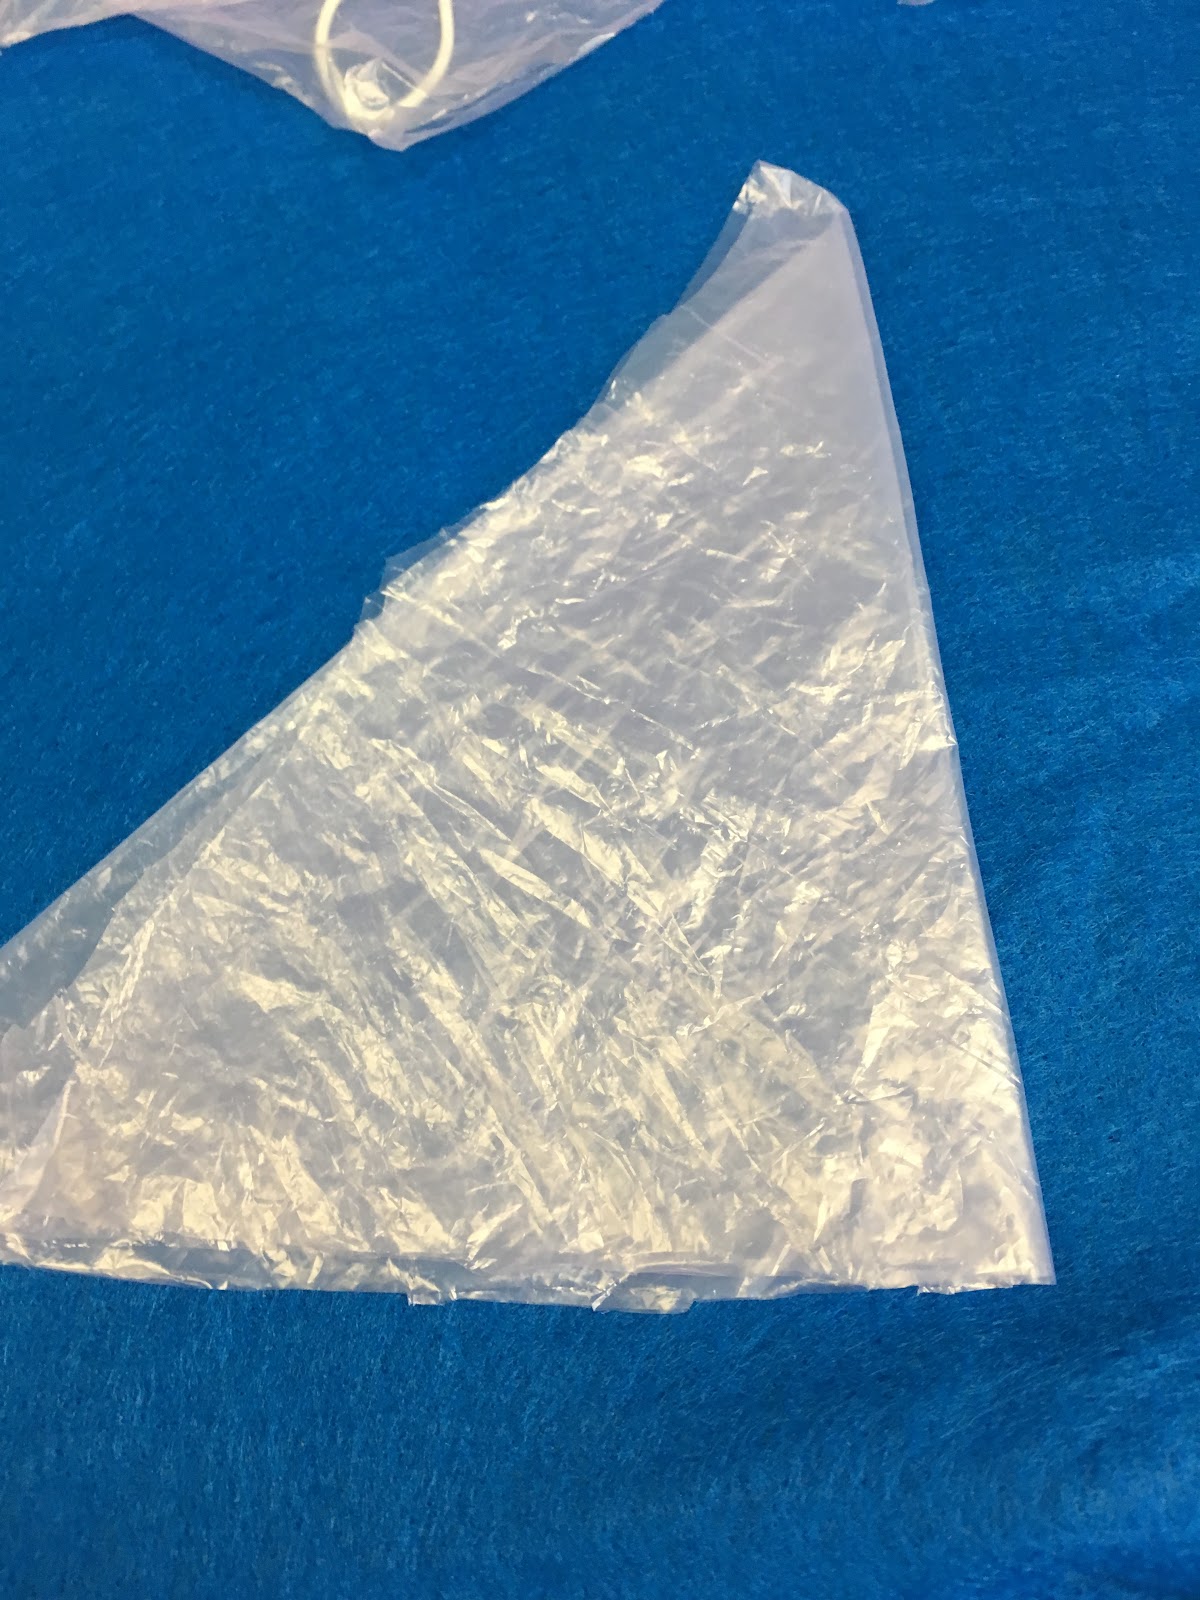
Step 4. Fold the plastic sheet over the bottom (straight wire) of the hanger, toward the corner where
the head is facing. It should be pulled snugly over the wire, and will extend past the bent ‘head’ as
well.
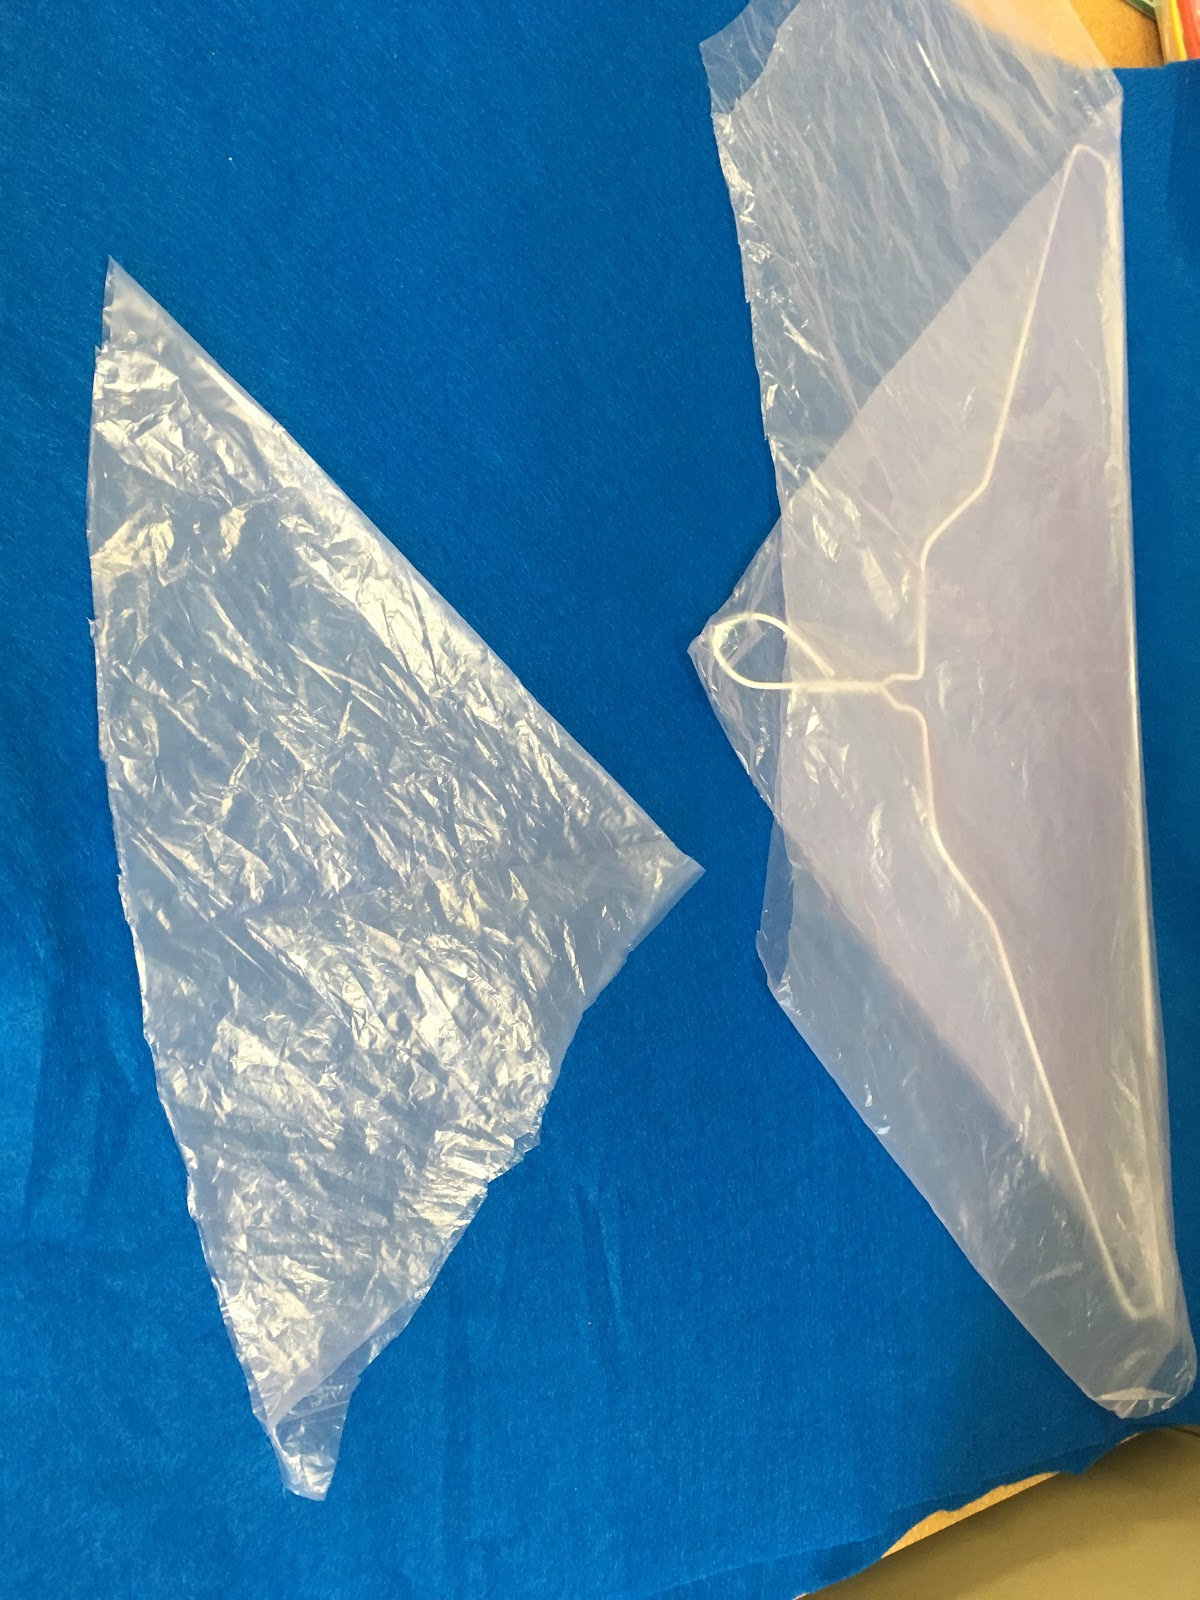
Cut off the extra plastic that passes the head, as demonstrated above. This will create a triangle with
two layers of plastic, separate from the plastic wrapping our bird frame.


Step 5. Fold the triangle in half from the top point. Repeat this fold a second time, so that it becomes
a thinner triangle shape with 8 total layers, instead of a wide triangle with 2. This is your tail! Tape
the edge of the plastic into place so that it will not unfold.


Note: It’s okay if the triangle doesn’t line up perfectly! These uneven  layers add dimension to the
‘tail feathers.’


Set the tail to the side and return to work on your bird’s body


^See the edges that overlap past the wire? That's what we will be folding. ^


Step 6. Any plastic that extends past the hanger should be folded over the wires and onto the other
side. (Like you're wrapping a present!)


Step 7. Tape the folded edges in place, and trim off any excess plastic that still passes the wire
frame at the bottom.


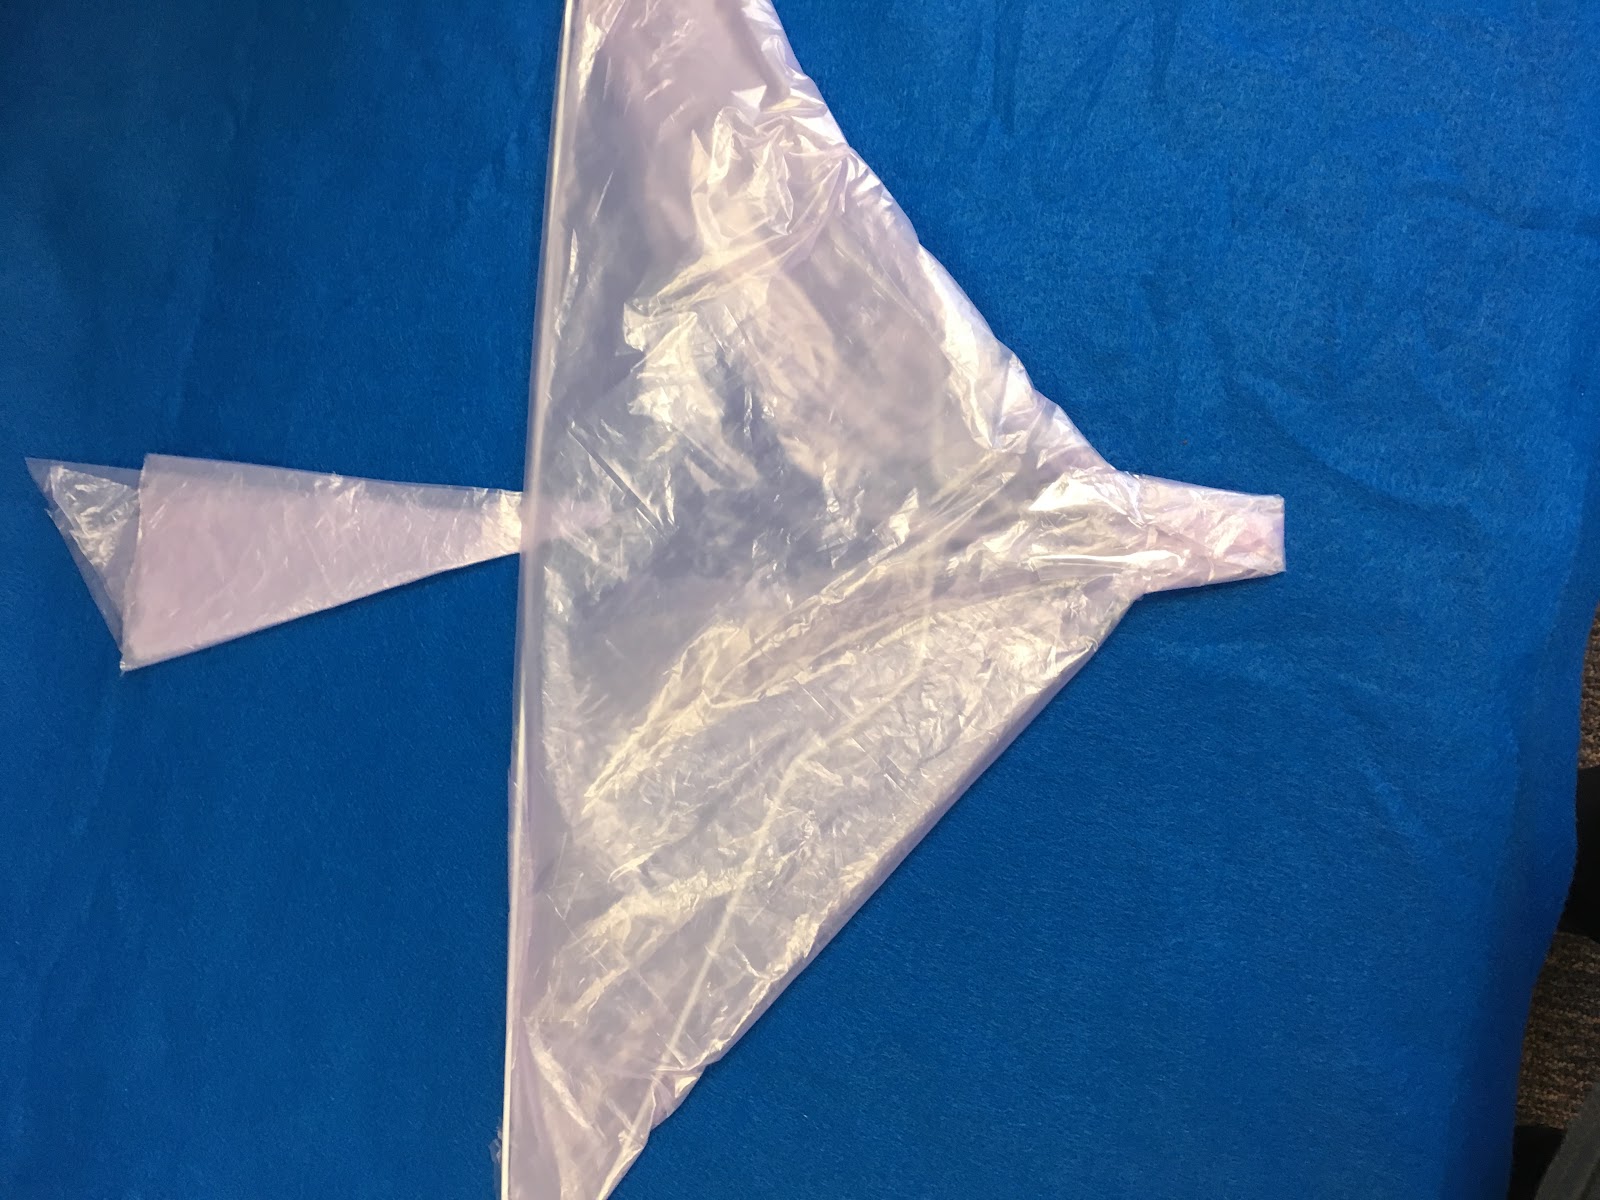
At this point you should have a hanger that is wrapped in plastic (in a fairly triangular shape), and a
smaller triangle of just plastic and tape.


We’re almost there!

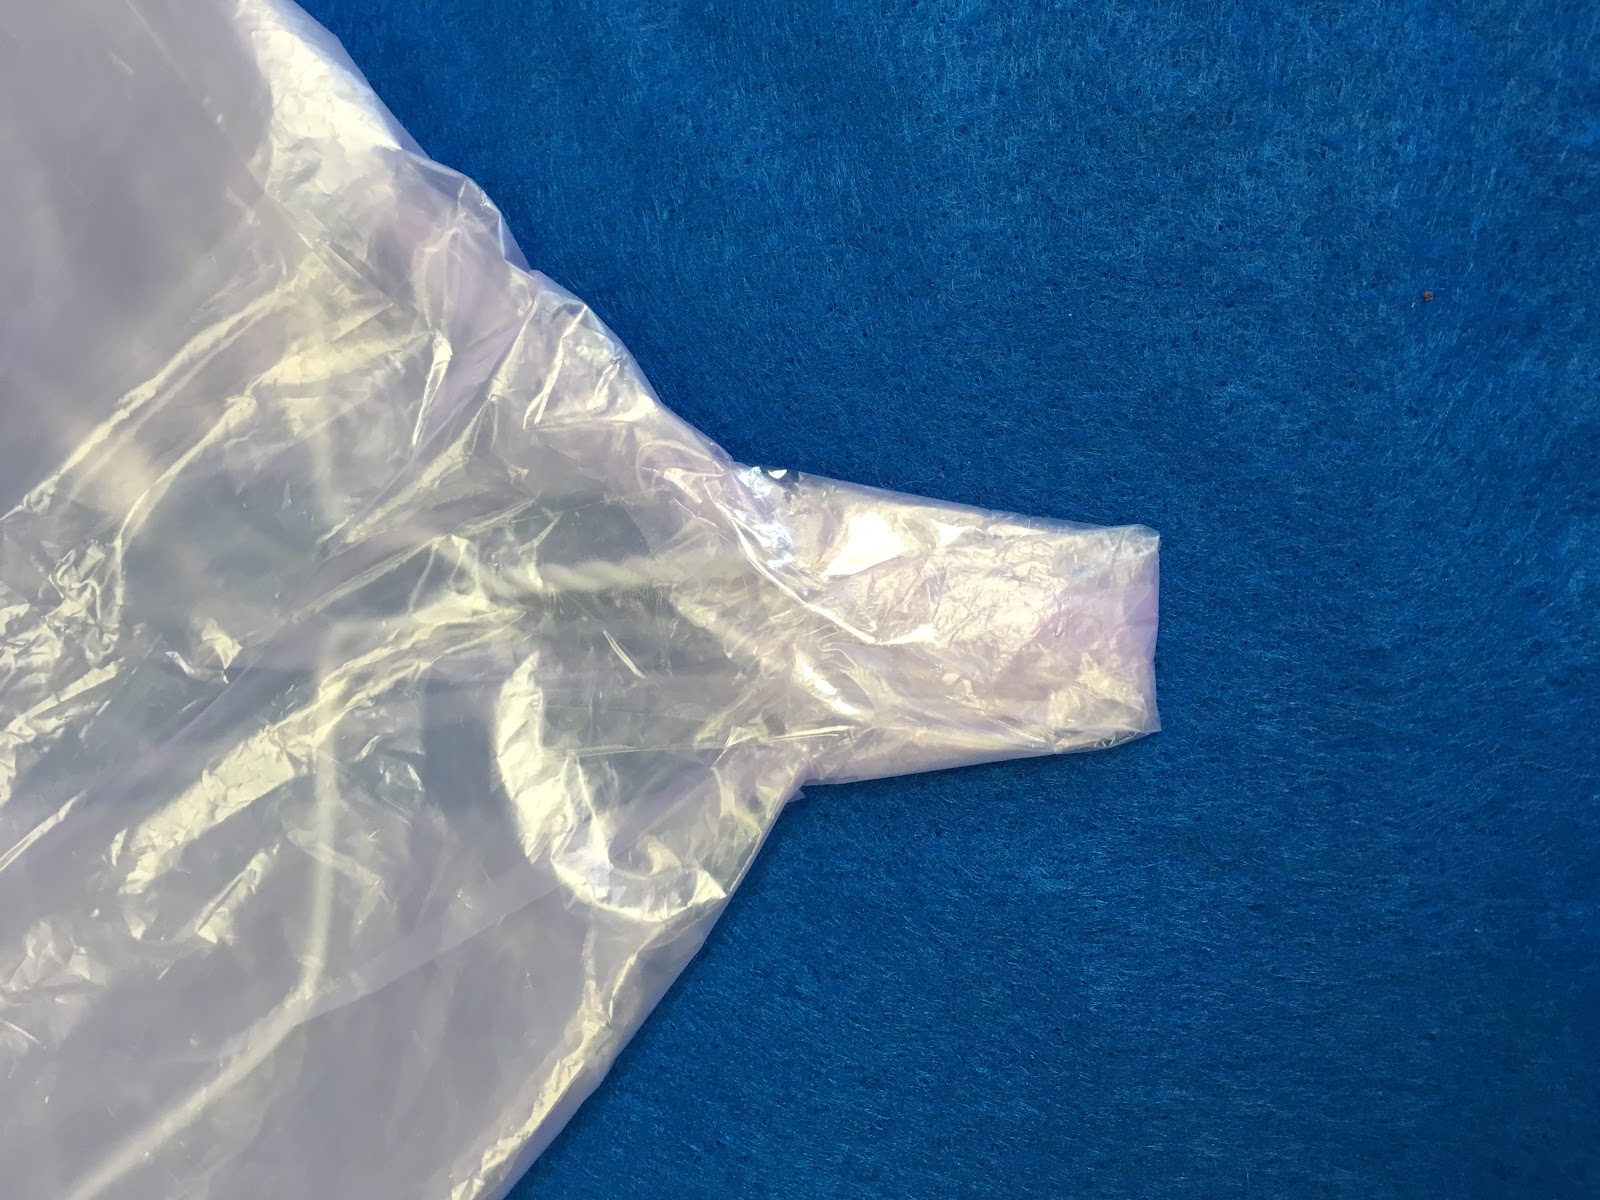
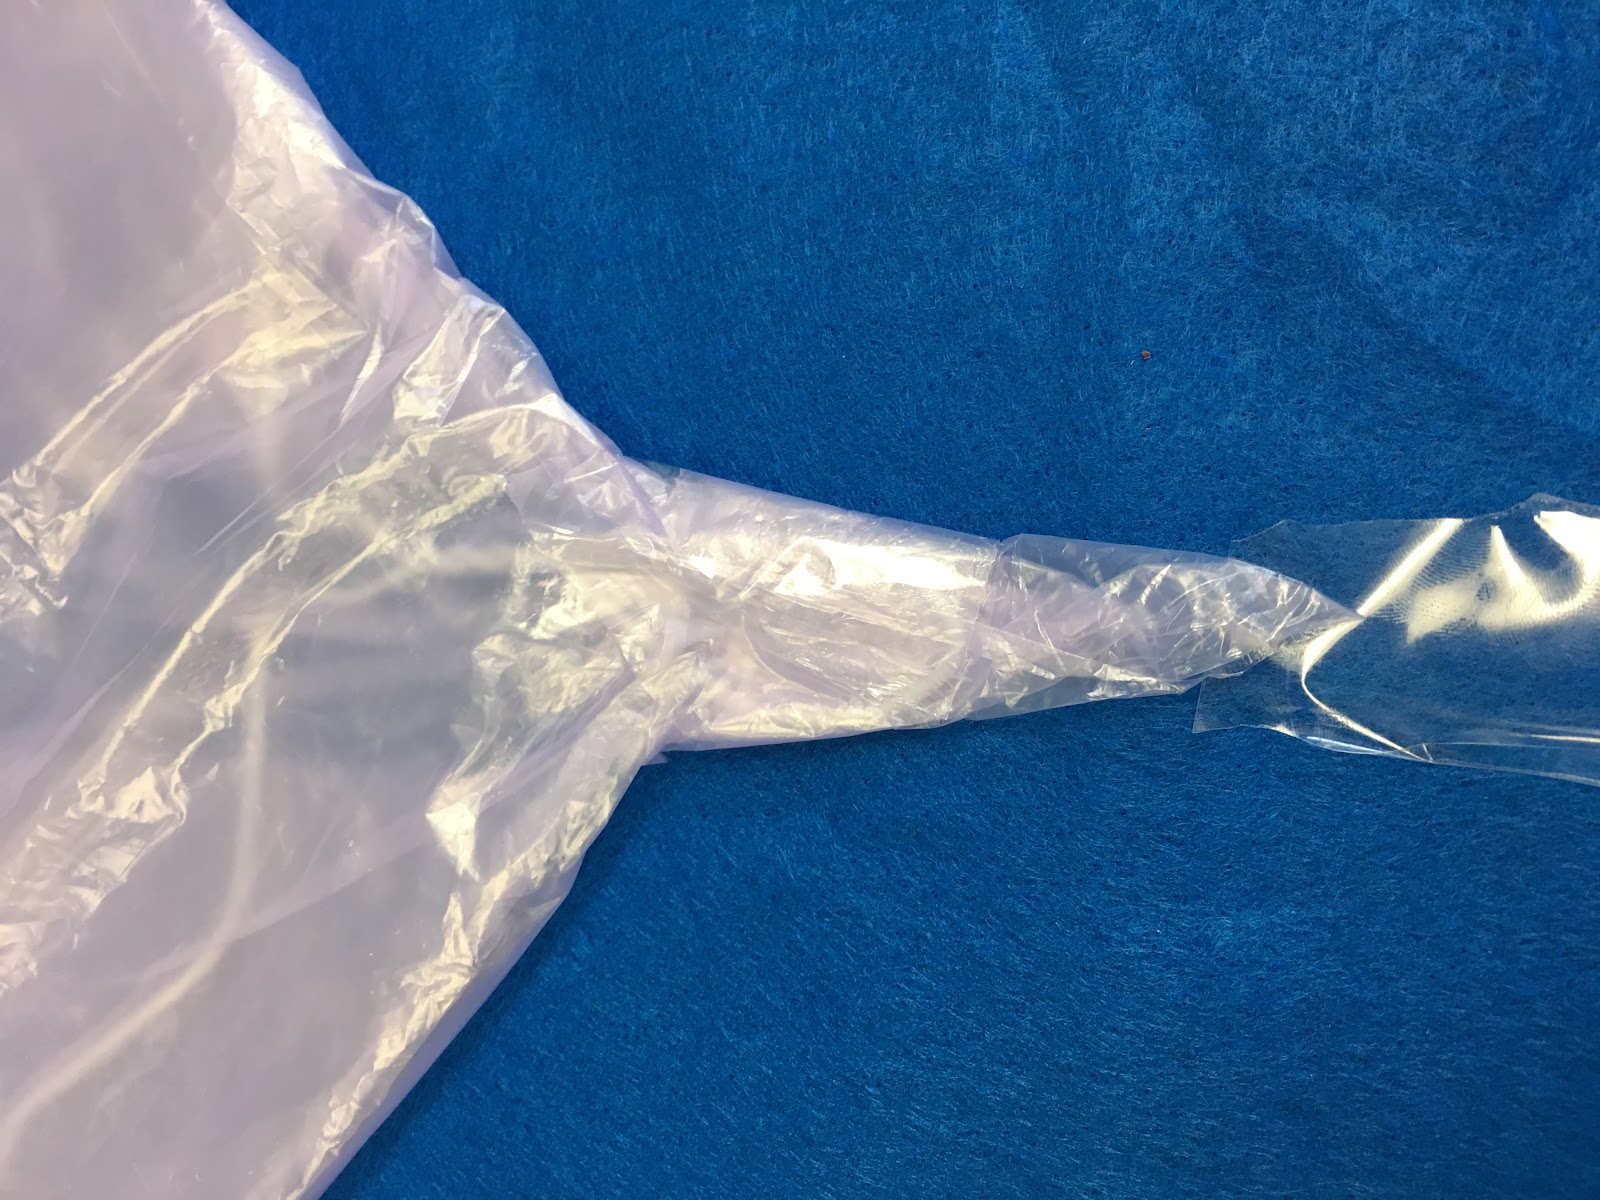
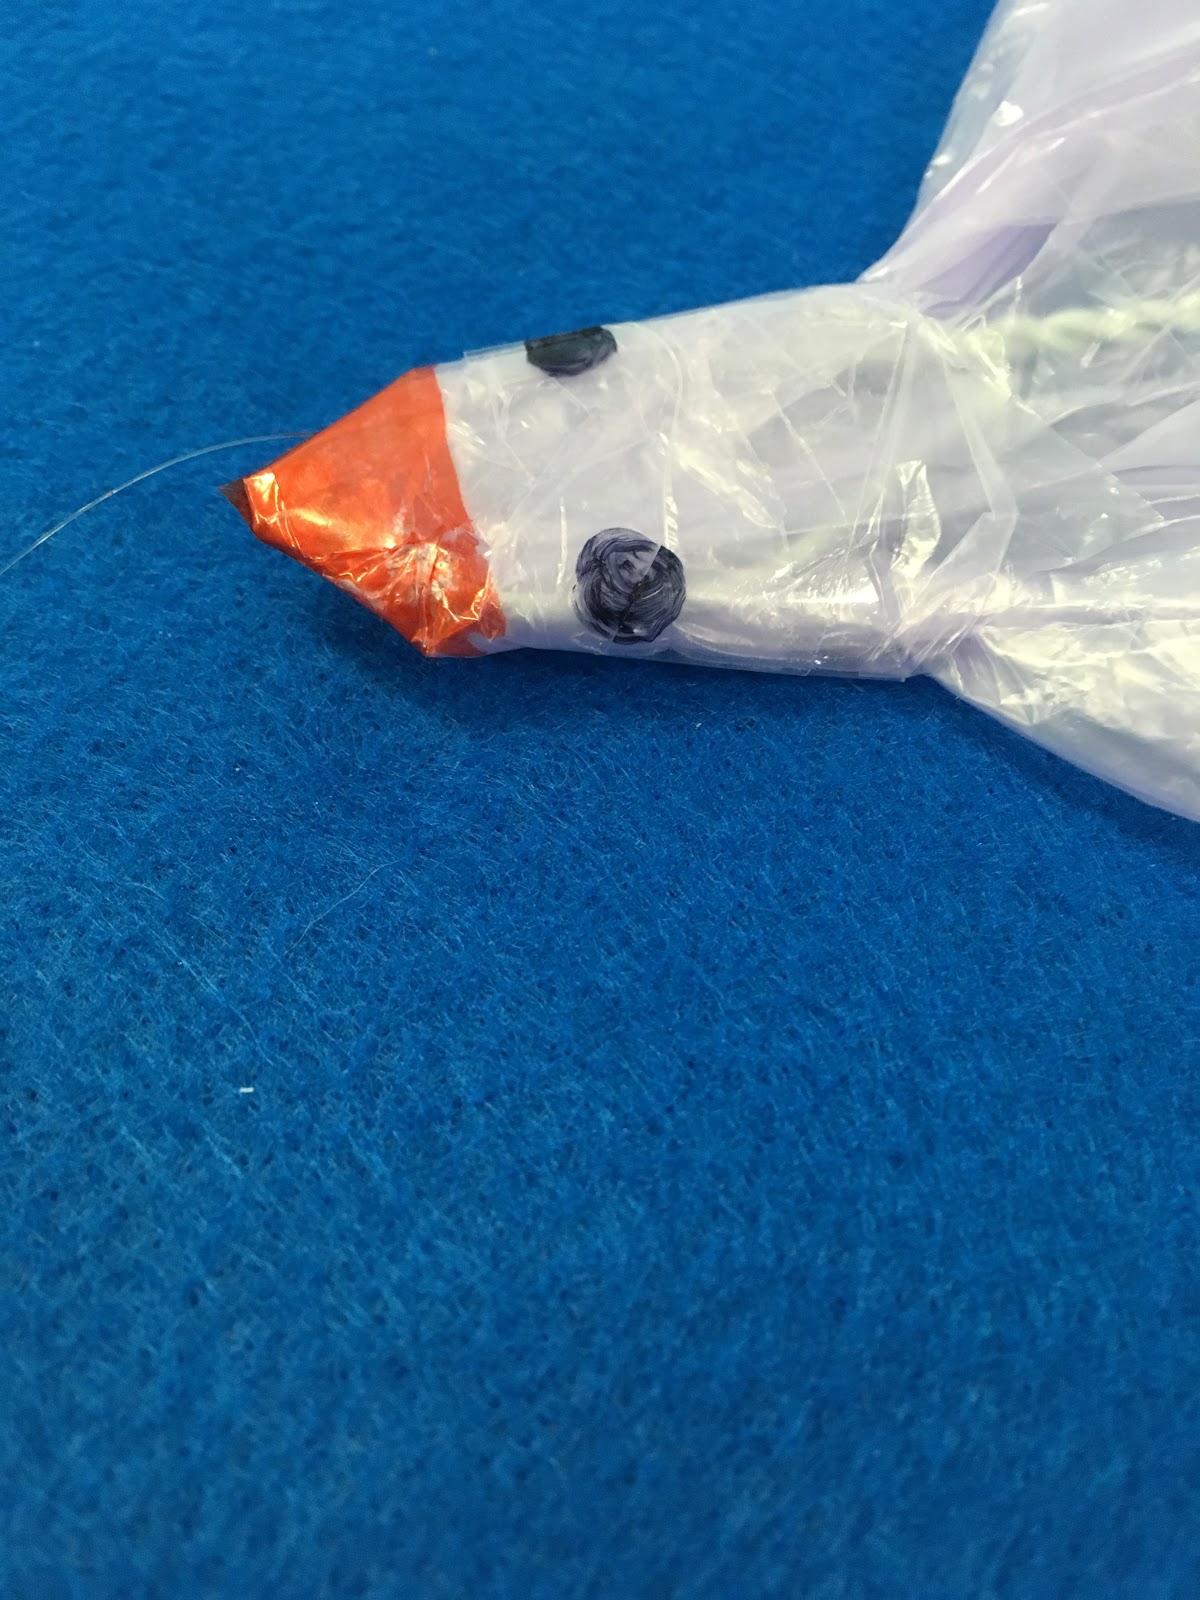
Step 8. Cut a piece of nylon thread or fishing line. I made mine somewhere between 2 and 3 feet
long. Wrap one end of the line in a full circle around the head (hook), and secure it with a piece of
tape over top of the line. This will squeeze the end of the plastic into a point. You can adjust the
shape of it with more tape to create your preferred head/beak. This can be as square or as tapered
as you like!

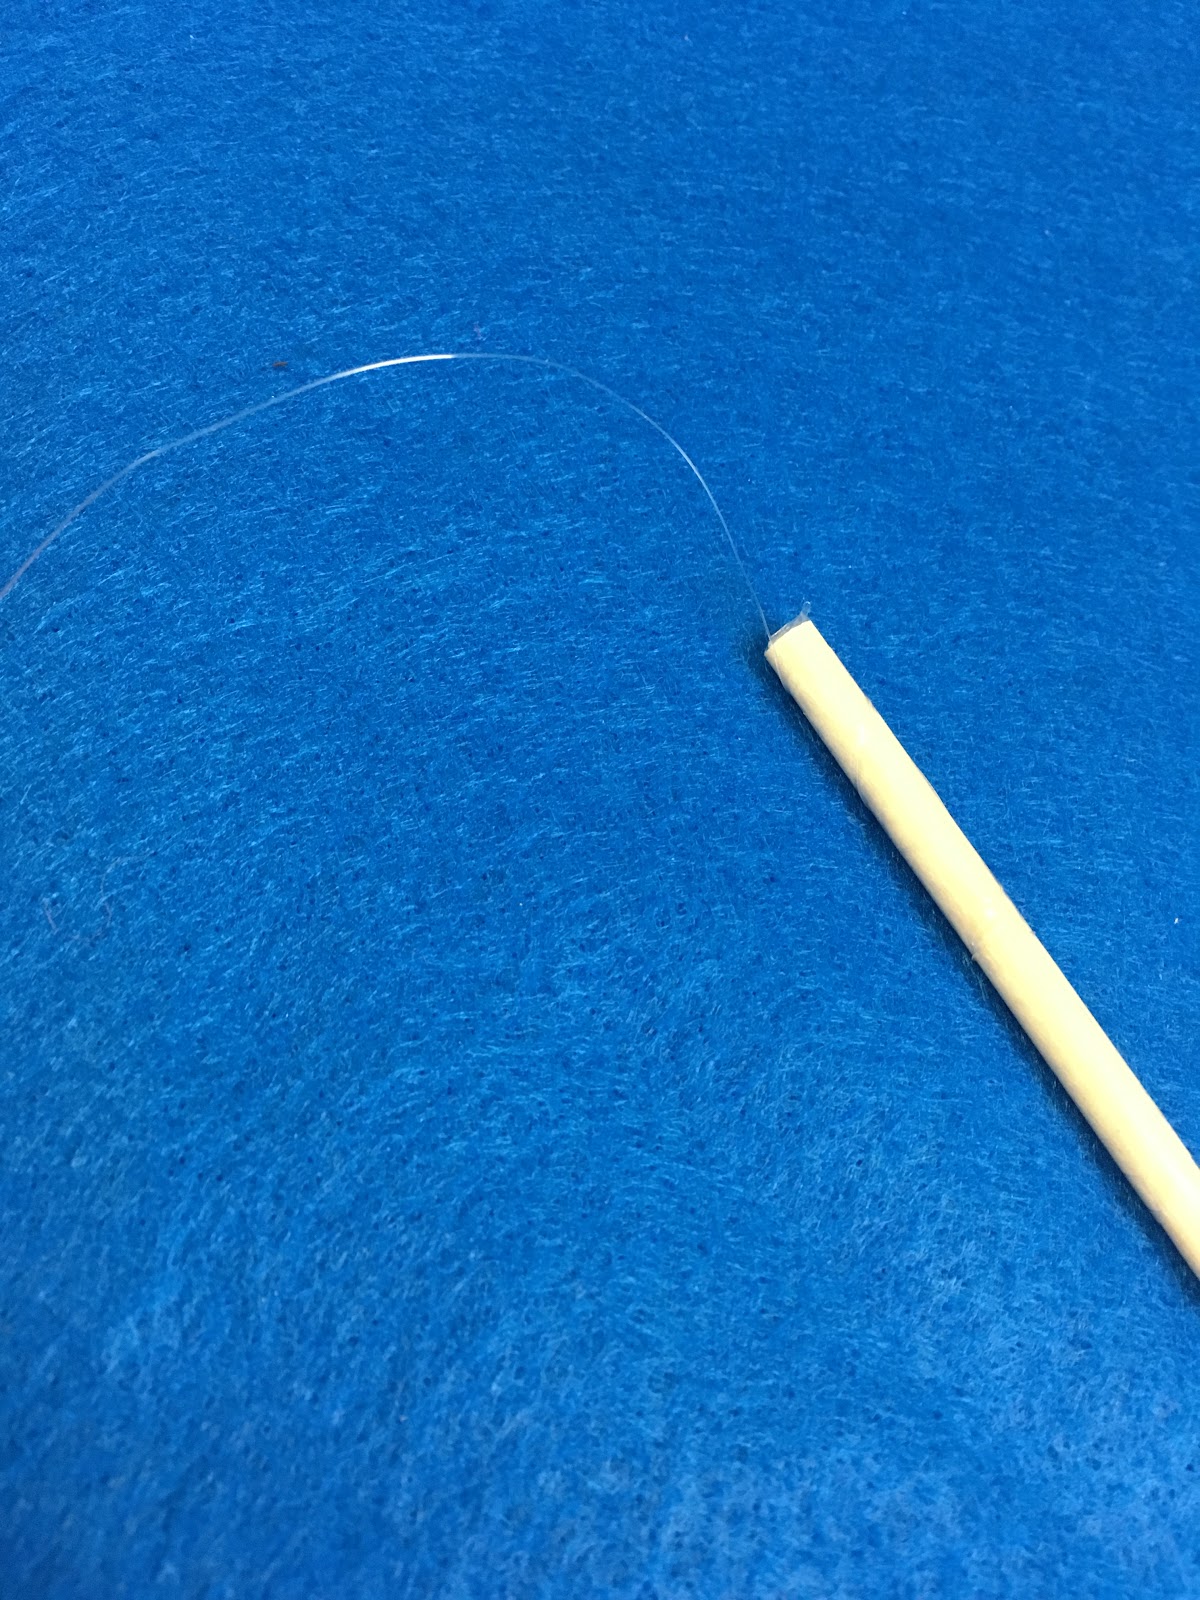
Step 9. Secure the other end of the line to your dowel rod. The trick to keeping this from sliding off is
actually pretty simple. Wrap the line in a stretched spiral around the dowel. Wrap a piece of tape
around the spiral to hold it in place. The spiraling leaves spaces between each ‘layer’ of thread for
the tape to secure it.


Step 10. Tape the triangular tail to the middle of the straight wire. It holds best if it is taped on both
the bottom AND the top sides.
Step 11.  Use permanent markers to add a face to your bird! This gives the kite some extra
character.


The bird kite will follow your arm movements, but be careful about who and what is around you…
that hanger might hurt!


Step 12.  CONGRATULATE YOURSELF. Seriously. This one’s a tougher craft, but it’s 100% worth it.

Enjoy!