Friday, May 17, 2019

Constellation Coasters


It's time to create some crazy-cute constellation coasters!

All you need for this projects is a blank coaster board, pencil, foam brush, printout, mod podge (we're using matte), and a pair of scissors.


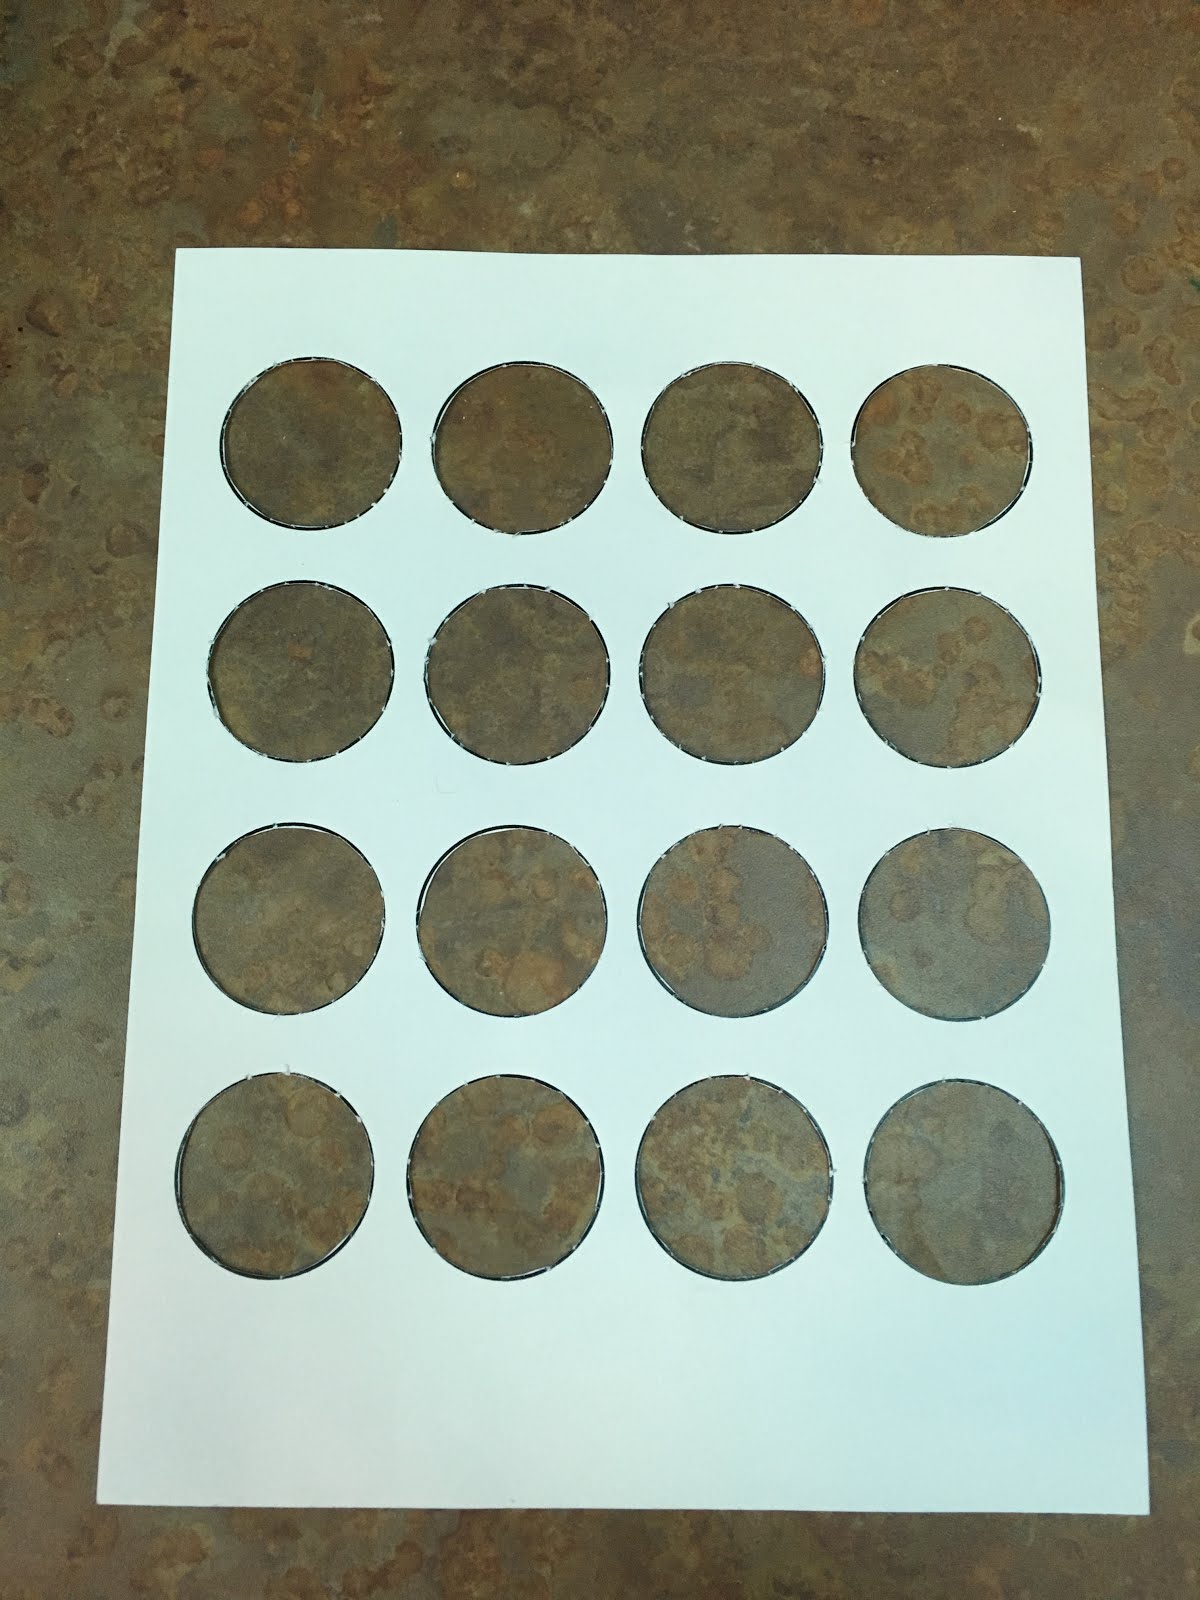
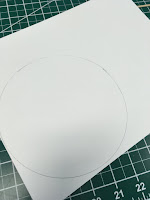
To start, place your coaster board over your print (we just found an image we liked on google), covering the area you want to have visible. If you're using one print for two or more coasters, make sure there's enough space to fit each of them on. 
Trace your coaster board with a pencil, and cut out that section of the print, leaving a thin border around the edges.


Use the foam brush to apply mod podge to the top of your coaster board. 


Smooth your print onto the top of your coaster, working from one side to the other to avoid bubbles. Use the side of your pencil to press the paper down even more, making sure no air is trapped between layers.


Let your coaster rest for a moment to be sure the adhesive is secure. Once it has (at least partially) dried, cover the entire top with a layer of mod podge. You can see from the photo that the foam brush may leave textured streaks. We dealt with this by altering directions between layers (the first layer was brushed top to bottom, the second left to right).
Once the first layer is dry, cover the entire top again. Try to get at least 3 layers covering your coaster to be certain the water-resistant sealing is strong! While these coasters won't be totally waterproof, they can definitely hold up to normal use.


While coating your project, be sure to cover the sides of your coaster as well! This will help to seal the sides, and to hold your paper on securely. 


There it is... a one-of-a-kind, kid-friendly-crafting Constellation Coaster!


Protip: Let the coaster dry for a day or two before subjecting it to regular usage! 


Easy Adhesive Label

This is a nice addition to go with the Galactic Moon Goop Slime we created earlier! It uses a simple technique for label making that can be applied to all sorts of crafts (adding photos to candle jars, labels to kitchen containers, etc.). 

Step one is to simply print the design you want to use as a label on plain printer paper. Anything left WHITE on your label will be removed in this process, so make sure the page surrounding your design is blank. Our Moon Goop design is located HERE, if you would like to print it out! 


Cut out the label design. You can leave a bit of a white border, but you don't want too much excess paper around the design you plan to use. Once it is cut out, place a piece of clear tape (such as book tape or packing tape) over the design- sticky side against printed side. Rub a credit card, fingernail, paperclip, or other solid object over the tape to press the paper against the tape with no bubbles.

Once the paper is secured behind the tape, place it into a bowl of warm water, making sure the paper is fully submerged. 

Let the label soak for 5-10 minutes.

Gently rub the paper side of your label while it is still underwater to remove the paper residue. If it does not roll off easily, let the label soak a while longer.


Once all of the paper is removed, set the label aside (sticky side up) to dry. You can blot it gently with a paper towel, or allow it to air dry. Air drying is safest, as it avoids the risk of removing your adhesive. 


Once the Label is dry, simply stick it to whatever you want! Ours was used for test tubes to hold slime, but the possibilities for this technique are endless! 


Galactic Moon Goop

For our Galactic Moon Coop Slime, we will be starting with a simple slime base- clear glue and liquid starch. The REAL star of this slime is the ultra sparkle glitter we found for it! We are using Hemway Black Holographic, which can be found HERE on Amazon!


To start, add some clear glue to a bowl or other container. We measured about half a scoop from one of these detergent cups... but you can use more or less, depending on how large of a group you're working with (and how large your storage container is!). I'd recommend starting with this amount or smaller, if you aren't sure. It's far easier to add more glue than to correct for too much.


Next, add some glitter! The glitter amount can also be adjusted. This is a matter of personal preference. If you have enough on hand, and only a small batch to make... add more! If you want it less sparkly, or have a large group... a little less works just as well.

We added some colored glitter to our black sparkles, and mixed the glue and glitter with a popsicle stick. 

This is the part where some people get frustrated. Begin adding pipettes full of liquid starch to the glue/glitter mixture. It may take quite a bit of starch, if you have too much glue. Kids often have a tendency to add more glue than they need at the beginning... so be sure to keep this in mind as you measure your materials! 


Repeat this process as needed- adding a pipette of starch, and then stirring. Eventually, your slime will reach a consistency that you can play with! Sometimes it needs a bit of kneading to get to the desired texture- the warmth from your hands, plus the extra mixing is a winning combination.

If the slime is too watery, add more glue. If it's too stringy, add more starch. There's a delicate balance to hit with this craft, but with just a little bit of finessing, you can end up with something super cool! 

Tuesday, April 2, 2019

Ornament Astronaut


Ornament Astronauts!

This simple craft is a BLAST!

It just needs some card stock, coloring materials, scissors, glue, a hot glue gun, something to take/print photos with, and half of a plastic ornament!

To start, you'll need a picture of your astronaut. This can be a picture from an actual camera, or a simple snapshot from a tablet or phone. It doesn't need to be on photo paper or anything... regular copy paper works just fine! 


The photo should focus on the face, because that's the only part you'll be using. (If you're feeling ambitious, you can even position the subject on the floor so their hair 'sticks up,' and then take the picture from above. It's fun to defy gravity!). The photo should be printed about wallet size. 


The next step is to color your astronaut print. (I found this astronaut clipart online, but couldn't find the source. If it's your design, let me know!) 
This should be printed off on card stock so that it's a little more stable. Decorate the space suit however you'd like! I just used colored pencils, but crayons, markers, stickers, paint, glitter, and other craft supplies could all work. They sky's the limit!

 
Cut out the face from your photo and glue it to the head of the astronaut. Once the face is secure, cut around the astronaut shape. 

Using a hot glue gun, attach one half of a clear plastic ornament over the space hood to create a 'helmet.'


And just like that... you're ready to take flight!


Moon Phase Tote


Moon Phase Tote

Here's how to make this simple Moon Phase Tote Bag!

Start with a print of 16 circles on card stock.


You'll want to remove all of the circles, but leave the outlines in place. The best way to achieve this is to start with a pencil (or other pointy object). 

Poke the tip of the pencil through the middle of one of your circles to create a small hole. Use this hole as a starting point for your scissors to cut out the inside of the circle design. 


Add a scrap of cardboard inside your tote bag to protect it from paint bleeding through. Tape the circle template to the front of the bag, making sure it lays flat.


Using a foam brush and white fabric paint, use the circles as a stencil for your moon pattern. Dab the paint so that some spots are more opaque than others (darker sections look like craters and shadows). You'll start by painting only the edge of the first circle, gradually adding paint a little farther in each circle after. 


Around the halfway point, you'll end up with a complete circle filled in. After this, gradually decrease the amount of paint in each circle, from the same side you started with. You'll basically be reversing the pattern you just created.


Give the paint a moment to dry. If you need to go over with a second layer of paint, it's best do to this before you move the stencil. Peel the template off once your paint is dry.

That's it! Your new tote is good to go!


Wednesday, March 27, 2019

Plastic UFO Flyer


Let's make this UFO Flyer!


All you need for this project is a clear plastic plate, a sheet of cardstock, some paint (plus a paintbrush), the dome of an acorn capsule, a mini plastic alien, and a hot glue gun!


Use your Plastic Plate to trace a circle onto a piece of cardstock.
Set this aside for right now.


Start your Flyer art by adding buttons, levers, lights, and switches with paint. You should be painting on the inside (top side, if you were actually using it as a plate). These details can be as simple or complex as you want. I just made random dots and lines on mine.


Give the paint a few minutes to dry. Once it is ready (hardened enough to not smear), paint over everything with a layer of silver or gray. Let this dry as well.

While you are waiting for the paint to dry, cut out the circle of cardstock you traced earlier. (Tip: You may want to cut along the outside of your traced lines to give it a little extra space!)
You can also decorate one side of the cardstock with coloring materials during this time. This will be the bottom of your UFO.


Once your paint has dried and your decorating is complete, use the hot glue gun to attach the cardstock to the edge of your plate, sealing it up.


To finish up the flyer, use the hot glue gun to attach the plastic alien. Cover your alien pilot with the clear dome of an acorn capsule, and glue it down as well.

Hold things in place for a moment to make sure the glue hardens completely. Once everything is assembled, your UFO flyer is ready to go. Give it a toss like a frisbee, and watch the spaceship fly! 


Tuesday, June 5, 2018

Scrapbook Guitars


Here’s an easy one! Cut out the Guitar Template from printed cardstock. Trace both pieces on a
piece of cardboard. If they do not fit on the cardboard, make minor adjustments to the size of your
guitar shape. Cut both pieces out of the cardboard.


Attach the neck of the guitar to the body with craft glue or tape.


Then… decorate the guitar as you see fit! I used various scrapbook paper, washi tape, and vintage
paper accents in this example. Everything is attached with standard glue or its own adhesive. Finish
the guitar with a 3 inch circle of black paper to make the sound hole, and you’re done!
The good thing about this craft is the fact that it doesn’t have to be done a certain way. It’s just a
decoration! My guitar is actually backwards... but it worked better for the
specific pieces I wanted to use.